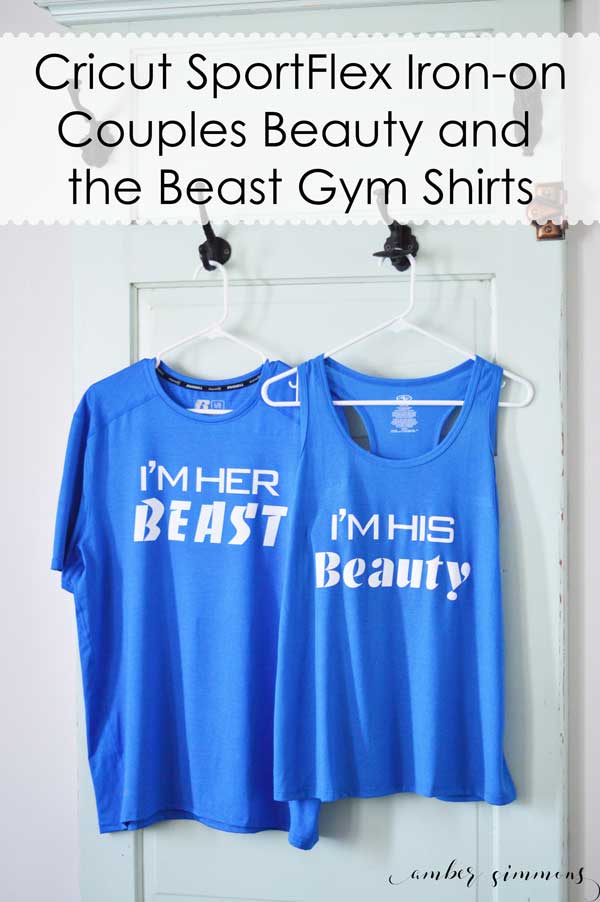
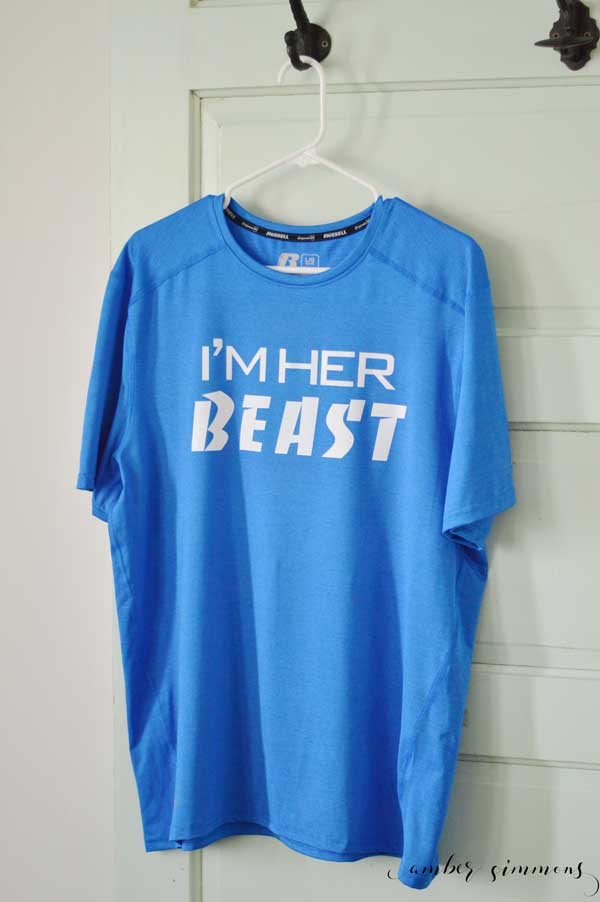
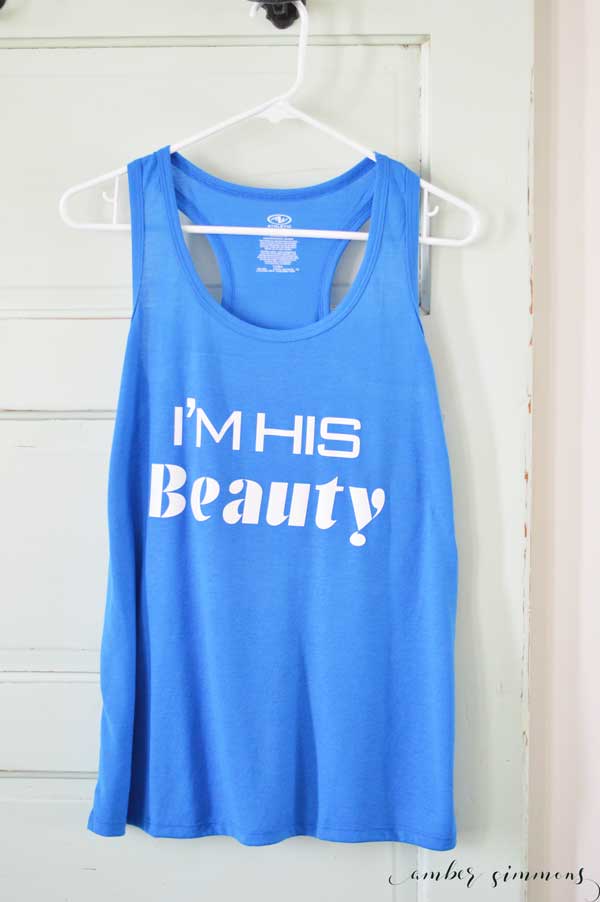
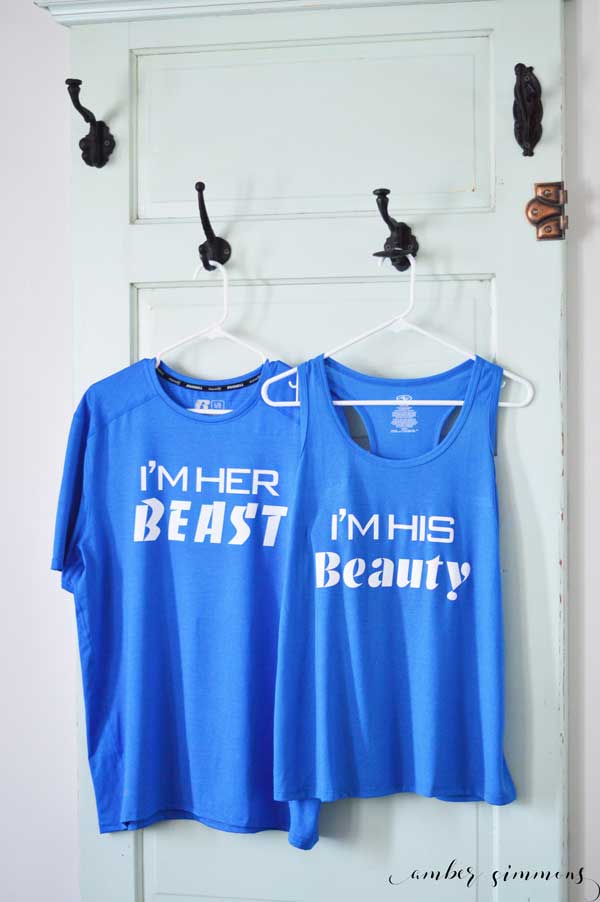
Simple DIY tutorial to make his and hers Disney inspired Couples Beauty and the Beast Workout Shirts with Cricut SportFlex Iron-on.
Okay you guys. Today I’m super excited to share with you Cricut new product the SportFlex Iron-on. It specifically for anything that’s nylon or polyester. That means activewear!
It has a greater stretch than the regular iron on and it adheres better to the acrylic fibers. How exciting is that?
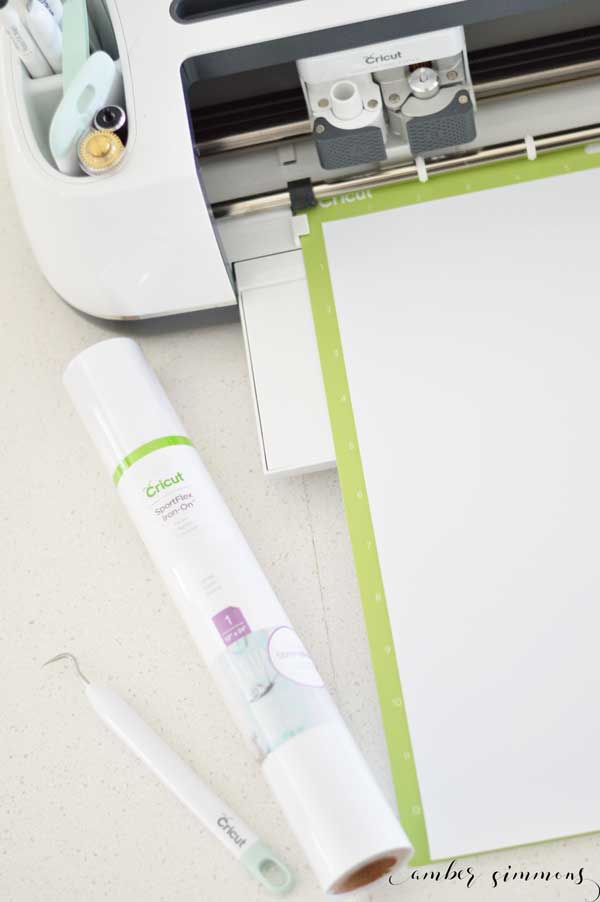
It’s lightweight, thin, and extra stretchy. Plus it comes in a nice large sheet that’s 24 inches long.
And since it’s for activewear, today I am sharing a tutorial on how to make couples workout shirts.
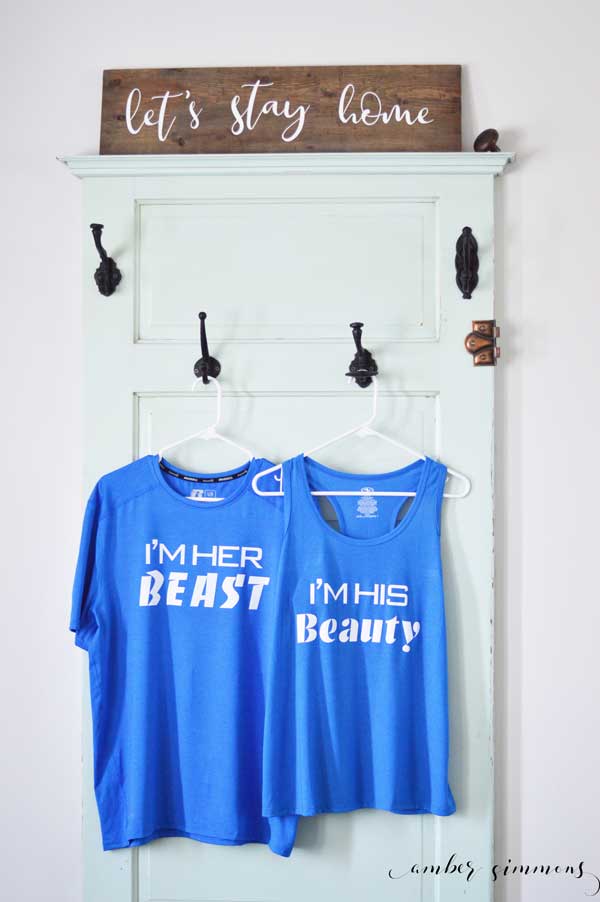
(PS if you love the Let’s Stay Home sign I have a tutorial post for that as well. You can find it here.)
There’s one for him and for her. Although, you can always change the pronouns if you need to. I made these for my husband and myself.
Supplies
Activewear shirts (I got ours at Walmart.)
Cricut SportFlex Iron-on
Cricut Maker Machine
Cricut EasyPress or iron
Design Space pattern
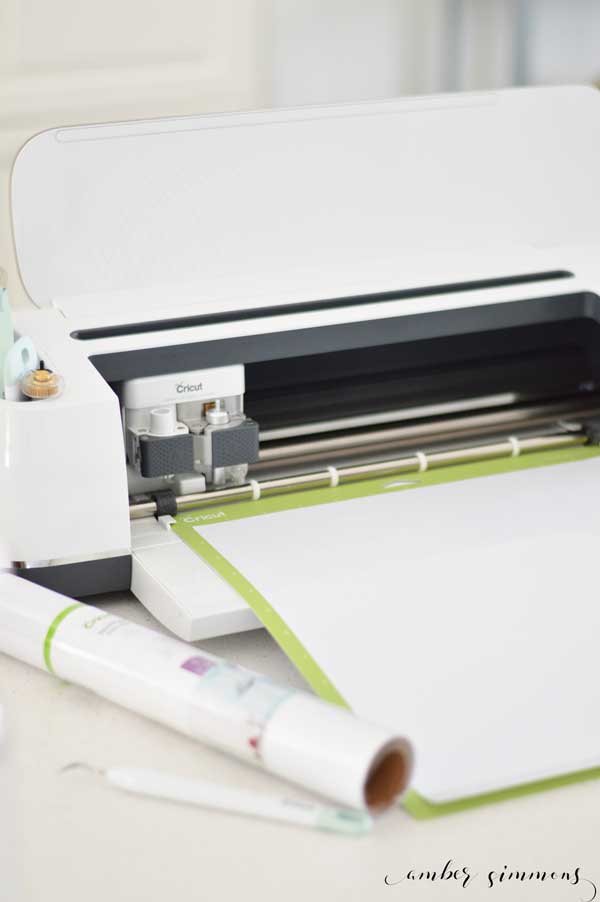
If you click the Design Space link above or right here you can get over to this design.
If you need to, be sure to resize them for your shirt. Also, when you go to cut them be sure to mirror in the design. If you don’t the words will be backward.
Once it’s cut out you simply need to weed it. I love weeding iron-on. It’s so, so easy. After it’s weeded you’re ready to iron on.
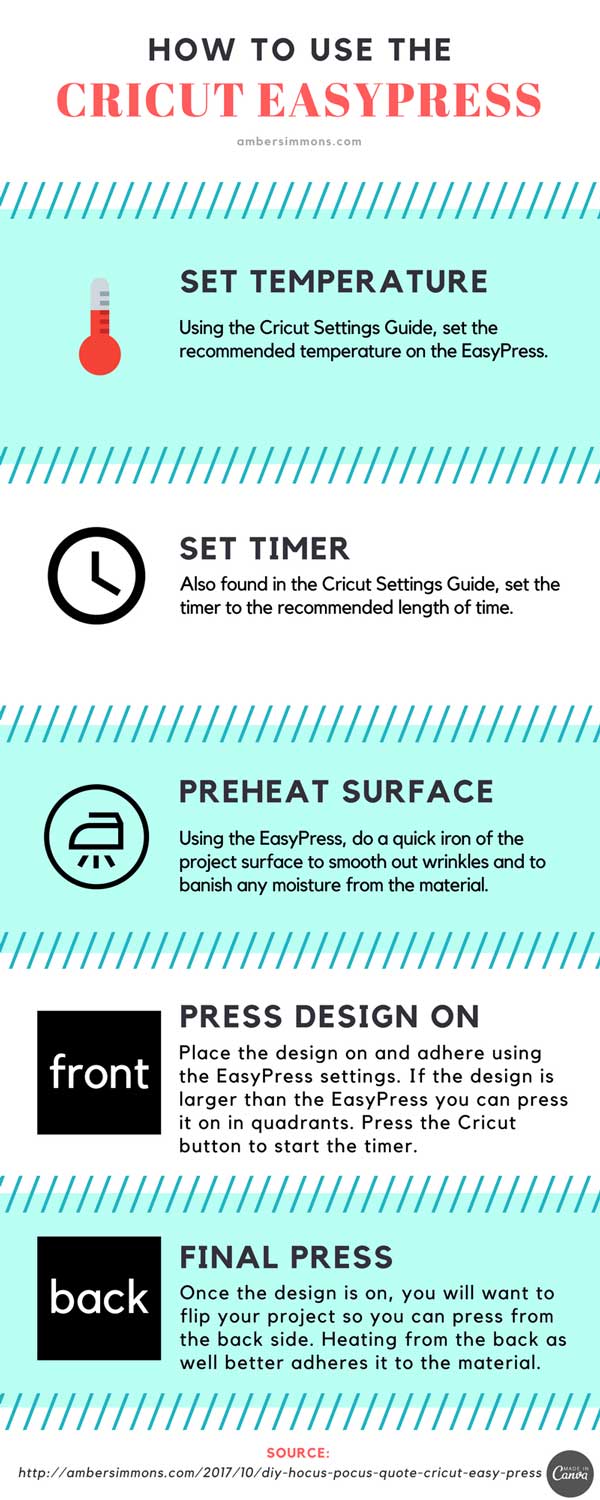
Be sure to double check the official Cricut EasyPress settings if you are using a Cricut EasyPress. And even if you aren’t this is helpful to note for the temperature and length of time to iron on your design.
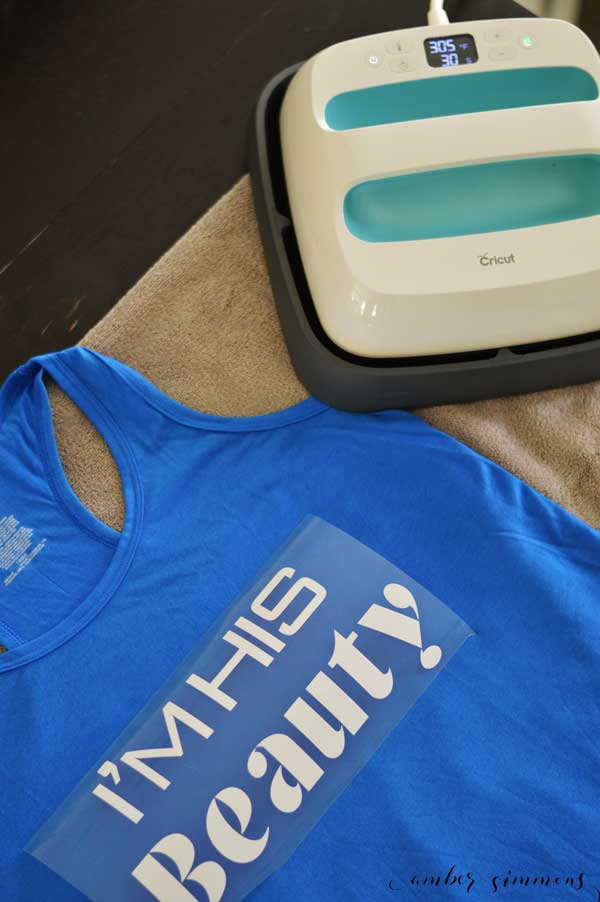
I love that it now tells you to use a warm or cool peel. So for polyester with SportFlex the temperature is 305 degrees Fahrenheit / 151 degrees Celsius.
Lay your shirt out on a towel or on the new Cricut EasyPress Mat and preheat where you are going to put your design for at least 5 Seconds. This pulls any moisture out of the shirt and gives a better bond to the iron-on.
Once your shirt is preheated place your design and then apply heat to adhere it to your shirt. Don’t forget to heat the back of the shirt as well. You could do inside out if you want. I did the back of both of these shirts because I figured they were thin enough I didn’t need to flip them inside out. With thicker materials, like sweatshirts, I would definitely just do it from the inside. This helps draw the adhesive further into the fibers as well.
Once you have done the front and the back of your design you just peel the lining off. Cricut recommends a warm peel so that’s what I did.
How cute are these shirts? We’ll be the cutest couple at the gym.
Here are some quick tips on using your Cricut EasyPress.
Be sure to check out my other Cricut projects.
And if you need some design space help check out my Cricut Design Space 101 series.
Want to check out my other Disney posts?
This is a sponsored conversation written by me on behalf of Cricut. The opinions and text are all mine.





[…] You might have noticed a super cute sign in my last post for the Couples Beauty and the Beast workout shirts. […]