With this simple fall farmhouse clothespin wreath tutorial, you will have a festive autumn wreath in no time using items from the dollar store and the Cricut Maker.
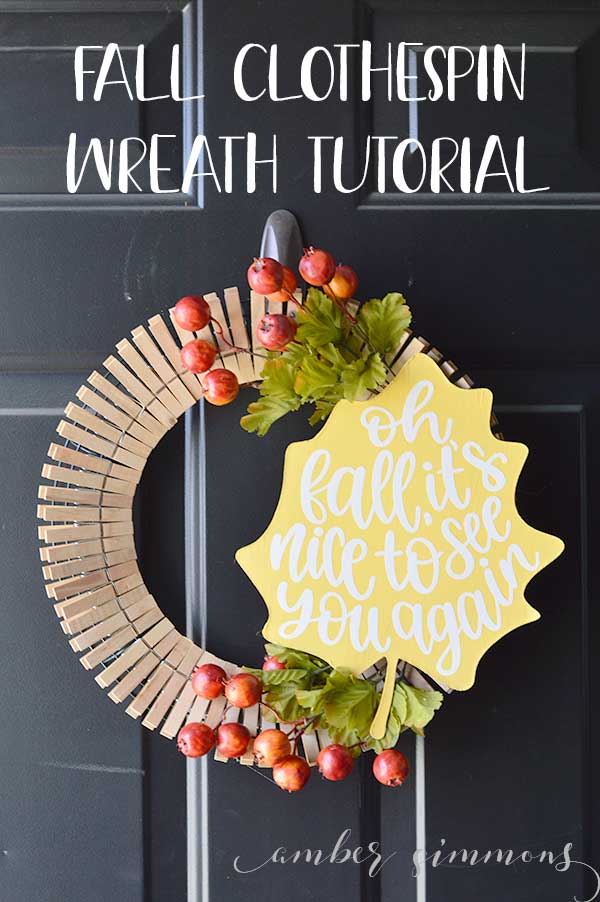
I saw in a Facebook group that people were making some Fourth of July clothespin wreaths.
I’m not really into decorating for the 4th, and also, it’s past that now. So I thought that a fall themed wreath sounded like a great idea.
Plus, autumn is my favorite season and I’m super excited that it’s coming up soon.

I wanted something that also had a rustic, farmhouse style feel to it.
So instead of painting my clothespins like in most tutorials, I decided to tea dye them.
I went to my local Dollar Tree to pick up some supplies.

Supplies
Black tea bags
Wire wreath form
Clothespins (70ish)
Mini pomegranate stems
Chipboard
Vinyl
Transfer Tape
Masking tape
Paint
Brush
Hot glue
Hot glue gun
Cricut Maker
Cricut Knife Blade
Cricut Strong Grip Mat
Oh Fall cut file
The wreath form, clothespins, and pomegranate stems came from Dollar Tree. The rest of the supplies were in my craft room already.

How to tea dye wooden clothespins
First I brewed some strong black tea. I used about four or five cups of boiling water with eight tea bags.
Then I placed all my clothespins in the hot tea. I set a timer and soaked them for 30 minutes.
You could brew a stronger tea and/or soak them longer if you want them to have more color.
Once the 30 minutes was up, I took them out of the tea and placed them on a cooling rack that was set in a baking sheet.
This way any excess moisture would drip away from the clothespins instead of pooling under them.
Then I set them aside to dry completely.
How to make a clothespin wreath
Once the clothespins are dry, you are ready to make the wreath.
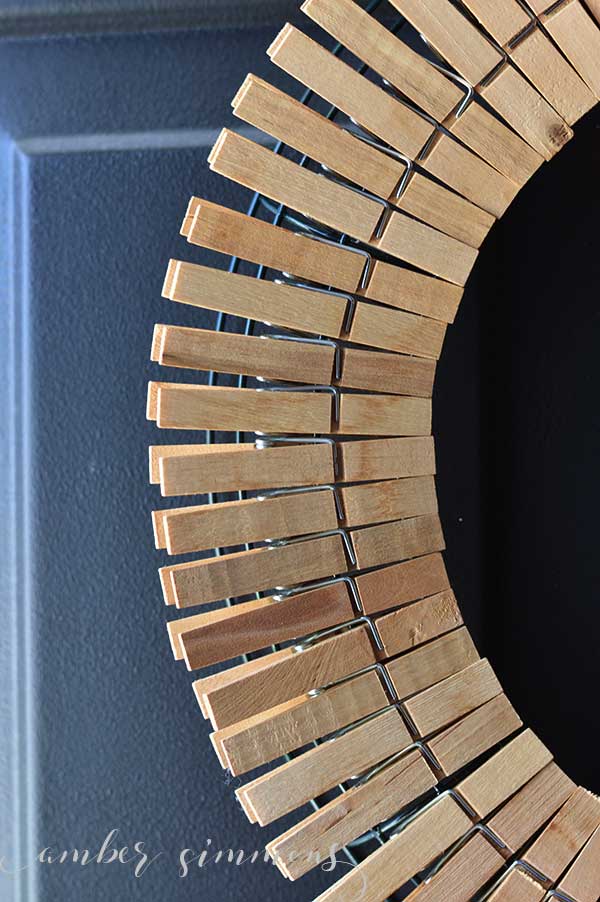
Simply clip them all around the wreath form.
Mine had four wires going around it so I clipped the clothespins on the interior two wires.
I used 72 clothespins around the entire wreath.
How to cut chipboard with the Cricut Maker
To cut chipboard with the Cricut Maker you will need a Strong Grip Mat and some masking tape or painters tape.
If you want to know what the differences between each of the mats check out my post on that.
Place the chipboard down on the mat and press firmly. Then tape around the edges.

This helps to securely attach the chipboard to the mat.
Chipboard takes several passes so unless it is secure it can come free from the mat and the cut will fail.
Set the material to Cricut 2.0 mm chipboard. Insert the Cricut Knife Blade. Load the mat. And press the Cricut button.
The leaf took 24 passes to cut. It took about 12 minutes.
Once the Maker is finished cutting, carefully check to see if the cut is complete.
If the cut lines are all the way through, then eject the mat. If they are incomplete then press the Cricut button again for another cutting pass.
Once it is cut, carefully remove it from the mat.
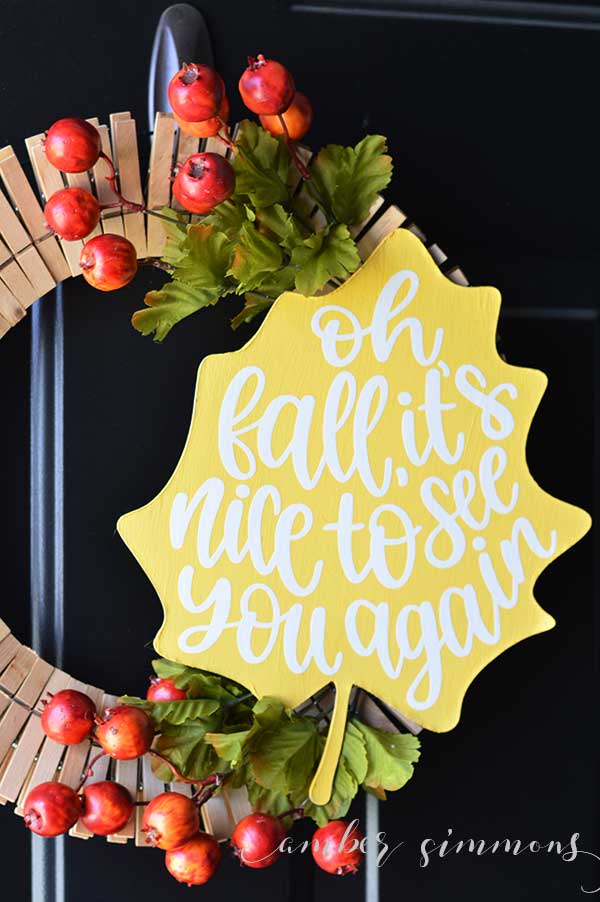
After the leaf was cut I painted it a buttery yellow color.

How to add vinyl to chipboard
While the leaf was drying I cut the words out of white vinyl.
I carefully weeded them and adhered them to a transfer sheet.
Once the paint was dry, I simply lined up the vinyl with the leaf and transferred the text from the tap to the chipboard using a large Cricut scraper.
How to assemble the fall clothespin wreath
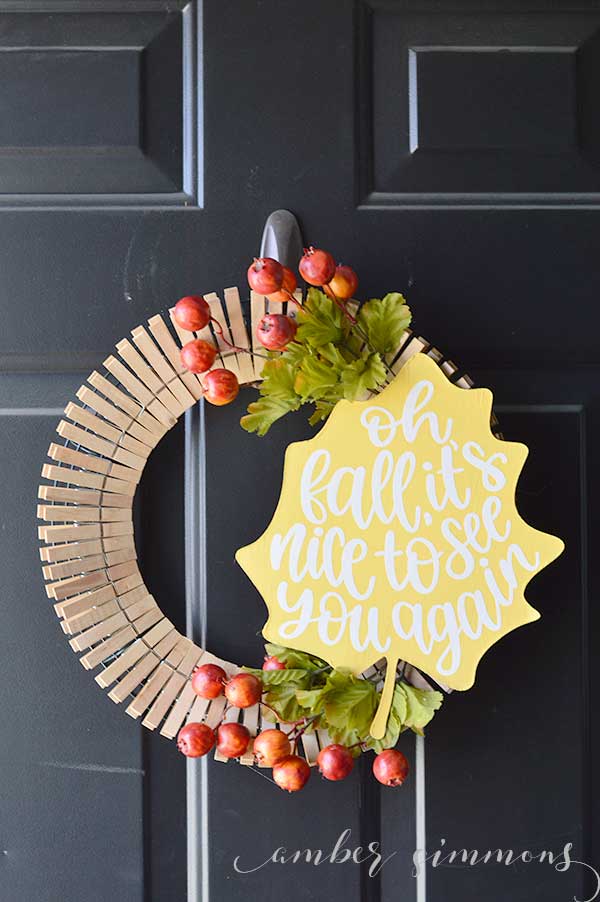
To decorate your fall clothespin wreath, preheat your hot glue gun.
When it is ready, bend the ends of the stems to curve with the wreath.
I put one up and one down. Hot glue them into place.

Then gently hot glue the leaf in place. Careful not to bend it.
I added some hot glue under a couple of the pomegranates and leaves to hold them in place better.
And that’s it!
Your wreath is done!
I have included a video tutorial below if you want more help.
Simple Fall Farmhouse Clothespin Wreath Tutorial

With this simple fall farmhouse clothespin wreath tutorial, you will have a festive autumn wreath in no time using items from the dollar store and the Cricut Maker.
Materials
- Black tea bags
- Wire wreath form
- Clothespins (70ish)
- Mini pomegranate stems
- Chipboard
- Vinyl
- Transfer Tape
- Masking tape
- Paint
- Brush
- Hot glue
- Hot glue gun
- Cricut Maker
- Cricut Knife Blade
- Cricut Strong Grip Mat
- Oh Fall cut file
Tools
- Cricut Maker
- Cricut Knife Blade
- Hot Glue Gun
Instructions
- Tea dye the clothespins. Let dry.
- Clip clothespins to the wreath frame.
- Use the Cricut Maker to cut out chipboard leaf.
- Paint chipboard leaf. Let dry.
- Use the Cricut Maker to cut out the vinyl. Weed and apply to the dry chipboard leaf.
- Layout stems and chipboard leaf on the wreath and adjust to your liking.
- Glue them in place with the hot glue gun.
Looking for other fall wreath ideas? Check out my simple modern fall wreath tutorial.
Be sure to check out my other Cricut projects as well.


[…] Fall Clothespin Wreath Tutorial […]