This full step-by-step tutorial for how to make a DIY confetti and glitter snowglobe Starbucks tumbler will have you creating custom cups in no time.
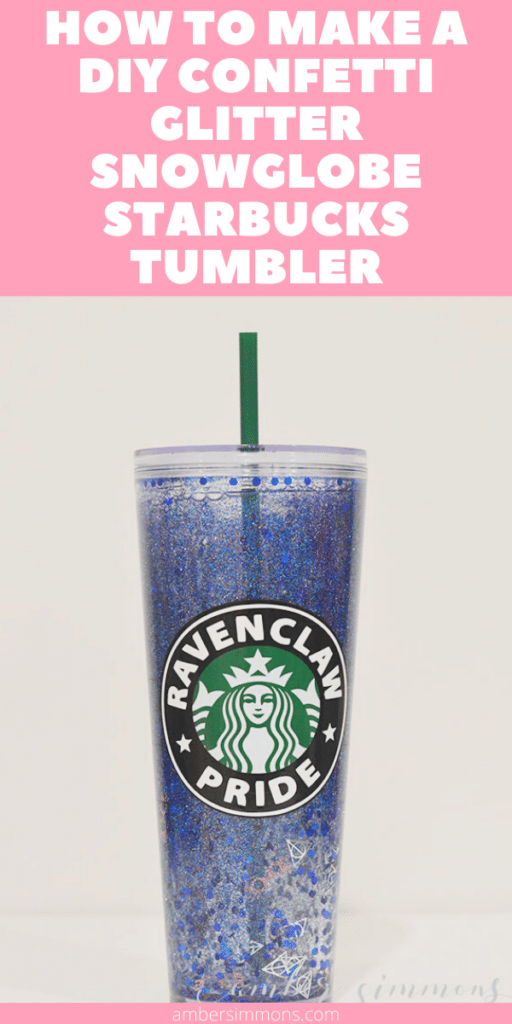
These beautiful Starbucks glitter snow globe tumblers are so fun and easy to make. Plus you can make them any theme that you want.
Seasonal? Check.
Holiday? You got it.
Disney? Umm yes!
I made mine Harry potter-themed because, duh, Harry Potter’s awesome.
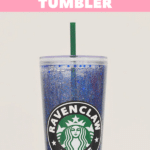
As you can probably tell from the cup I am house Ravenclaw.
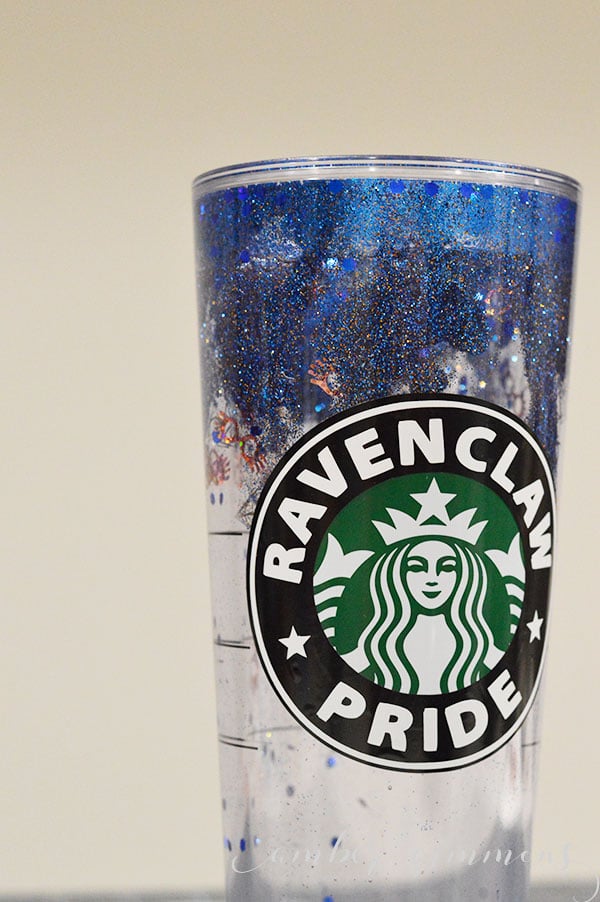
And since my favorite Luna Lovegood is also a Ravenclaw I thought it appropriate to put her cute pink glasses in this cup.
So let’s talk materials. What do you need to make this cup?
Supplies to make a Starbucks glitter snow globe Tumbler
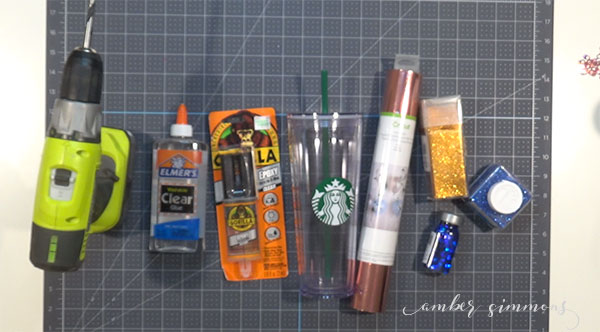
Starbucks Tumbler or another clear double-walled tumbler
Fine Glitter
Chunky Glitter
Cricut Machine
Cricut Party Foil
Cricut Vinyl
Small Funnel or paper cone
Clear Elmer’s Glue
Water
Squirt Bottle with ounce measurements
Epoxy
Clear vinyl scrap
Drill
Wide drill bit
How to drill into a Starbucks tumbler
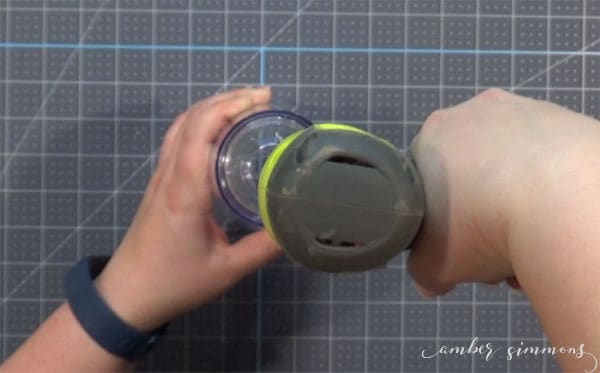
So the first thing you want to do is take the lid and straw off of the cup. Set them aside
Flip the cup upside down.
Now, very slowly and carefully you are going to use the drill and drill a hole straight down into the bottom of the cup.
I used a 5/16 drill bit, but you can use a smaller one if you don’t have something a little larger.
You might need to drill two holes side by side to make it wide enough for your confetti.
If you drill too fast you could go through the second layer. Or crack the cup. Neither of these are things that we want.
You want the hole to be near the edge of the cup.
You don’t want to drill too far down because you don’t want to break through into the bottom of the inner cup.
We are just trying to make it in between the two cups.
I ended up having to use a weeding hook to break it out after I had drilled far enough. It didn’t want to come out on its own.
Now is when we start adding all of the customization.
How to make your own DIY confetti
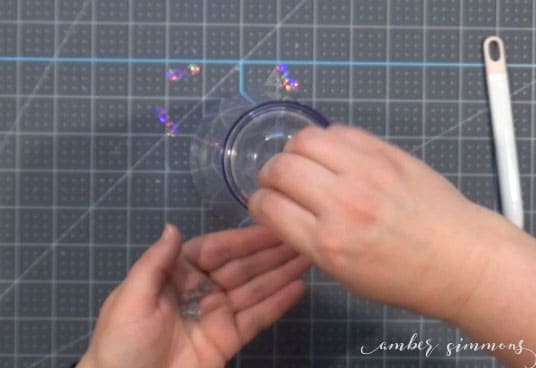
I used Cricut Party Foil and cut Luna Lovegood’s sunglasses out of the pink Cricut party foil. I cut mine .3” high and .78” wide.
And the Deathly Hallows shape out of the silver party foil. Mine were cut .75″ wide.
There is a Cricut Party Foil setting in the materials list on the cut screen. Choose that and they will cut beautifully.
I think they turned out absolutely adorable. So so fun.
After you have those cut out you want to stick them into the hole that you drilled.
The glasses fit in perfectly and the Deathly Hallows just needed a little bend to curve them for the hole.
After I had the confetti in I gave it a good shake to spread them out.
How to fill a Starbucks tumbler with glitter
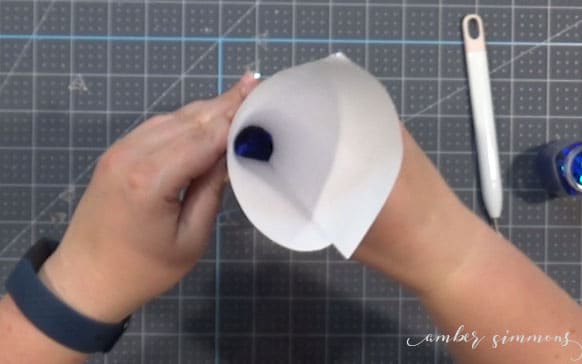
Next, I just took a piece of paper and rolled it into a cone to be a funnel for the glitter. If you have a small funnel this works too.
Now’s the messy part. We want to add the glitter.
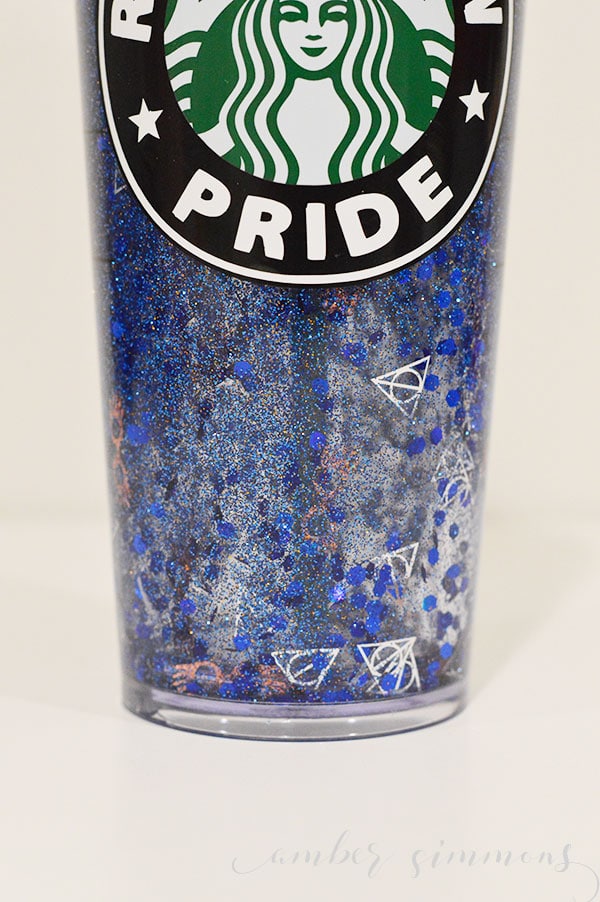
Ravenclaw house colors are blue and bronze.
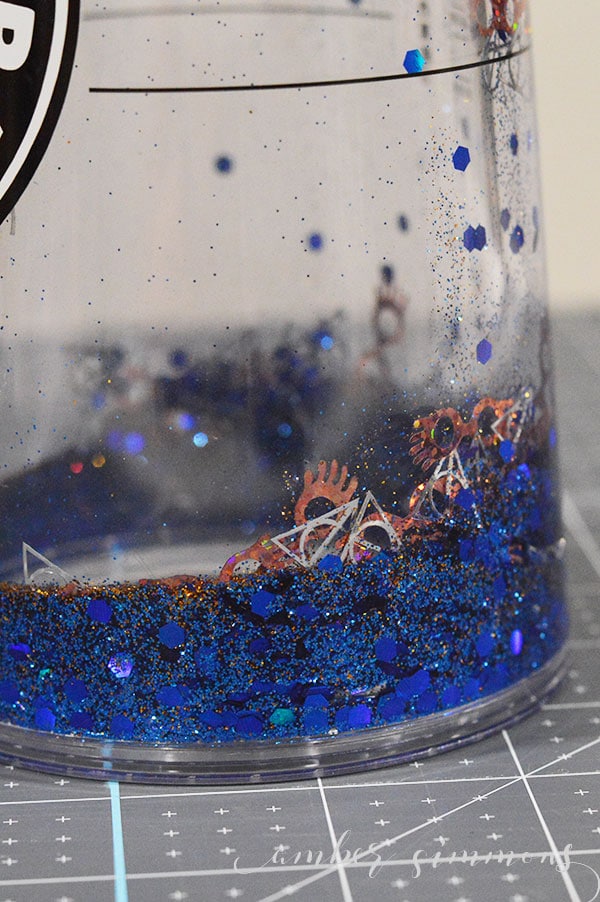
So I added a chunky blue glitter, a fine blue glitter, and a fine bronze glitter.
Just keep adding glitter a little at a time until you have a good amount.
I was using a Starbucks Venti cup and probably added a teaspoon or two of each.
I didn’t measure, this is just to give you an idea of how much.
If you are using a smaller cup, use less glitter.
Be sure to give it a good shake to mix it about.
You can cover the hole that you drilled with your finger and give it a really good shake.
Once you think that you have enough glitter in there you can start adding your water mixture.
I ended up with about an inch of glitter at the bottom.
What do you put into a Starbucks glitter snow globe tumbler?
To make your water mixture you need water, clear glue, and a squirt bottler with measurements.
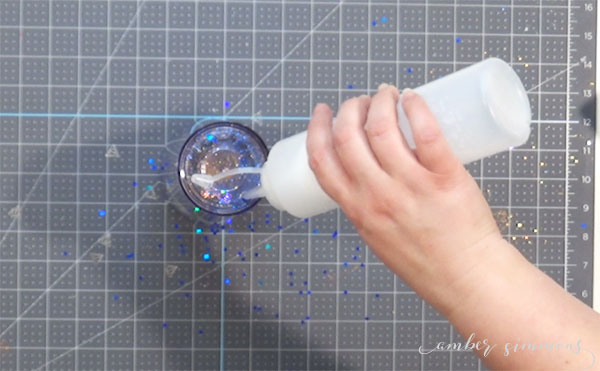
If you already have a squirt bottle that has measurement lines that would be helpful.
I didn’t so I took a condiment bottle that I bought at Dollar Tree and poured 2 oz of water in and drew a line and labeled it 2 oz.
Then I added another 2 ounces and drew a line that I labeled it 4 oz. I kept doing this until the bottle was full.
I put 4 oz of water and then two ounces of clear Elmer’s Glue.
The glue makes the water thicker and gives it a nice viscosity to suspend the glitter longer.
Then I put the lid on the squirt bottle, put my finger over the spout, and gave it a really good shake to mix the water and glue.
When the glue was incorporated into the water it was time to add it to the tumbler.
Using the squirt top of the bottle, I put that into the hole in the bottom of the cup and slowly squirted some glue water in.
I squirted in enough to be about an inch of water and then put my finger over the hole and gave it a good shake to try and incorporate the water into the glitter.
Continue filling the tumbler with the glue water until you reach the top.
I tried to have as few air bubbles as possible but I think that makes it a little harder to get my glitter moving.
So if you want to make it a little bit easier don’t worry about making sure all of the air is out of the tumbler.
When you have enough glue water inside your tumbler, it’s time to seal it.
How to seal a Starbucks glitter tumbler
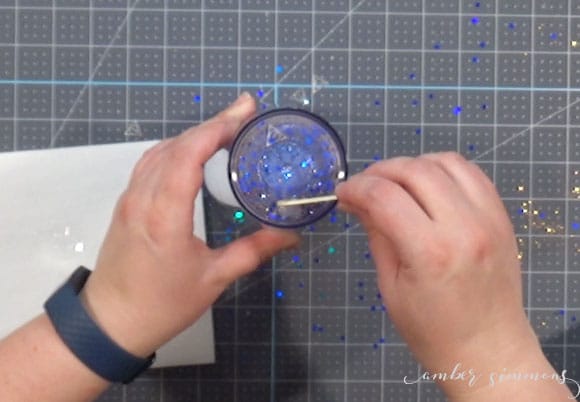
Dry the area around the hole completely.
You don’t want any of the glue water on the outside of the cup mixing with your epoxy seal.
To seal it you want to take a scrap of clear vinyl.
I just used some clear contact paper.
I cut a little piece to overlap the whole and then stuck it down.
When buying epoxy you want something that is clear and waterproof. I went with the Gorilla Glue Epoxy.
Next, you want to squeeze out just a little bit of epoxy on to something you will throw away, about a quarter size, and mix it together.
When you’re ready to put it on just put it over the top of the clear vinyl.
It probably couldn’t hurt to put a little on the bottom of your vinyl around the hole as well, if you want to be double protected.
If you don’t put a barrier such as the clear vinyl before you put the epoxy on then your epoxy will start dripping into your cup.

I wasn’t even thinking about that and I ended up with an epoxy booger inside my cup.
It’s fine. You can hardly tell once the glitter is moving.
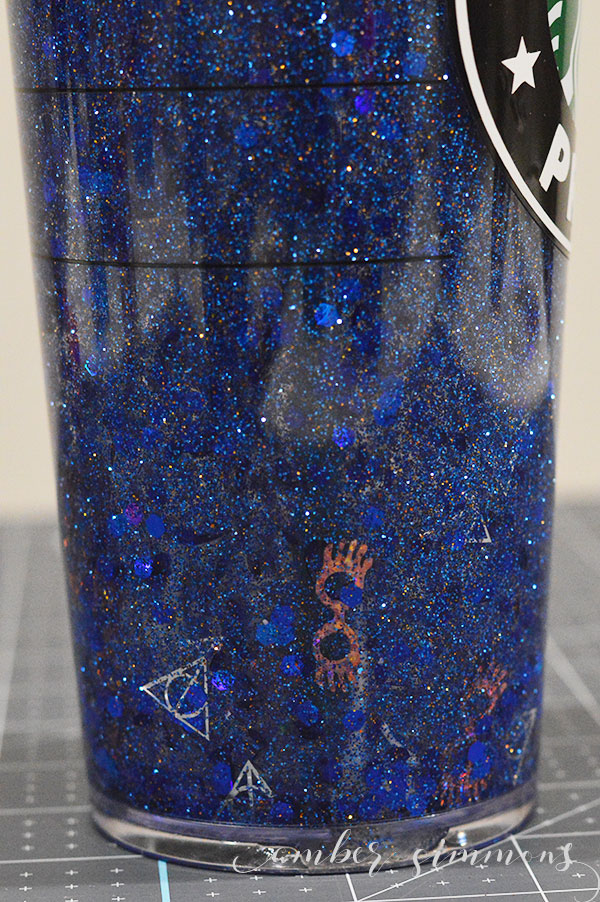
So don’t make the same mistake like me and be sure to put some clear vinyl before your epoxy.
Cover the whole piece of vinyl with epoxy and off the edges of the vinyl as well. You want a good seal.
Let the epoxy set up for the recommended amount of time.
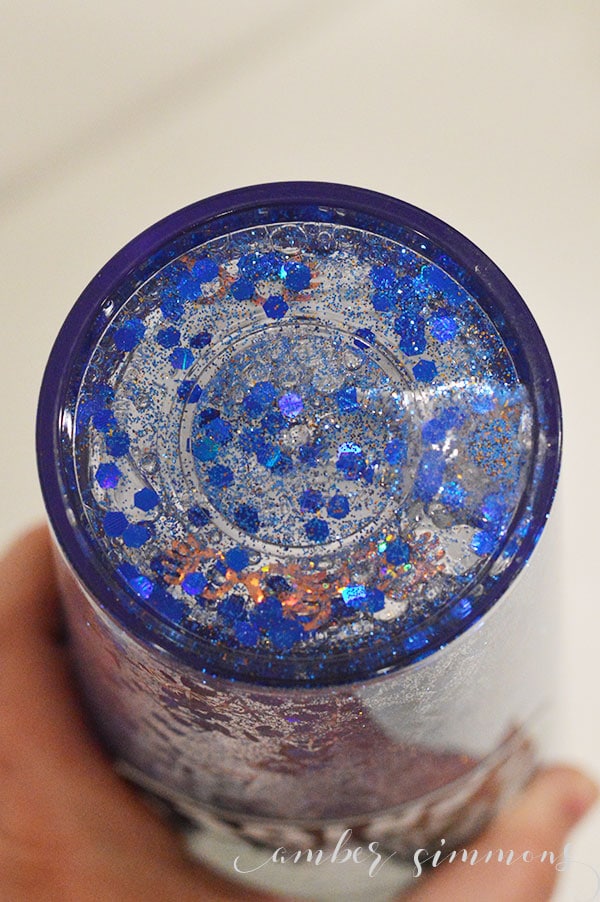
Now you’re done with the glitter snow globe part of the tumbler.
How to add a custom logo to your Starbucks tumbler
For a little extra fun, I added a Ravenclaw Pride text around the Starbucks logo. I got it from this Etsy shop.
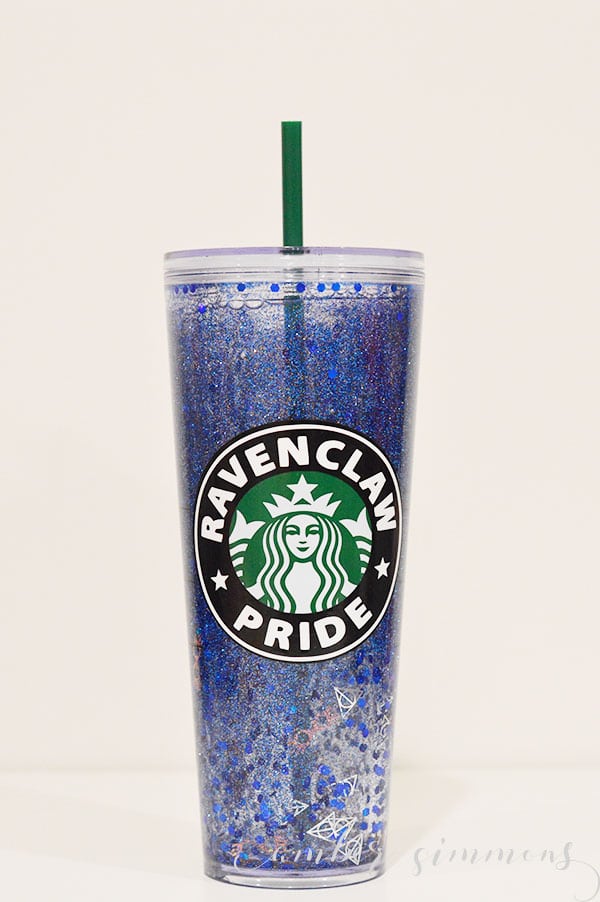
I just use some black and white Cricut vinyl and sized it appropriately.
The Starbuck siren logo is not a perfect circle.
Size yours to 3.654 wide by 3.41 high.
This overlap the logo some but you won’t have any gaps.
Before applying your vinyl to the outside of the cup be sure to wipe it down with alcohol to clean the area so that it is free of any oils or smudges.
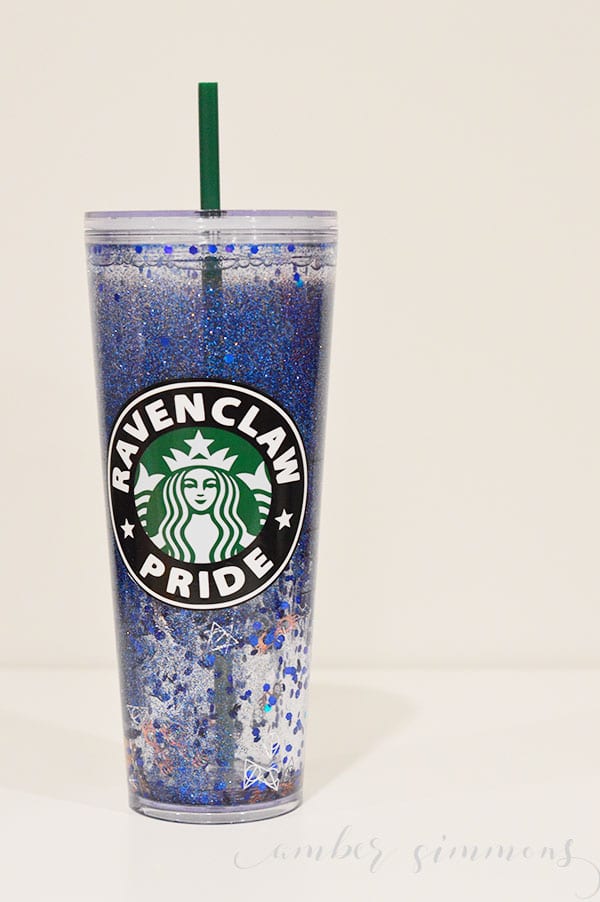
Using the hinge method works great for a project like this.
And that’s it. You have now created a beautiful glitter snowglobe Starbucks tumbler with custom DIY confetti.
This is a one of a kind cup and it makes a perfect gift.
Want more Cricut crafts?

How to Make a DIY Confetti Glitter Snowglobe Starbucks Tumbler

This full step-by-step tutorial for how to make a DIY confetti and glitter snowglobe Starbucks tumbler will have you creating custom cups in no time.
Materials
- Starbucks Tumbler or other double walled tumbler
- Fine Glitter
- Chunky Glitter
- Cricut Machine
- Cricut Party Foil
- Cricut Vinyl
- Small Funnel or paper cone
- Clear Elmer’s Glue
- Water
- Squirt Bottle with ounce measurements
- Epoxy
- Clear vinyl scrap
Tools
- Drill with a wide drill bit
Instructions
- Remove lid and straw. Set aside.
- Turn tumbler upside down and slowly drill a hole, at the edge, through the outer layer.
- When you are through the outside layer, cut and add custom confetti if desired.
- To make confetti use Cricut Party Foil and cut shapes 0.75" or smaller.
- Place custom confetti in the cut hole.
- Using a funnel add glitter until you have 1/2 to 1" of glitter in there.
- Next mix 4 oz of water with 2 oz of clear Elmer's glue in a fine tip squirt bottle.
- Carefully squirt about an inches worth into the hole in the bottom of the tumbler.
- Cover the hole with your finger and give it a good shake to mix the glitter.
- Continue filling the tumbler with glue water until you reach the top.
- Dry the area around the hole that it is clean and dry.
- Apply a small scrap of clear vinyl to the hole.
- Mix and apply epoxy on and around the vinyl to create a complete seal.
- Let it set up.
- Optional: Add text around the Starbucks siren logo.


What tool do u use to make the hole?
I used a small drill bit. You want something big enough to fit your glitter but small enough to make a tiny hole.
I loved your instructions and will be making my own soon but was curious what made you select clear glue and water instead of vegetable glycerin?
I wasn’t able to find any glycerin.
Glycerin is better than the clear glue?
I haven’t used glycerin so I am not sure.
Is there a especial glitter for this? I tried the glitter for crafts and it gets like lumpy 🙁
No special glitter. I just used glitter from Michael’s. Some of it came from the tumbler aisle, but I don’t think it’s any different than other glitter.