
This tutorial for how to make a long sign with the Cricut Maker 3 and Cricut Smart Vinyl will have you making projects in no time.
The thing that is really exciting about the Cricut Maker 3 is that it is compatible with Cricut Smart Vinyl.
That means that you can cut a design as long as your piece of vinyl.
You are no longer restricted to the length of the mat.
I was super excited to give it a try for this project.
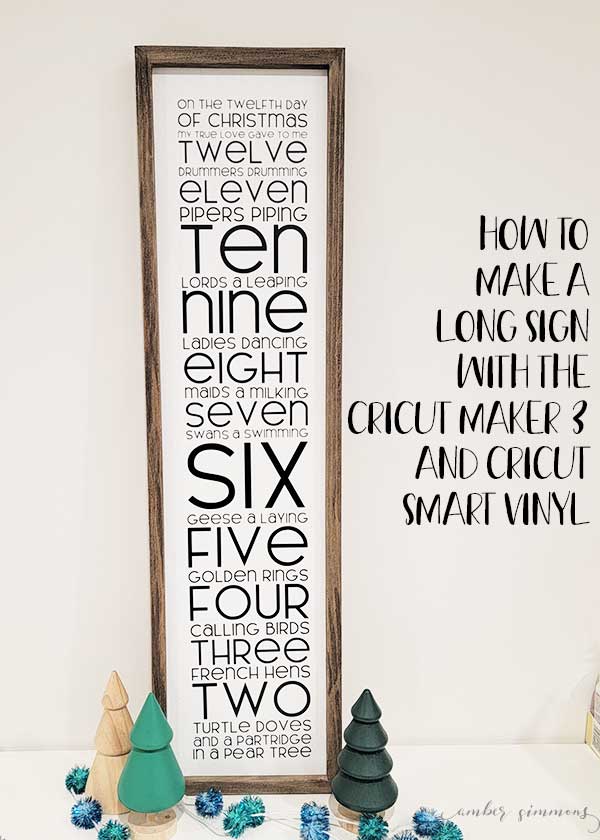
I decided to do a cute Christmas sign.
I bought this wooden sign at Hobby Lobby.
It is 29 inches long, which means that it is too long for the 24 inch Cricut mat.
But a perfect project for the Cricut Maker 3 and the Cricut Smart Vinyl.
I decided I wanted to do the lyrics to The 12 Days of Christmas.
Materials
Cricut Maker 3
Cricut Smart Vinyl (Black)
Cricut Transfer Tape
Cricut Roll Holder
Weeding tools
Cricut scraper
Washi tape
Wooden Sign
12 Days of Christmas design
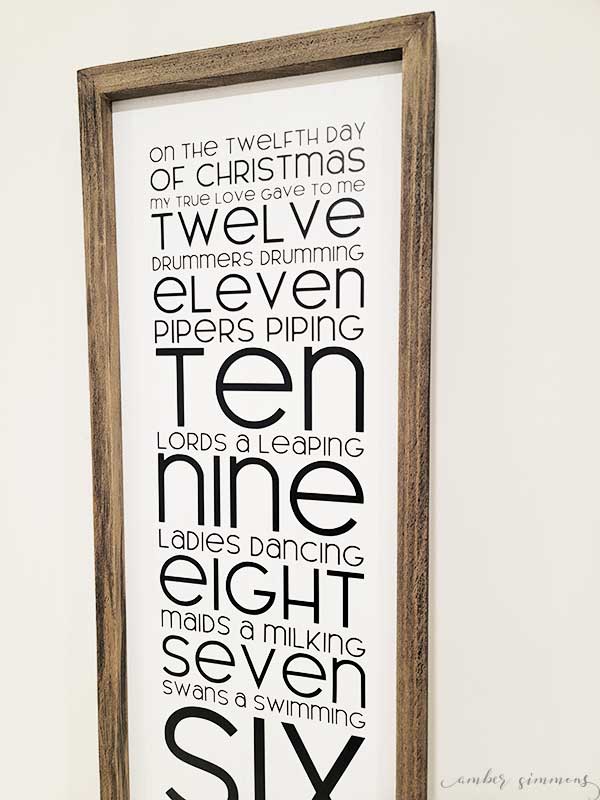
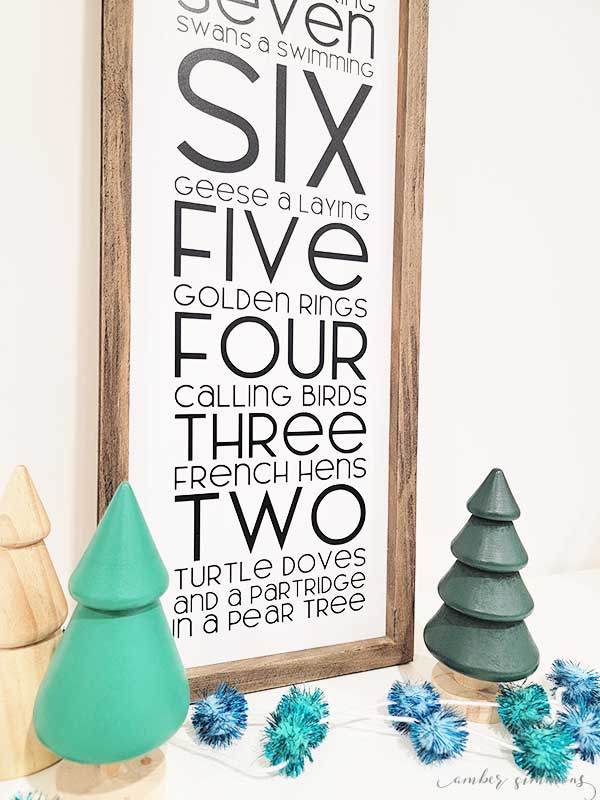
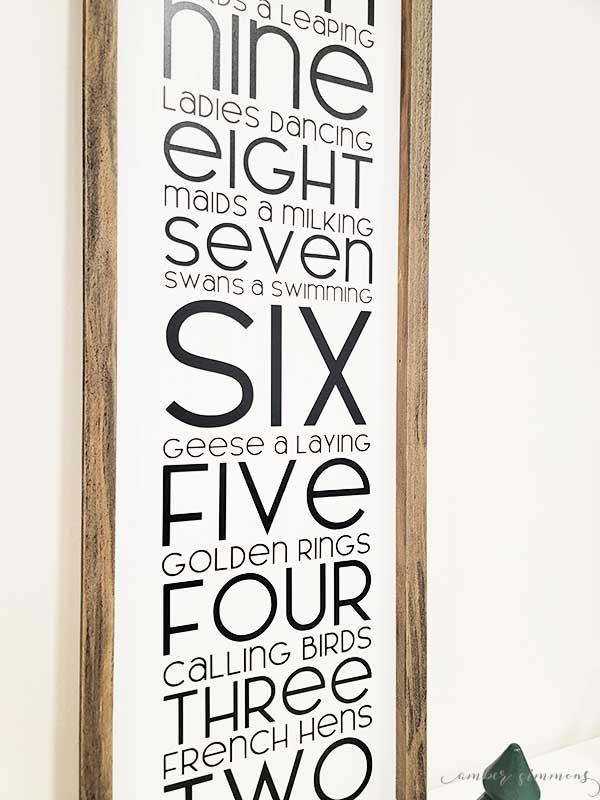
I typed them out with each line being in a separate text box so that I could resize it separately.
Each line is 5 in wide for this project and they are all centered.
Be sure to attach it all to the mat before cutting so that everything stays in place.

How to Use Cricut Smary Vinyl
When you’re ready you just feed the vinyl into the machine.
The Cricut Maker 3 will then measure to make sure that there’s enough vinyl to complete the project.
This is where having the vinyl holder attachment for the Cricut Maker 3 would come in very handy.
At the time that I made this sign, I did not have that and the Cricut machine accidentally knocked my roll of vinyl onto the floor.
Luckily there’s carpet on the floor so it didn’t roll very far.
Once the machine has double-checked that there is enough material to cut the entire design it will get to work.
After the machine has cut the vinyl you simply unload the vinyl from the machine and get ready to weed.
The Cricut Smart Vinyl weeded so beautifully.
It was a quick and easy process.
Then I put Cricut transfer tape over the top of the design.
Next, I centered my design in my sign and taped it across the center with some washi tape.
I wanted to be sure that it wouldn’t move while I worked from the outside in.
How to Use the Hinge Method for Vinyl
I used the hinge method. That is where you take your design in place and then work in sections to apply the vinyl.
You do this by taking the vinyl on the transfer tape and cutting the vinyl backing paper away so that you can simply lay the transfer tape down with the vinyl design.
Working in smaller sections makes it easier to keep big designs straight and to not get it bunched up on itself.
I think it turned out wonderfully. I can’t wait to get some Christmas decor out and make things festive around here.

Be sure to check out my other super popular Christmas posts.


Leave a Reply