
This is DIY I Lava You Shirt is great for Valentine’s Day for boys and girls.
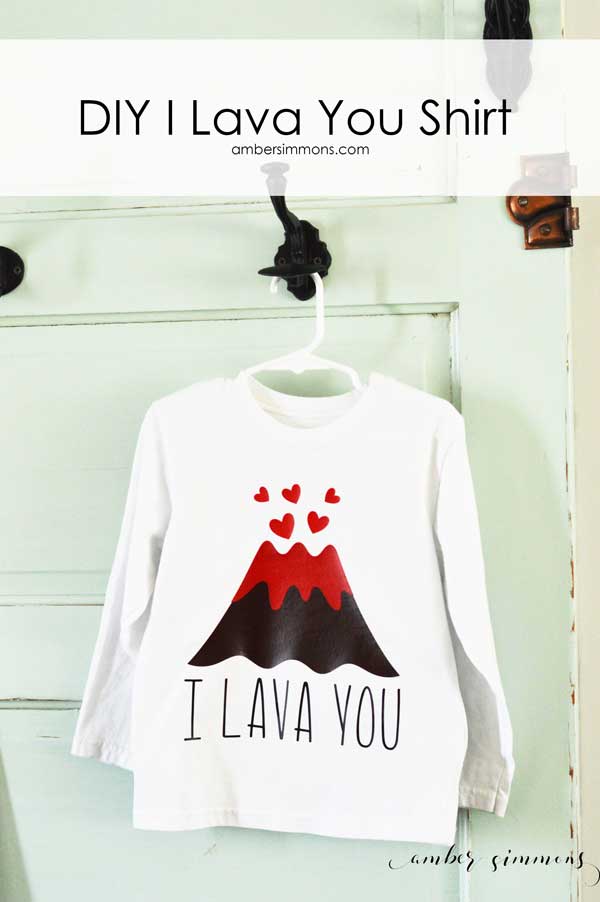
Have you guys seen that cute Disney short with the volcano? I love it. How cute is a volcano that says “I lava you”? You can see it here.
So I have been wracking my brain to come up with something cute for Valentine’s Day.
I don’t know why shirt didn’t come to me sooner. Haha. We’ve all been there, right? Making things way more complicated then they need to be.
So I went into Cricut Design Space and whipped this cutie up. Here’s how you make one of your own.
SUPPLIES
- I Lava You Cut File
- Red iron-on
- Brown iron-on
- Black iron-on
- Cricut machine
- Easypress or iron
- Blank shirt
Note: If you are looking for blank toddler shirts I get mine at WalMart. They are Garanimals brand. The shirt pictured is a 5T.
This design is already mirrored for you. All you have to do is make sure it’s the right size and click Make It.
Set your machine to cut iron-on and be sure that your fine point blade is in. And away we go.
If you are new to iron-on the shiny side should be down. That’s your transfer tape and you don’t want to cut through that.
After you have cut your images it’s time to weed. I like to use my hook and put a hole in the corner so that I can hook the extra iron-on and start pulling it up.
Once you have all the extra iron-on weeded out it’s time for the fun part.

Set your Easypress or iron to the recommended temperature and wait for it to heat up.
Place your shirt on the surface where you will be applying the iron on. Smooth it out so there are no wrinkles or seams under your design. Then run the iron or Easypress over the area for a quick press to release any wrinkles and heat the shirt. You want to preheat your shirt because this will force any moisture out of it. You want your shirt as dry as possible for the best results.
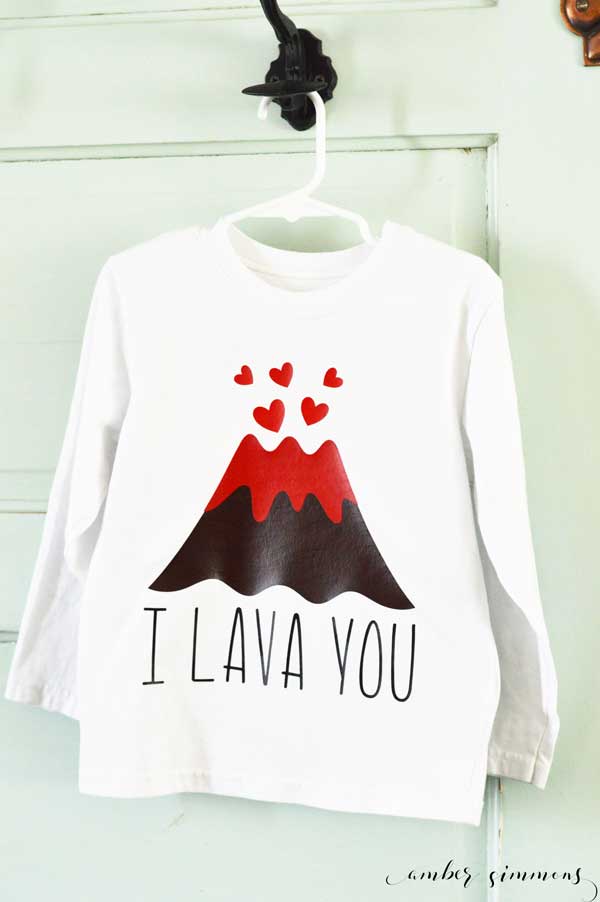
Now, for this design, since it’s layered you want to start with the bottom layer, which is the brown volcano. I laid my red layer on top of the brown, they kind of stick together, so that I could make sure there would be plenty of room for the lava above my volcano. Once I had it where I wanted it I held the volcano down and peeled the lava off so I was only working with the volcano layer.

Press onto the shirt. Allow it to cool for a minute and peel the clear transfer layer off.
Now you can add the lava on top of the volcano and press.
Finally, add the words and press.
Once your entire design is on the shirt be sure to flip it inside out and do another press over the entire area. If you are using the Easypress complete a timed cycle over each part of the area. Pressing from the inside will help to pull the design deeper into the fibers of the shirt which will make it last longer.
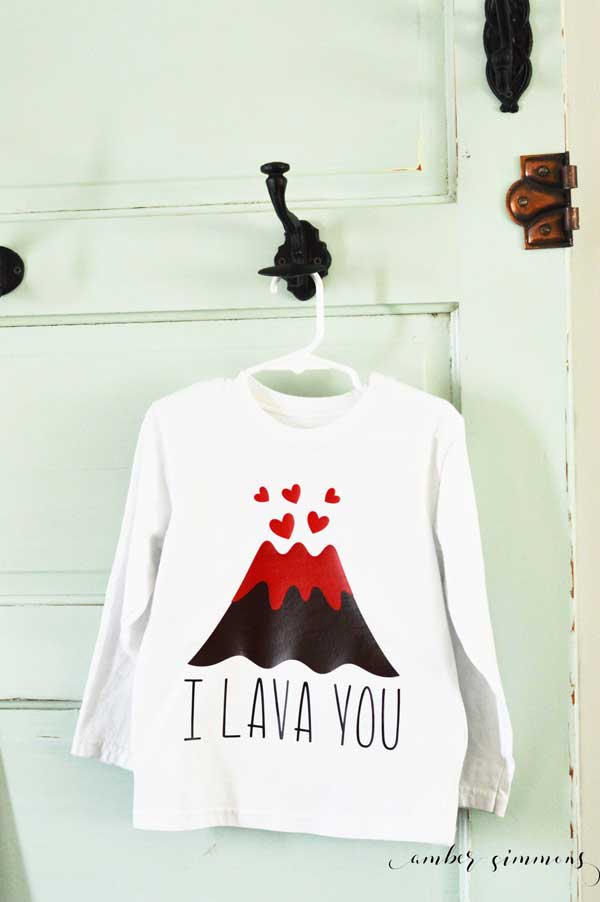
And you are done! Super easy. Super cute!

Need some Cricut Design Space tips? Check out my Cricut Design Space 101 series.
Want more Cricut Valentine goodness? Check out some projects by some other awesome bloggers.
Cricut <3 Be Mine <3 Valentine’s Day Blog Hop
Monday 1/29 Sweet Red Poppy * Amber Simmons * Sew Sophielynn
Tuesday 1/30 Coral + Co. * Patchwork Posse
Wednesday 1/31 The Intrepid Thread
Thursday 2/1 Heather Handmade * Paisley Roots * Pattern Revolution
Friday 2/2 That’s Sew Kari * Maytime Moms * Swoodson Says


[…] 1/29 Sweet Red Poppy * Amber Simmons * Sew […]