
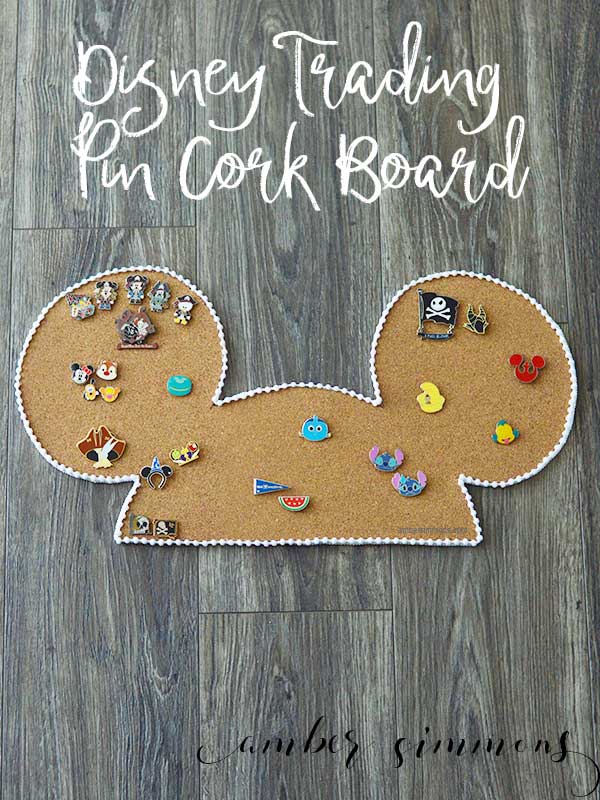
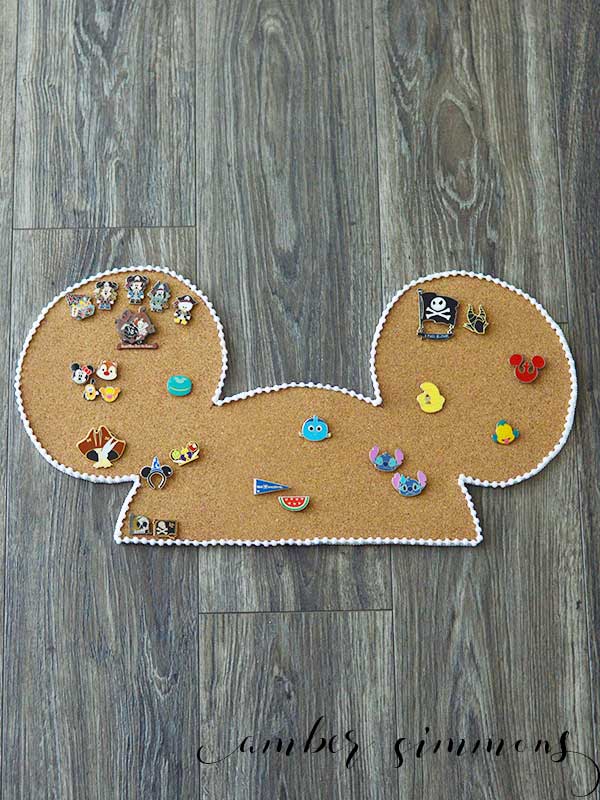
A DIY tutorial for a Disney Trading Pin cork board to keep all your Disney pins together in one magical place.
If you’ve been to Disneyland or Disney World you have probably seen all of their super cute trading pins.
I think they can be found in every gift shop, as well as a few kiosks around the parks.
Maybe you’re into the Disney pin trading scene. Maybe you bought a few for yourself just because they are so cute.
I love the idea of the trading pins. But I always think “what do I do now?”
I decided to make a festive mouse ear shaped cork board to keep all of my Disney trading pins on.
Supplies
Cork roll
Pom pom trim
Hot glue
Hot glue gun
All purpose craft glue
Paper
Scissors
Cricut
Pinboard cut file
I made this with my Cricut Maker. But after several attempts and a lot of wasted cork, I think I would just recommend using the Cricut to cut out the mouse ears design out of paper and use it as a guide to hand cut your own cork board.
To be fair, there is not a cork setting in Design Space. So it is not a material that is advertised to be cut by the Maker. I just wanted to try it out.
Plus since I was using the Cricut Maker I had to use a thinner cork sheeting than I would like. I glued two layers together but I think I’m going to add a third just to make sure the end of the pins don’t poke into my wall
How to make a Disney trading pin cork pinboard
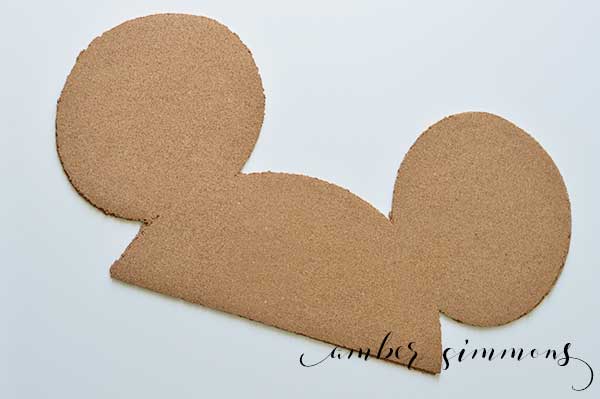
So first you want to cut your mouse ears from paper so you have a pattern.
Since I cut mine with the Cricut maker the biggest I could make it what does 11 1/2 inches high and 23 1/4 inches wide. if you’re using your Cricut to cut the pattern that’s as big as you can make yours as well.
In my cut file, I also have a Minnie Mouse version where there is a bow or just a circle mouse head, not just the ears.
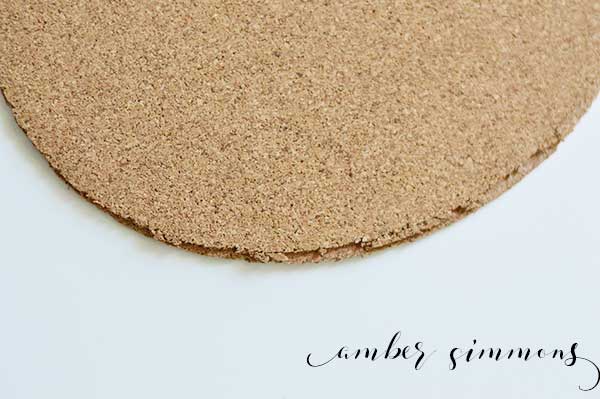
I would recommend for the cork probably at least half an inch. If you buy a thinner one or if what you have is not thick enough you can always glue a layer or two to together with all-purpose craft glue.
The thing about cork is that it’s a bunch of little pieces all stuck together. So when I cut the cork with my Cricut Maker it kind of shredded the edges of my design. As you can see in the picture below.
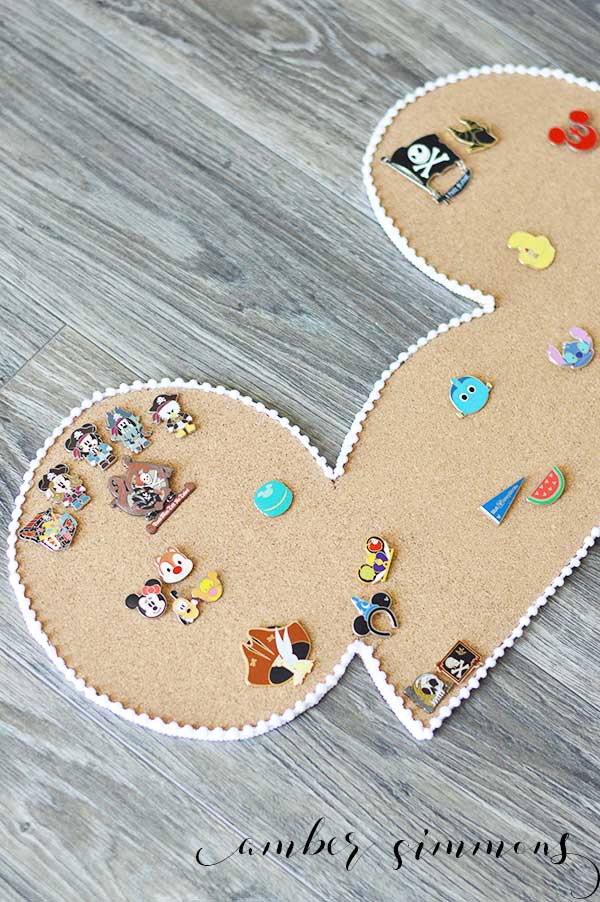
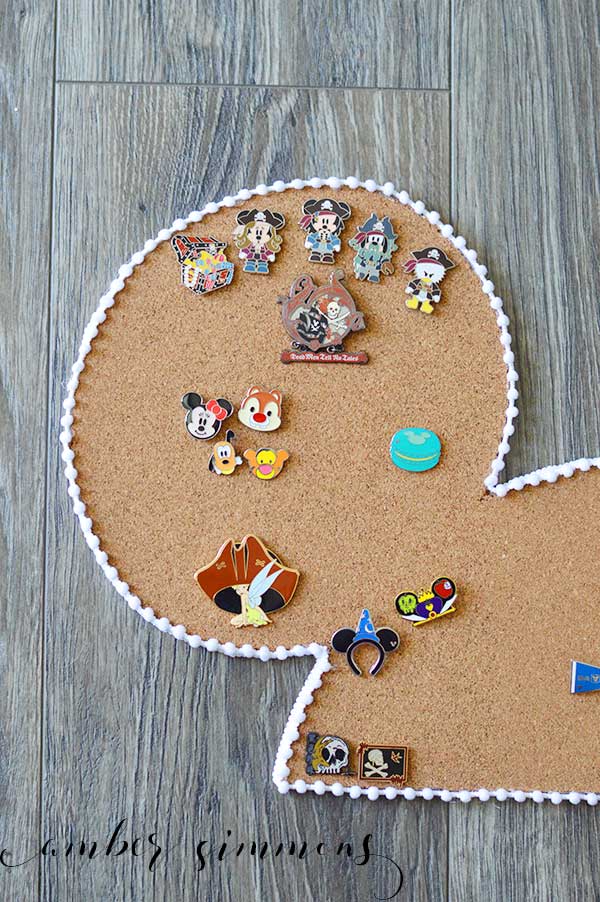
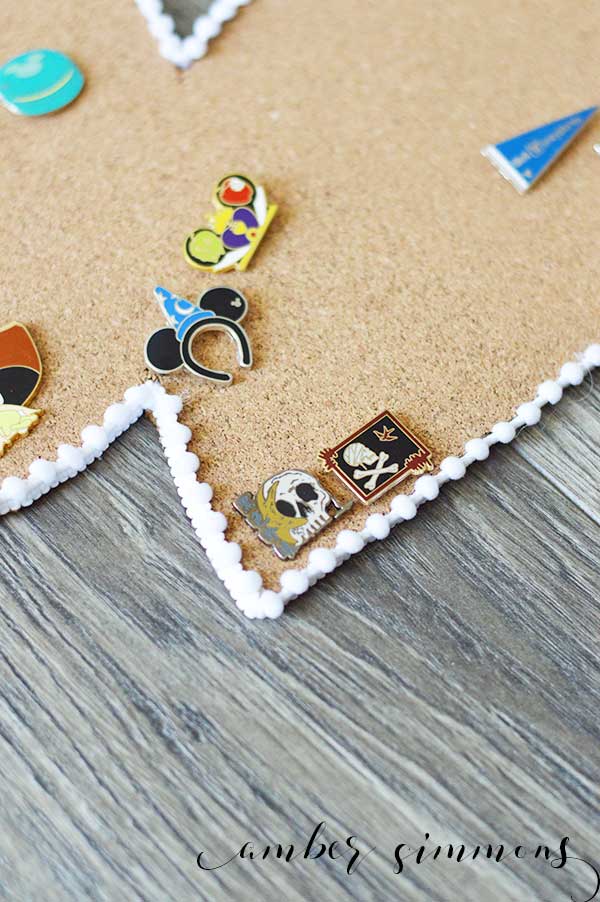
Because of this, I added a pom pom trim around the edge to kind of hide the crumbling edges.
I think it looks really cute with the trim but if you cut it by hand with scissors it’s probably not necessary to add a pom pom trim.
If you would like to put a pom-pom trim on, I just used a hot glue gun. I did little sections of hot glue and pressed the trim into the hot glue and made my way all the way around these cute mouse ears.
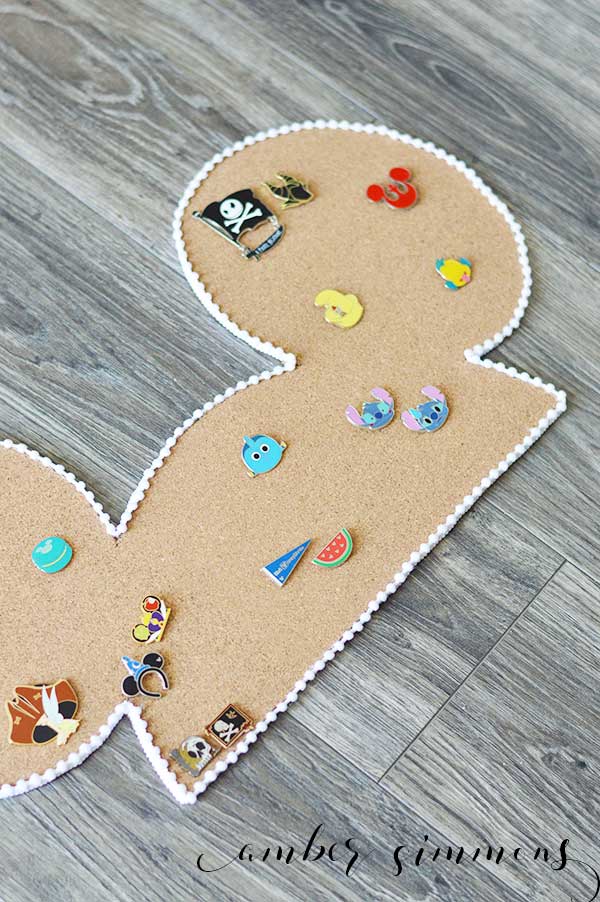
Once you have cut out your cork and added your trim you are ready to put it up and start sticking your pins in it.
It’s just a really fun and magical way to display your Disney themed pins.
Be sure to check out my other Disney posts.

DIY Disney Trading Pin Cork Board
A DIY tutorial for a Disney Trading Pin cork board to keep all your Disney pins together in one magical place.
Materials
- Cork roll
- Pom pom trim
- Paper
- Hot glue
- All-purpose craft glue
Tools
- Cricut
- Scissors
- Hot glue gun
Instructions
- Cut pattern out of paper from Design Space with Cricut.
- Use pattern to hand cut cork with scissors.
- If needed, glue multiple layers together with all-purpose glue.
- Hot glue pompom trim around edge of board.
- Hang and display your Disney Trading pins.

Leave a Reply