A simple tutorial for DIY Halloween rosettes with the Cricut Scoring Wheel.
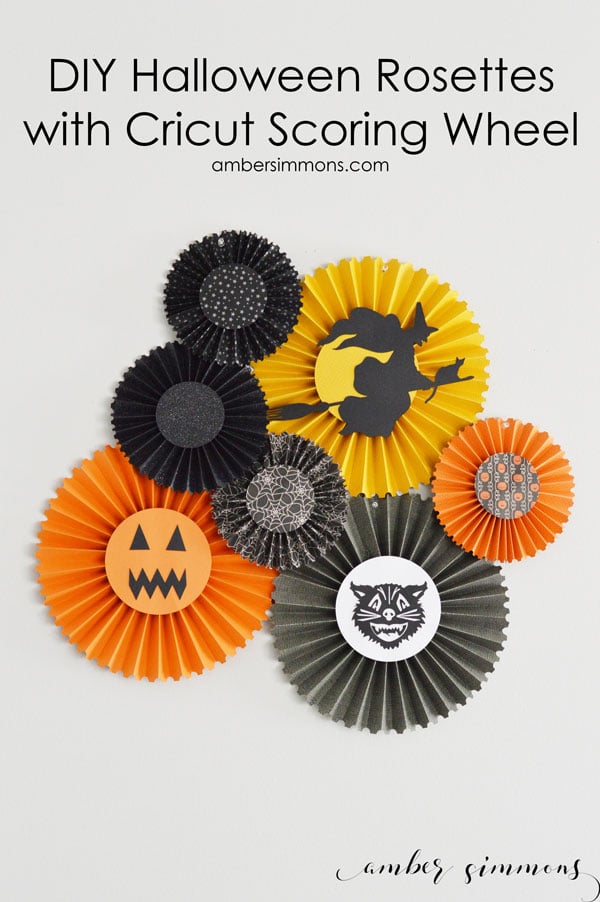
Hey everyone. Today we’re going to be making super cute Halloween rosettes. They’re simple to make, but the real star of this project is the Cricut Maker Scoring Wheel.
It has the ability to put more pressure into scoring than just the scoring stylus alone. That means you can get a really good score on heavier materials like patterned and glitter cardstock.
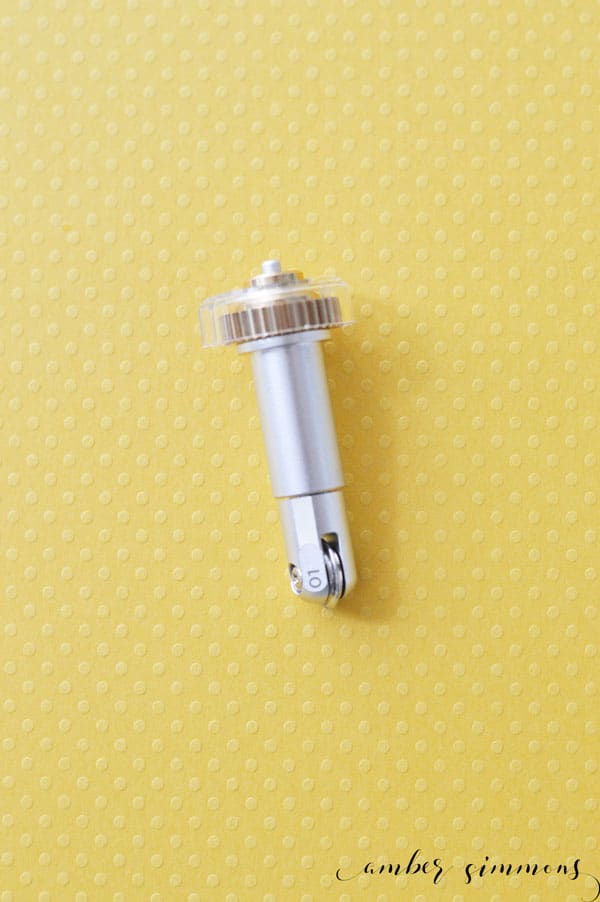 Anyone who has tried to fold a heavier material knows what a crazy hard time that can be if you don’t have a good score.
The Cricut Scoring Wheel can score a single line or a double line. So depending on the material that you were scoring might be best to choose the double line.
For more ideas on what and how to score check out this great YouTube video by Angie of Country Chic.
If you only have the scoring stylus, you can still do this project. I would just be more selective with the materials that you choose.
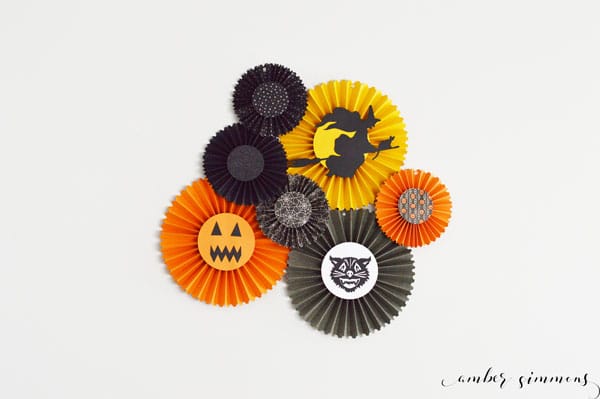
Speaking of materials, let’s check the supply list.
Supplies
Cricut Maker
Cricut Scoring Wheel
Cricut Fine Point Blade
Cricut Light Grip Mat
Cricut Spatula
Assorted cardstock and papers
A thick craft glue
Binding clips (or paper clips)
Stapler (optional)
Halloween rosettes pattern
The light grip mat is important when working with paper. Ideally, it’s not a brand new mat either. Because that is too sticky for paper in my experience. You could also use a well-used standard grip mat.
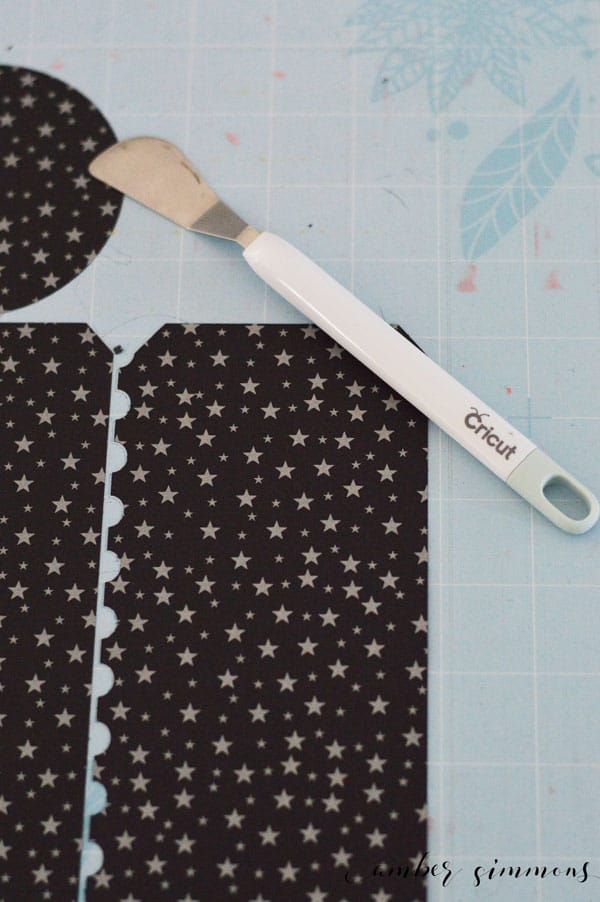
Whatever mat you use you want it to be able to release the paper easily. I do find that every time I use paper I do need to use the Cricut Spatula. Because the stickiness of the mat curls the paper as I peel it off. However, if you loosen it off of the mat with the spatula it remains flat. So the spatula is key when working with paper in my opinion.
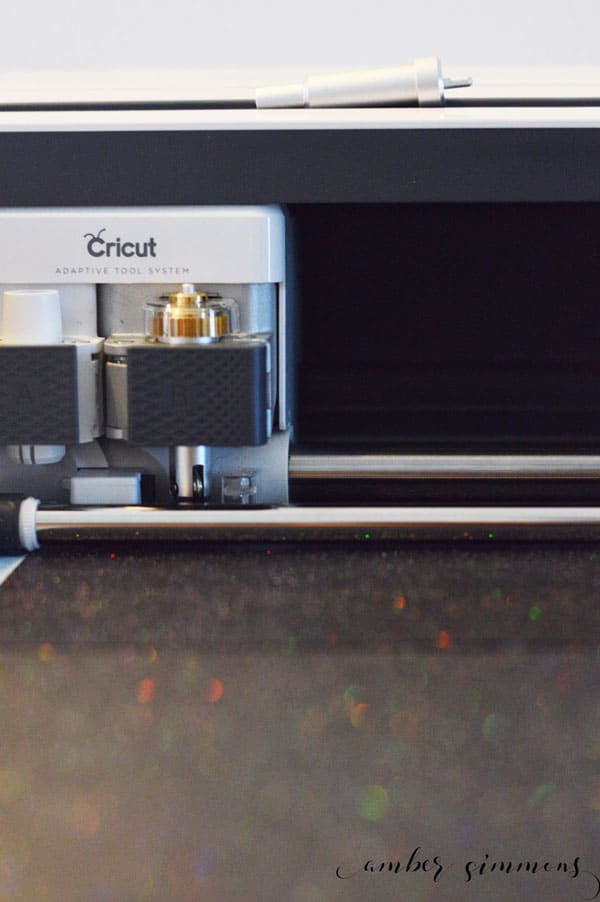
Each rosette is going to cut 6 rosette pieces and two circle pieces. First the Circut is going to do all the scoring. So if you are using the scoring wheel it will stop and ask you to change to the blade when it’s ready to cut.
When you have cut out the six rosette pieces you want to start fan folding them. Back and forth. You also want to make sure you fold all six pieces the same way.
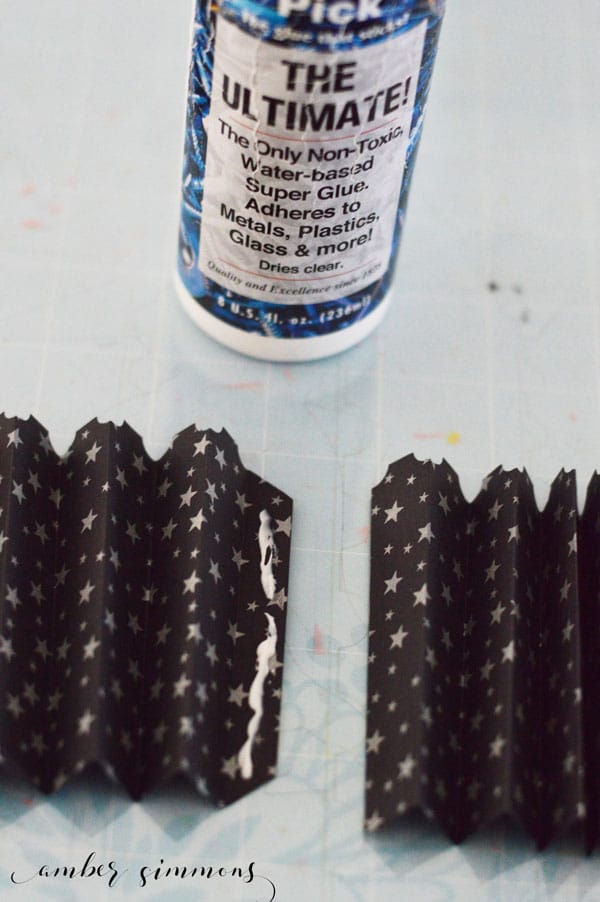
Once you have all six pieces folded, put a little bit of glue on the small tab at the end of the rosette piece. Glue the next piece to the first piece. Make sure the scalloped edge is on the same side. Use binding clips or paper clips to hold it in place while glue dries.
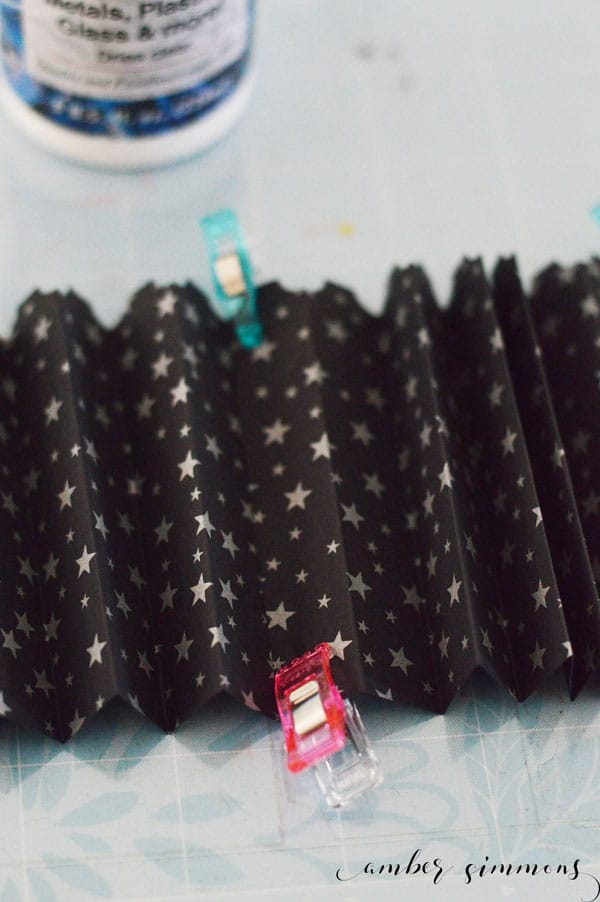
Continue gluing the rosette pieces together. When you have all six pieces glued together, glue the first one to the last one to create a circle.
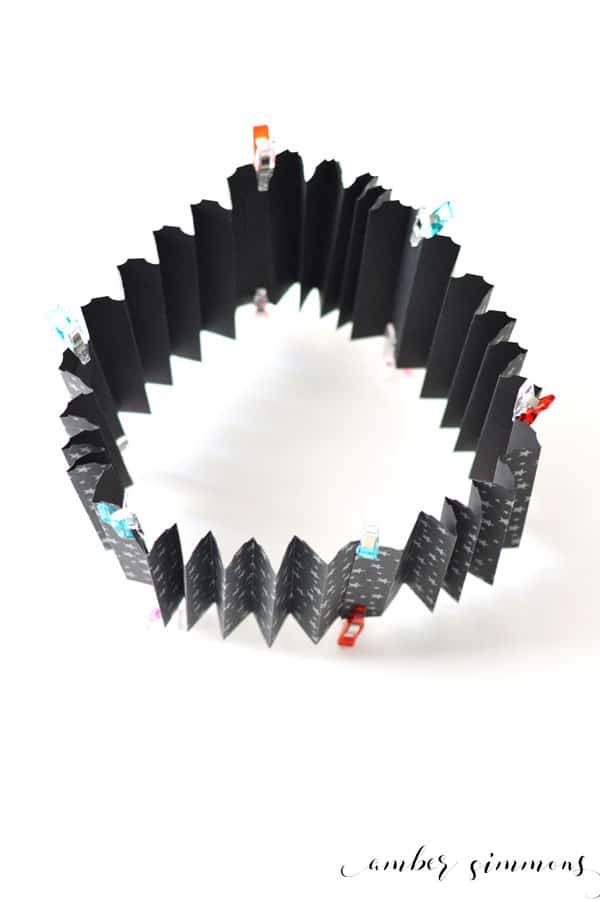
I like to stand it up and let it dry.
Dry time is one reason why we’re using a thick glue. Because it will dry faster than a thinner glue like Elmer’s. Also it won’t warp the paper the same way a thinner glue will.
If you want to speed up the drying process you can also blow dry the seams for a minute.
Or, if you don’t want to mess with glue you can staple all the pieces together. But you will still need glue to finish the rosettes.
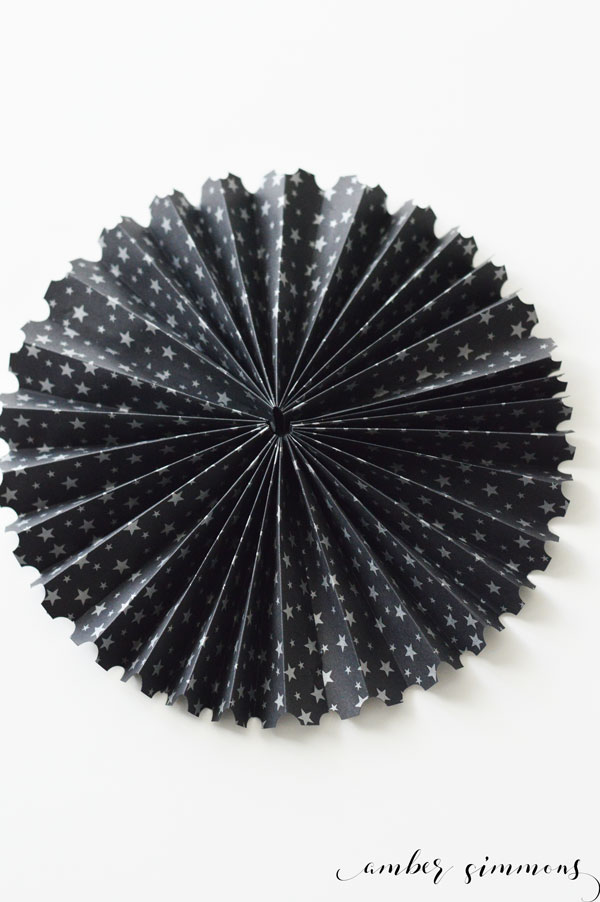
Once it is dry you can take all of the clips off and push it flat. Make sure the flat side is toward the center and the scallop side is the outside edge.
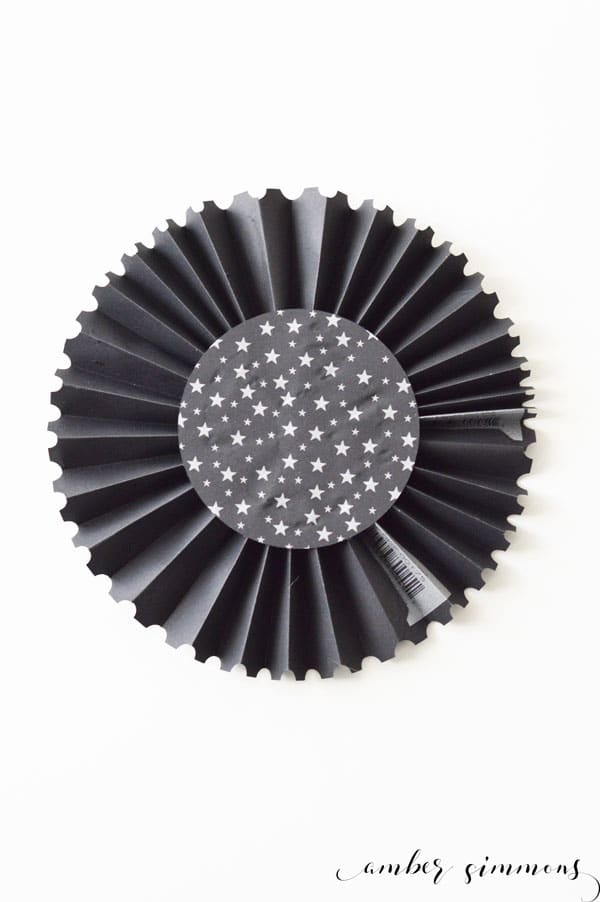
Add some glue to the back of one of the circles. Glue the circle to the center of the back. Allow it to dry for a minute. You can either hold it with your hand or place something on top 2 hold it flat while it dries.
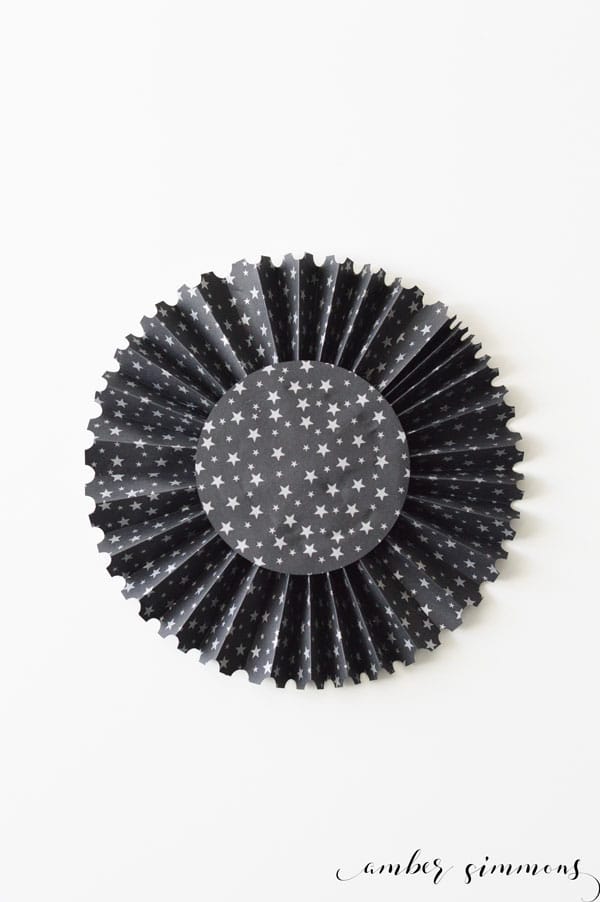
Once the back is mostly dry flip over to the front and glue the second circle to the center of the front. Again wait for it to dry while holding it or placing an object on top.
The rosette is complete!
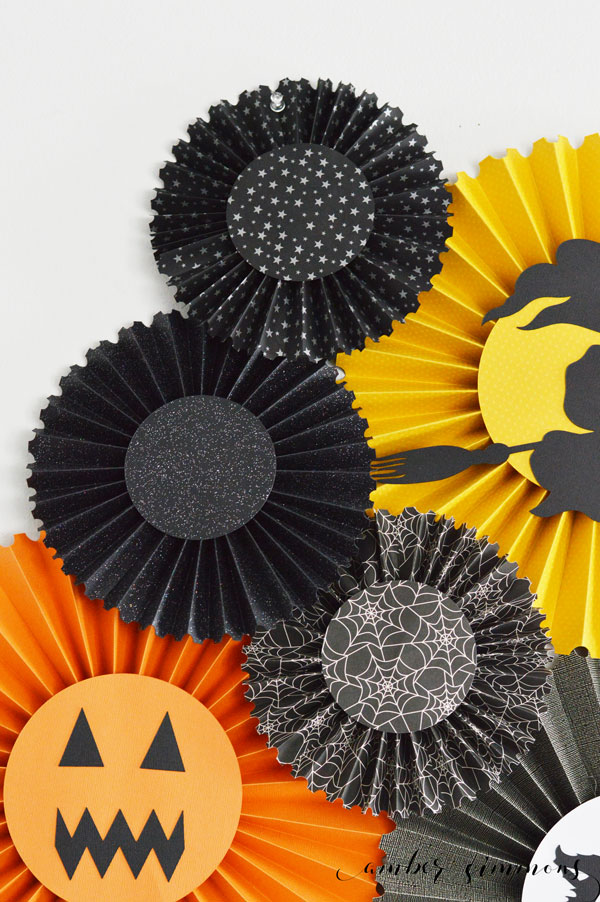
You can leave it this way or you can add something to the center. On the few of them I added some Halloweenie things.
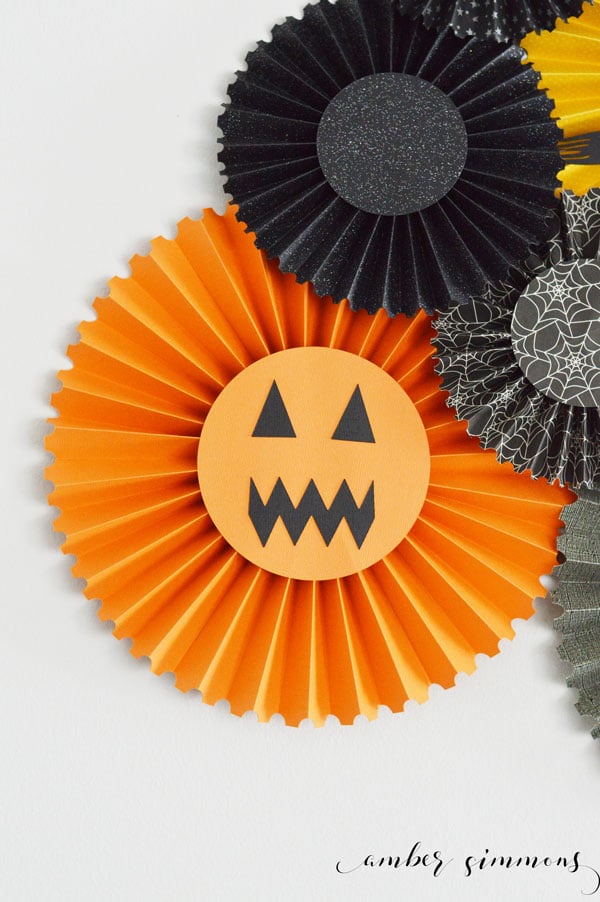
A jack-o’-lantern face.
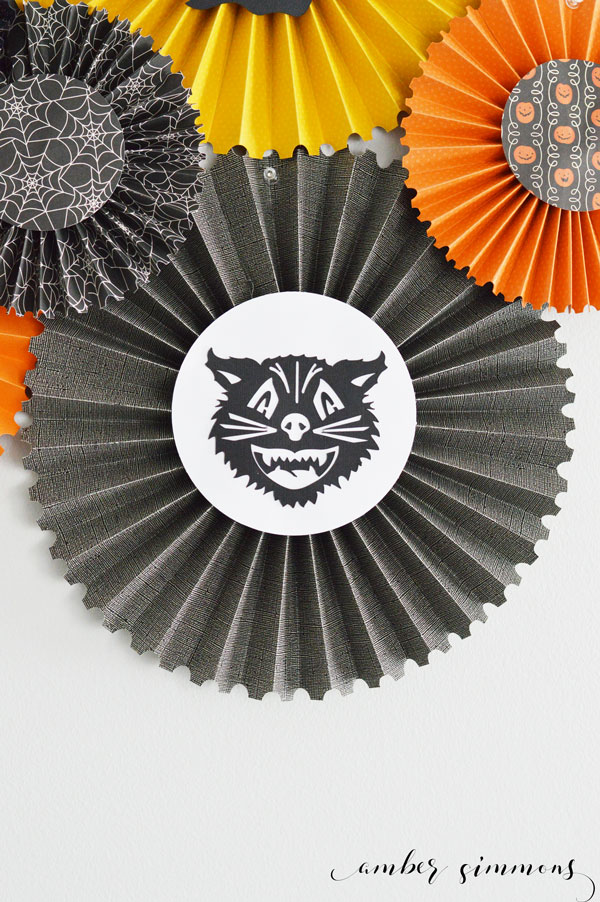
A spooky cat.
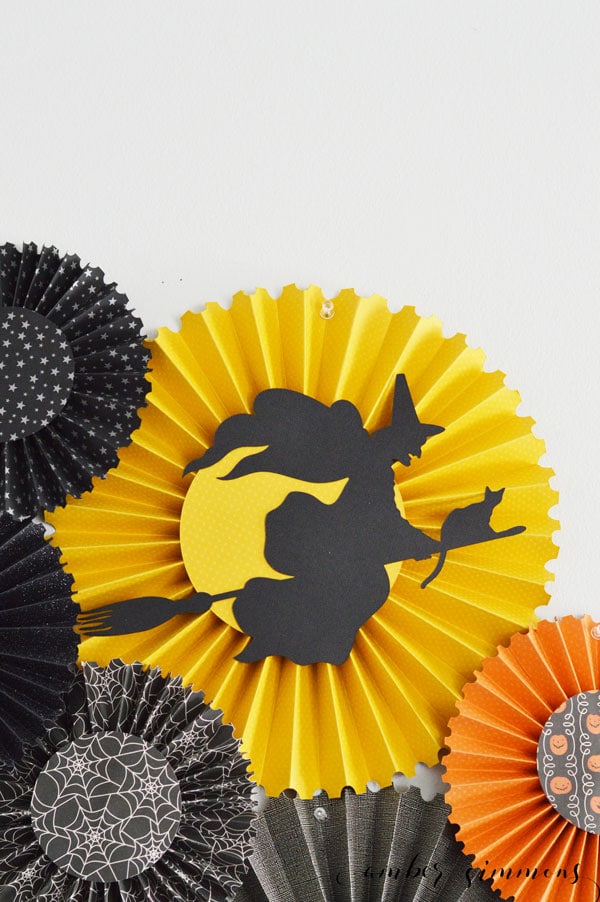
And a witch flying on her broom.
I thought the witch went perfectly on the golden rosette. It looks like she’s flying across the Moon.
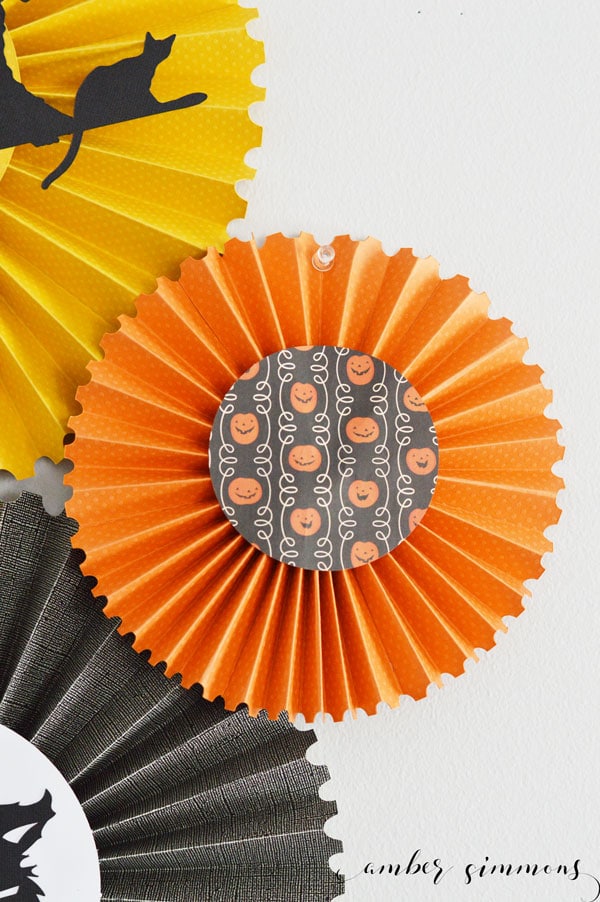
While most of my rosettes the center matches the Rosette, you can always mix it up. I did make one that the rosette that is orange, and the center is a pattern Jack O’Lantern paper. I think it turned out adorable.
When hanging them on the wall I like to use clear push pins. This allows me to pin them directly to the wall without being obvious where the pins are.
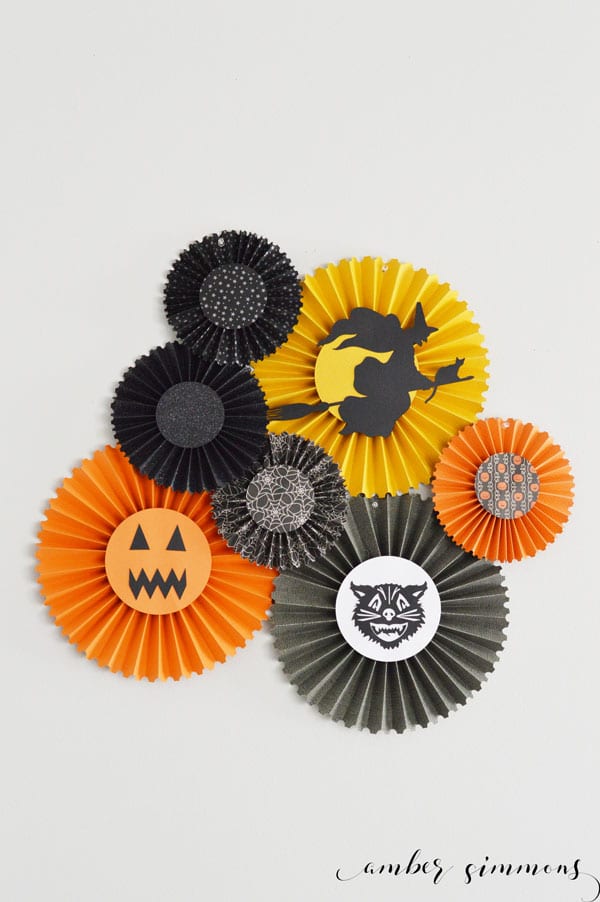
You could potentially even pin underneath the center circle. Depending on how much it’s glued down.
If you like the papers that I used, I just picked them up at my local Joann’s. Some of them are Bazzil. Some of them are American Crafts. I just grabbed whatever looked cute together.
Want more Cricut projects? Click here.
This is a sponsored conversation written by me on behalf of Cricut. The opinions and text are all mine.




Leave a Reply