This tutorial for how to make a DIY nut milk bag is easy to follow. This nut milk bag is the best strainer for homemade almond and cashew milk.
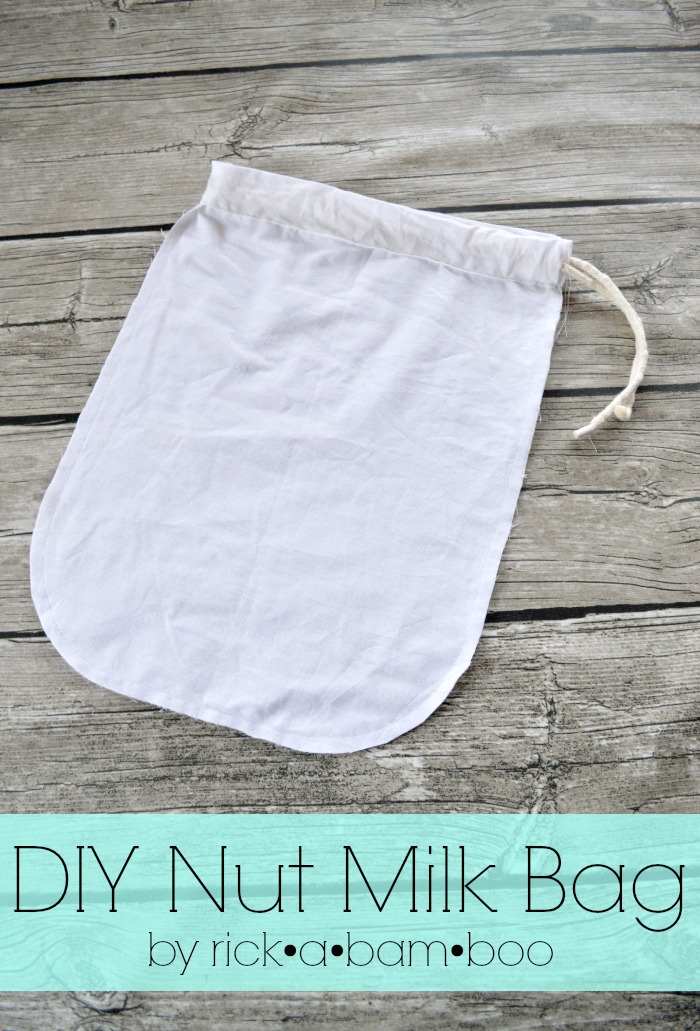
Did you know that you can make milk alternatives at home? It is really simple too. All you need is a blender and a DIY nut milk bag. There are nut milk bags that you can buy, but after looking at some of the options available on Amazon and reading some of the reviews I decided that I would rather make my own.
My nut milk bag has:
- a drawstring, to keep all the pulp inside
- rounded corners, to make it easier to clean the pulp out of the bag
- raw edges outside the bag, to keep the pulp from hiding in the seam
- fabric with a fine weave, to allow only the nut milk to flow through
This is a super simple and easy project. Even novice seamstresses should be able to make a sturdy, functioning nut milk bag. And it’s an inexpensive project. Here’s what you need:
- 1/4 yard muslin
- 1 yard cording
- Plate
- Pins
- Thread
- Sewing machine
- Wash your muslin. You never know what dirt and stuff it could have picked up in shipping or at the fabric store.
- Cut 2 pieces 8 inches by 14 inches.
- Put them together and pin in the center.
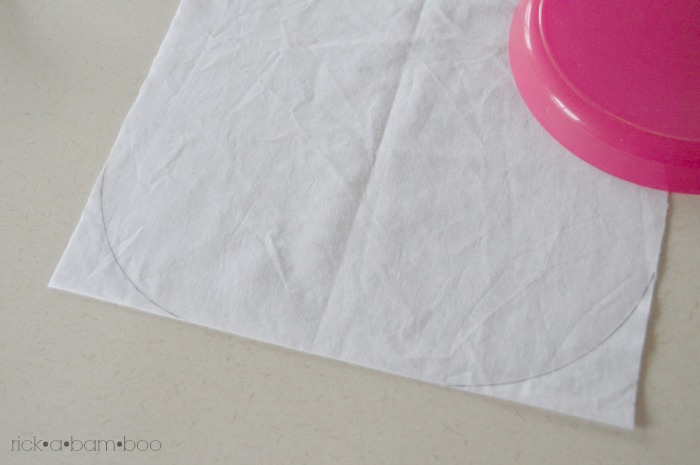
- Using a plate, draw rounded corners on the bottom of the bag.

- Starting 1 1/2 inches from the top, stitch 1/4 inch away from the edge, following the rounded corner line. Be sure to back stitch at the beginning to reinforce the seam. Continue stitching all the way to the top of the other side.
- Fold the top down half an inch, then fold over again 1 inch.
- Top stitch the folded edge down to create a casing for your cording. Be sure not to sew the bag closed.
- There will be an opening on one side of the bag, string cording through.
- Cut the rounded corners along the inside of the line so that you completely cut the line off.
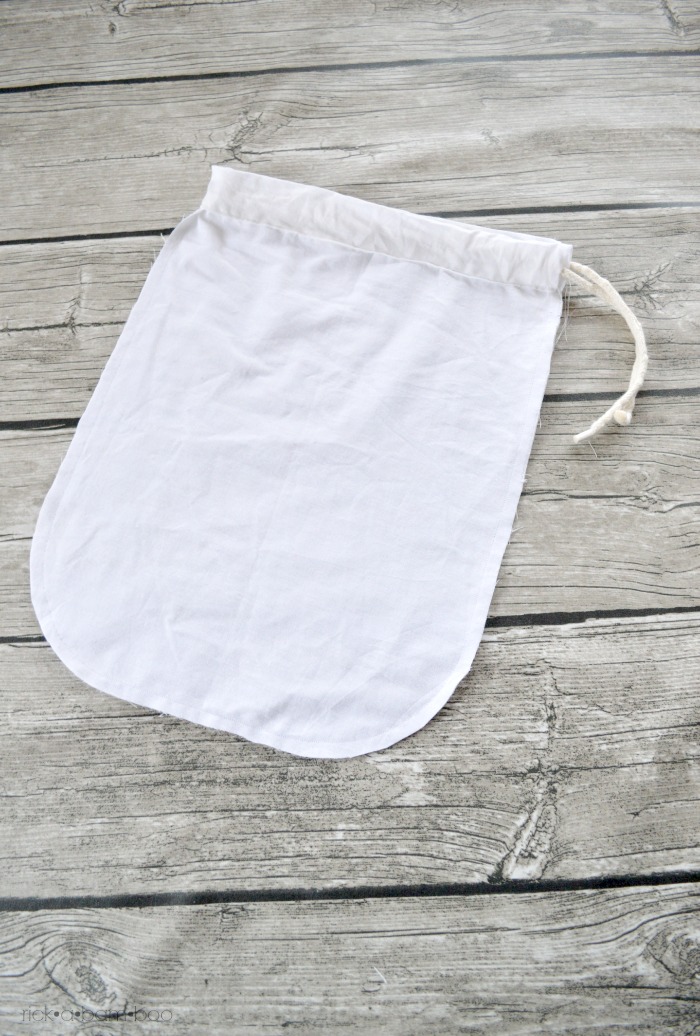
- Your bag is done!
1/4 yard of muslin at Joann’s is about $0.50.
And my cording I already had on hand but I think it was about $1.
So my nut milk bag cost me $1.50 and about 10 minutes of my time. I love projects like this.
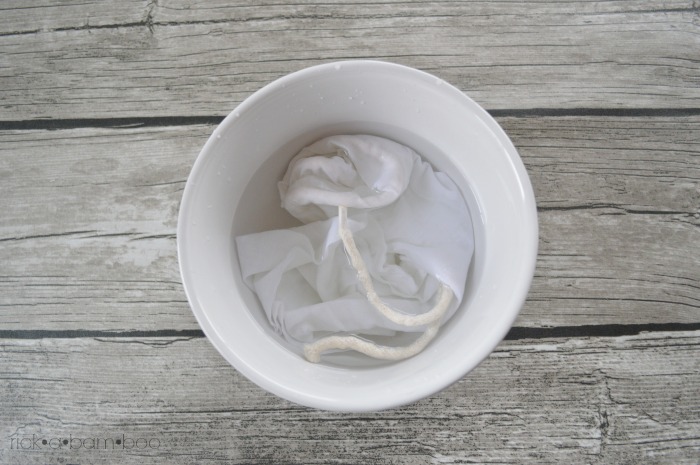
After I finished my bag I soaked it in my DIY produce wash solution, to make it more food friendly.
Then I rinsed it thoroughly and set it out to dry. I put mine on my bottle rack and twig accessory, but you could lay it out on a dish towel.
Once it’s dry you can put it away or put it to use. Although if you are ready to make your nut milk you don’t even have to wait for it to dry.
Now you can make your own all natural nut milks at home. Yum!
Check out my homemade almond milk blender recipe and start using your nut milk bag.
What is your favorite nut milk?

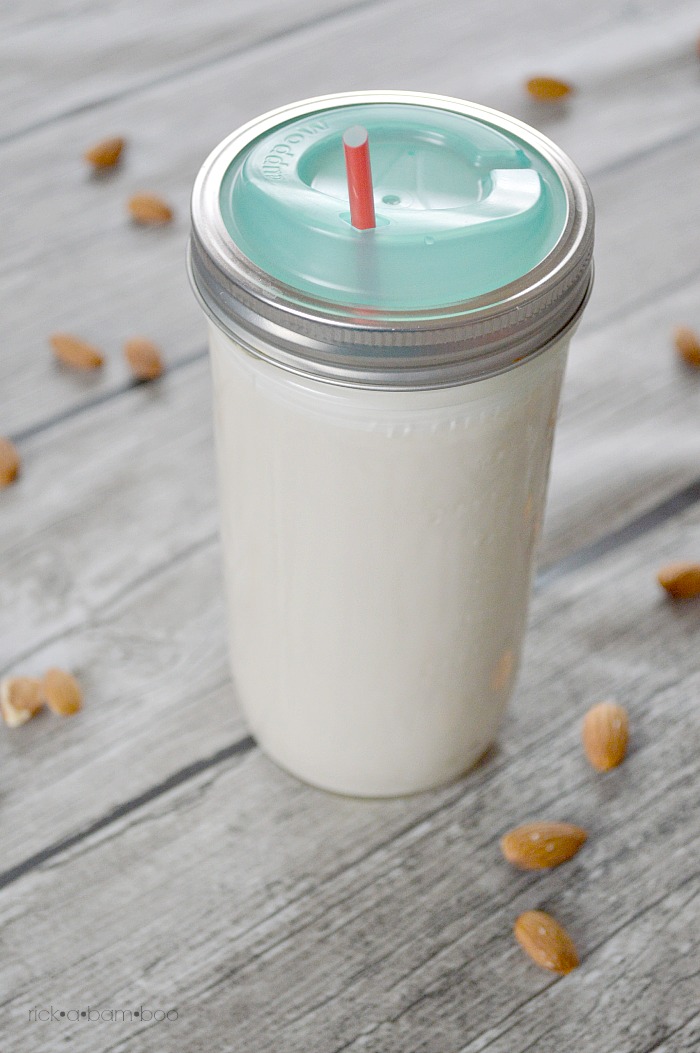


[…] It’s only two ingredients. You will also need a blender and some way to strain the pulp from the milk. Check out my DIY nut milk bag. […]