Help! My iron-on is peeling from my shirts! In this tutorial, you will learn the proper way to apply iron-on to a shirt to make sure it lasts and lasts.
I can’t tell you how many times I have seen someone post this in a Cricut group.
The trick is, that if you apply it properly it really should last wash after wash after wash.
I can’t speak for other brands of iron-on, as I’ve only ever used Cricut iron-on, but it’s very simple to apply and it will last a long time.
You have cut your iron-on, weeded it, and you’re ready to put it on your shirt.
So how do you apply it the proper way?
Make sure whatever you are using to apply it to the shirt is the proper temperature. Whether you’re using an iron, a heat press, or the Cricut EasyPress proper temperature is key.
Using the recommended temperature will allow the adhesive to melt and adhere to your shirt, without melting your design.
the next thing you want to do is make sure that your shirt surface is prepped.
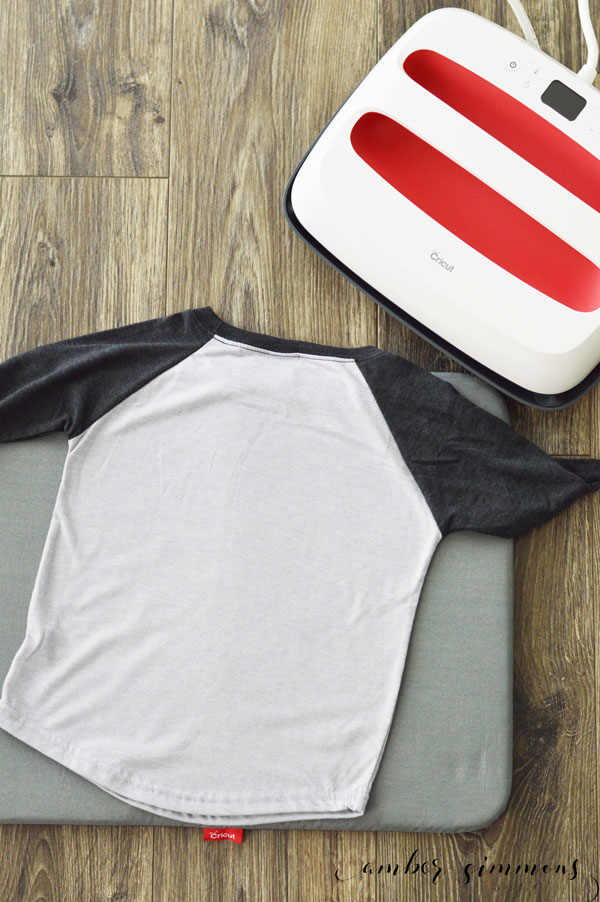
Cricut iron-on officially recommends that you pre-wash. I have never done this. But I can see how starting with a clean surface would be the best option.
You want to put your shirt on your ironing surface. I would recommend not your ironing board. I would recommend putting a towel down on a table or on the floor and laying your shirt on top of it. If you have the Cricut EasyPress Mat this is the perfect surface.
Once your shirt is laid out smooth it so there are no bunches of material or wrinkles.
Then you want to give it a press where you are going to put your iron on design. This pre-heats your shirt.
Pre-heating is a crucial step. And depending on where you live you might need to do it longer.
When you pre-heat your shirt your banishing moisture from the material. In order to get a proper bond between the shirt and the iron on there can be no moisture.
It only takes about 5 to 10 seconds to get it good and hot. However, you can always err on the side of a little bit longer.
Once you press your shirt, immediately put your iron on design in place.
Once you have it where you want it to be, begin your press with your heat source.
You want to follow the recommended guideline for your iron-on and shirt material. If you are using Cricut iron-on you can find their EasyPress recommendations here.
I use a lot of Cricut iron-on lite on cotton shirts. Cricut recommends a 5-second preheat and a 30-second press at 315 degrees for this material combination.
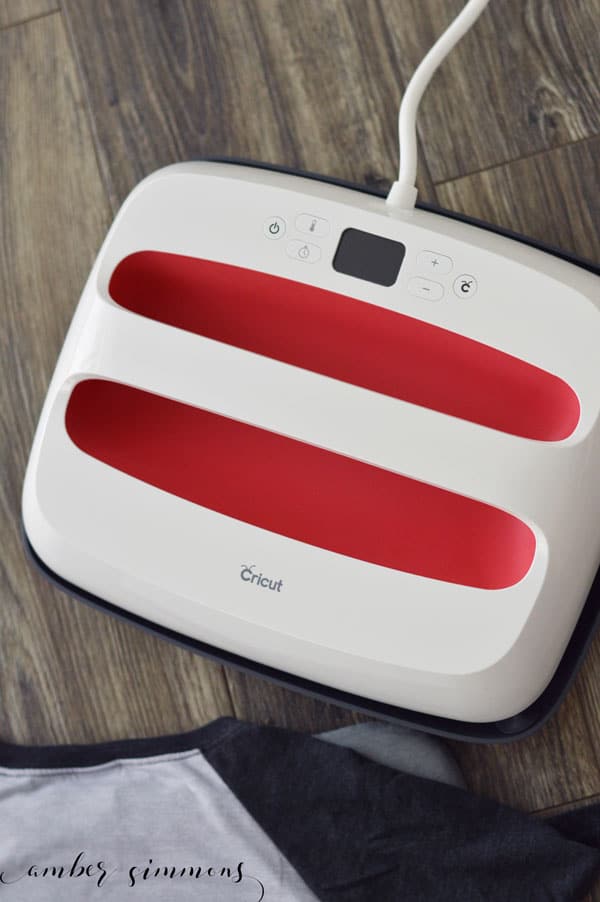
If you’re using the Cricut EasyPress you can simply set your temperature and your time. the great thing about the Cricut EasyPress2 is that it will hold your last used setting for the next time you turn it on.
Once you have done a press from the front you’re going to want to turn your shirt over and do the same press from the back. Same time. Same temperature.
Pressing from the back drawers the adhesive further into the material of the shirt. Thus creating a stronger bond.
Flip your shirt back to the front and peel off the transfer material.
Your shirt is complete. And it should last through many washes.
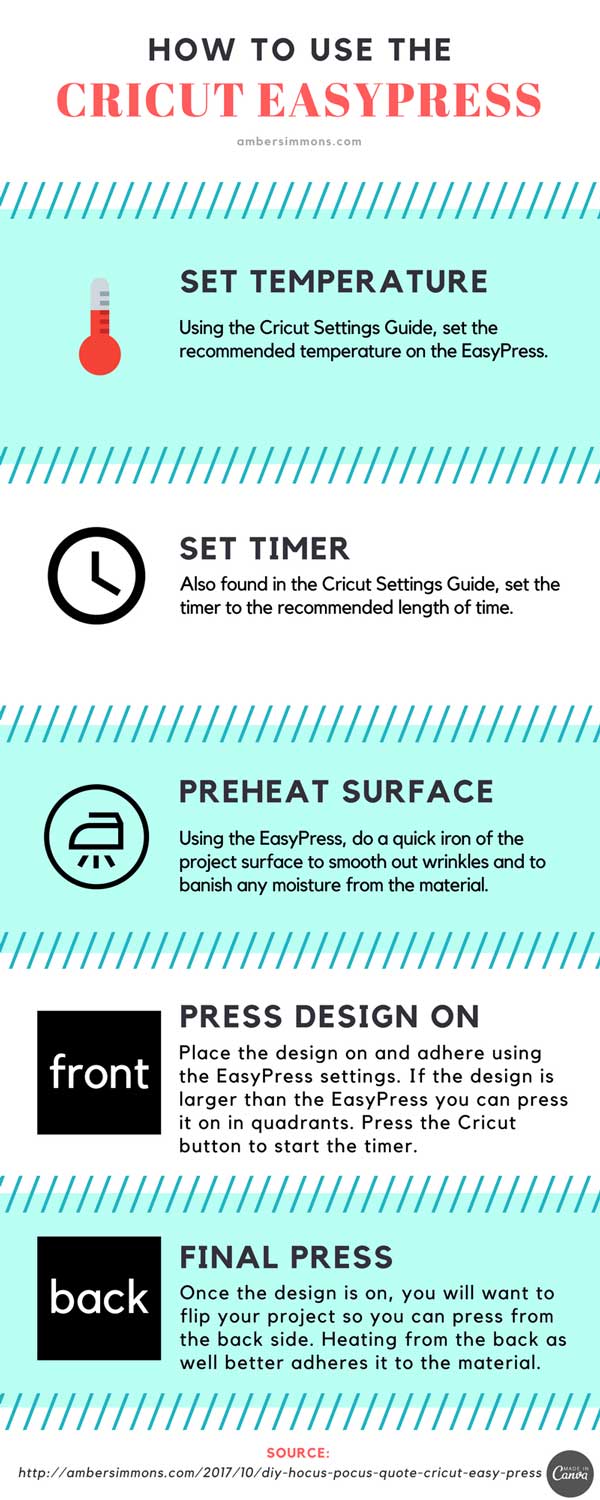
Pin this infographic so that you remember the next time you work with iron-on.
Want more Cricut help? Check out my Cricut Design Space 101 series.
Want more Cricut? Check out my Cricut projects posts.









Leave a Reply