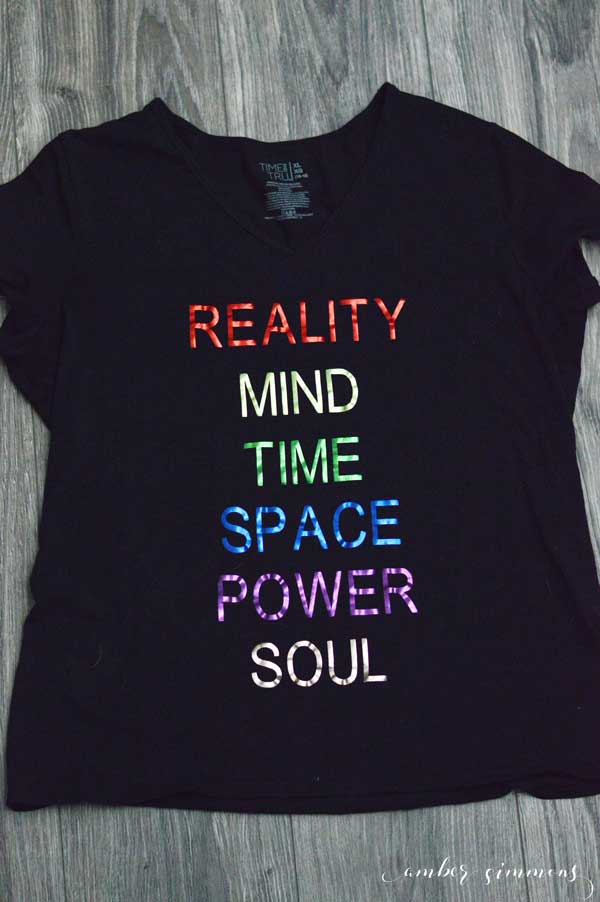
Today’s fun project is a Marvel Infinity Stone shirt inspired by the Avengers Infinity War.
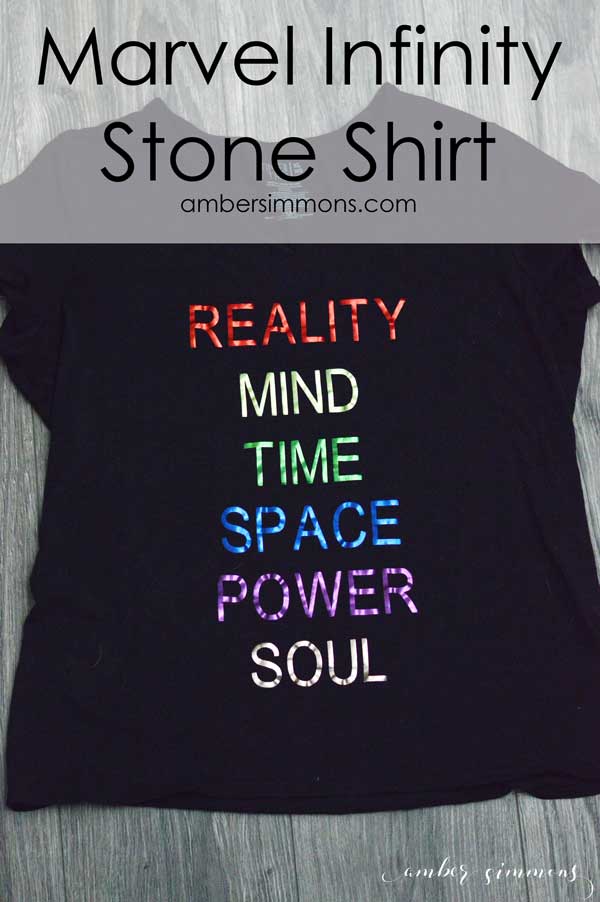
I actually made this shirt a while ago. You know, for the movie. And I’m just now getting around to posting it. It’s not my original idea. I saw one of my friends on Instagram posted that she had made one. So, of course, I needed one for when I went to see the Avengers Infinity War.
It is a really simple shirt to make, but it does take several colors of iron-on.
Supplies
Shirt
Cricut foil iron on in red
Cricut foil iron on in lemongrass
Cricut foil iron on in emerald green
Cricut foil iron on in royal blue
Cricut foil iron on in violet
Cricut foil iron on in rose gold
Cricut Maker
Cricut Weeding Tools
Cricut Easy Press
You can access my cut file for the Marvel Infinity Stones right here.
I did a very simple font. But you can always change it to something else.
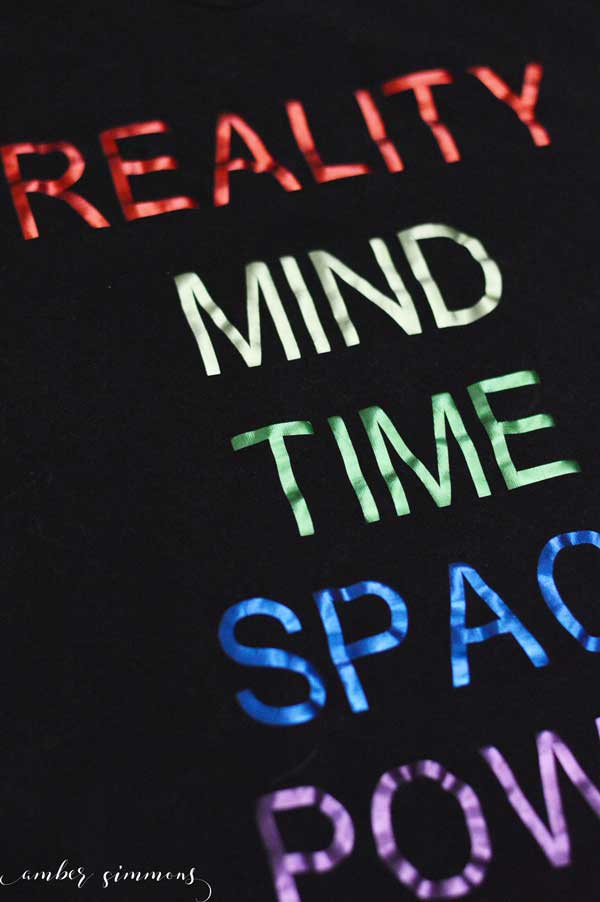
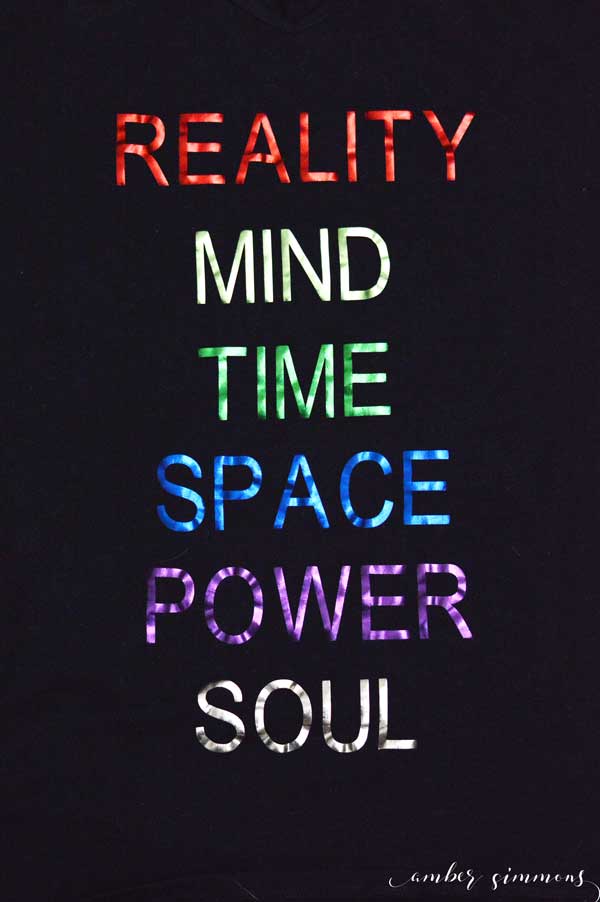
All the words coordinate to the color of their Stone. I put them in Rainbow order. But you could put them in the order that they first appeared in the movies if you’d like.
I put mine on a black shirt. But I think next time I would go with something lighter. I think it was a little bit hard to read the blue and the purple.
The cut file is already ready for you. It is about 10 inches wide and 15 inches long. Be sure to resize for whichever size shirt you are making.
Remember since we are doing iron-on you’re going to want to mirror the words when you go to cut them.
Once you cut each one out of the iron on it’s time to weed. I really enjoy reading iron on. I feel like it is super easy to weed. And I love all the pretty curls of the discarded foil.
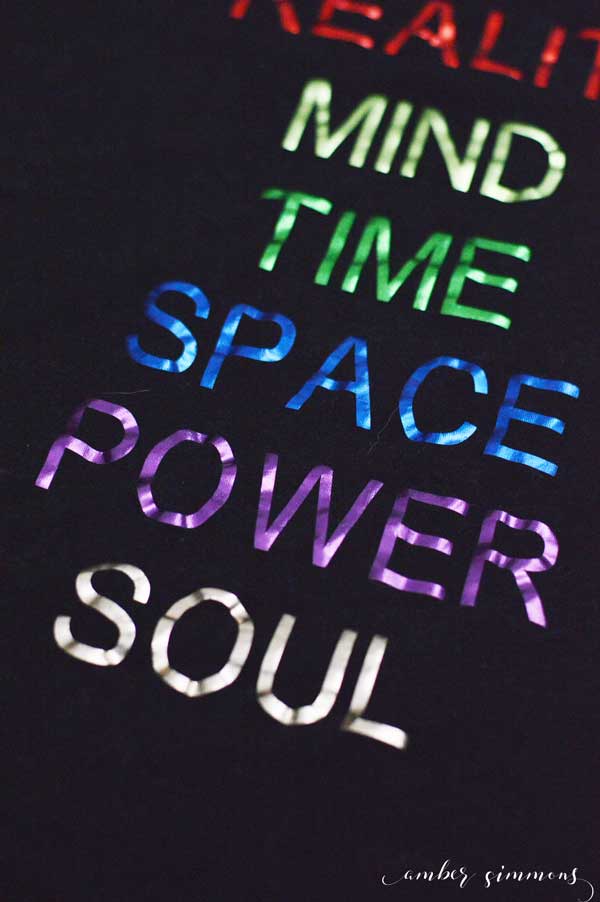
When they were all weeded I just laid them all out on my shirt so I could get a feel for the spacing. I trimmed down the top and bottom of each of the words so that I could apply them to the shirt all at the same time. That way none of the iron on was overlapping.
Then set the Cricut EasyPress to the recommended heat setting for your shirt material. And apply the iron on to the shirt.
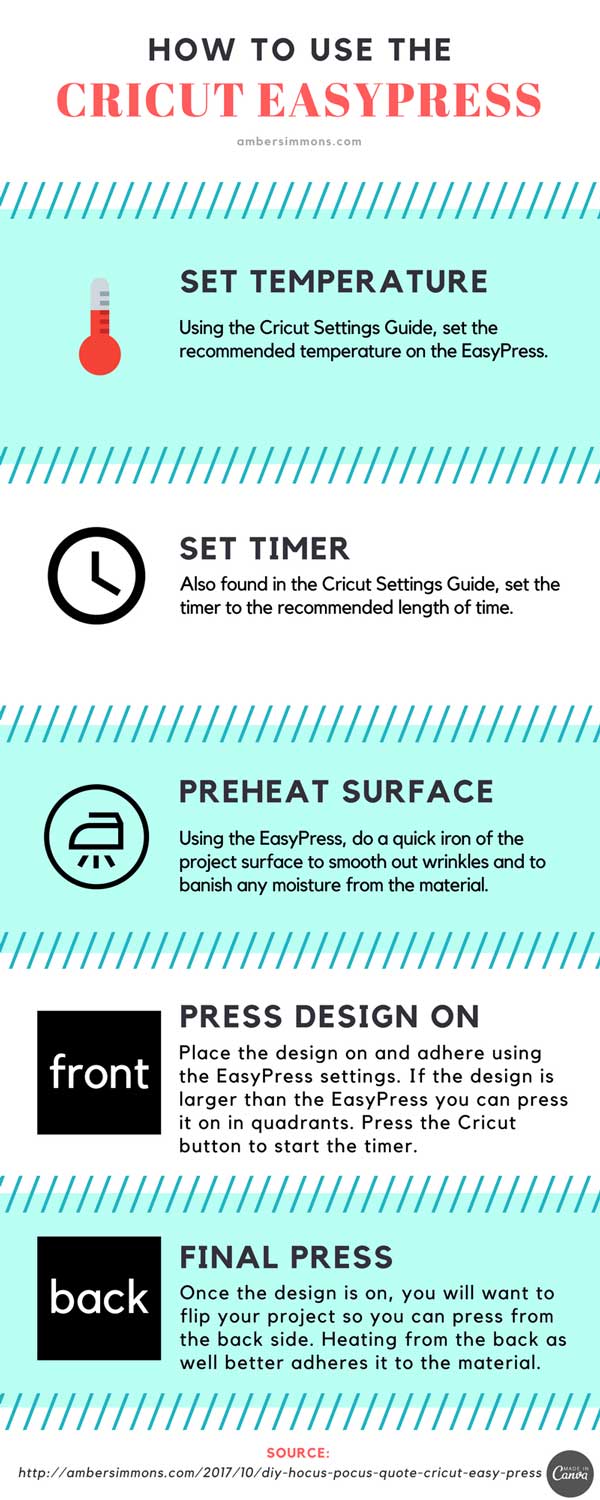
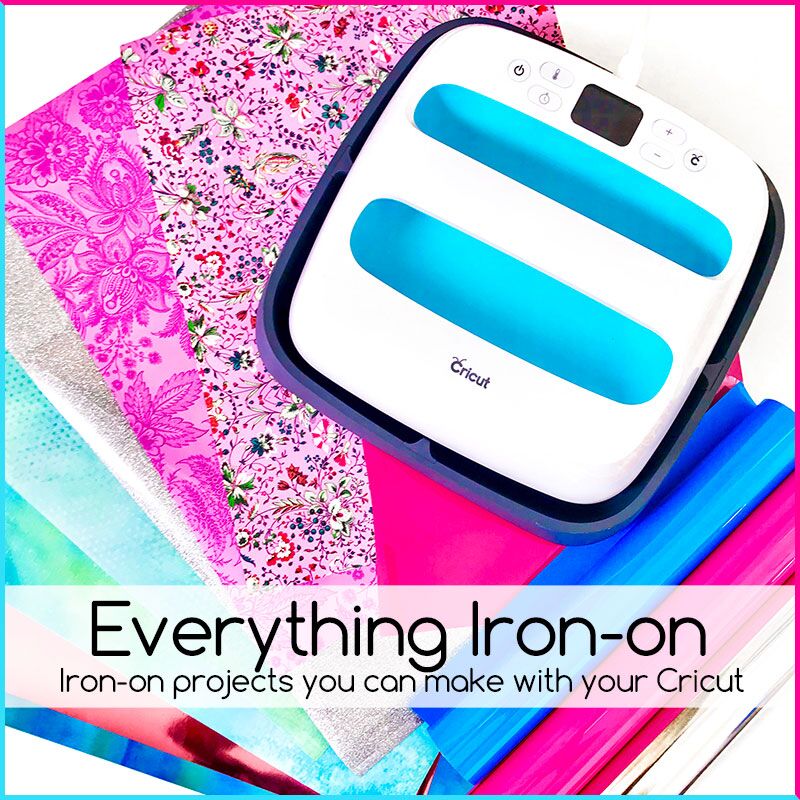
If you don’t have an EasyPress yet, you are missing out. This thing is seriously magic. It makes it so easy to attach iron on to anything.
Remember, the trick to getting your iron on good and attached to your shirt for a long lasting finish is to prep your surface. You want to preheat your shirt with your iron. Just for about 5 to 10 seconds. But this will banish any moisture from the fibers. Moisture in your shirt will not allow the iron-on to hear properly.
Then you want to press on from the top of your designs and once that is attached do you want to turn your shirt over or inside out, depending on the thickness, and do a pressing from the back. This helps pull the adhesive into the fibers further.
Once they are all attached Cricut recommends you do a warm peel. I like to go back to the front of the shirt and do a 5 to 10 second press on the front again to heat it all back up really good. And then quickly peel the plastic off the front.
And it’s done!
I wore it when we went to see The Avengers Infinity War.
It would also be great to take with you on a Disney vacation. Speaking of Disney vacations be sure to check out Get Away Today when you are ready to book your trip for some of the best deals around.
This post is part of a fun iron-on series hosted by Angie of The Country Chic Cottage, Carolina of 30 Minute Crafts, Jessica of Mad in Crafts and Jen of 100 Directions.
There’s a giveaway at the end so be sure to check it out.
tart InLinkz script –>




I would love to have that t-shirt!! 💙