Easy to follow step-by-step tutorial for making the Simplicity clutch with strap with the Cricut Maker.
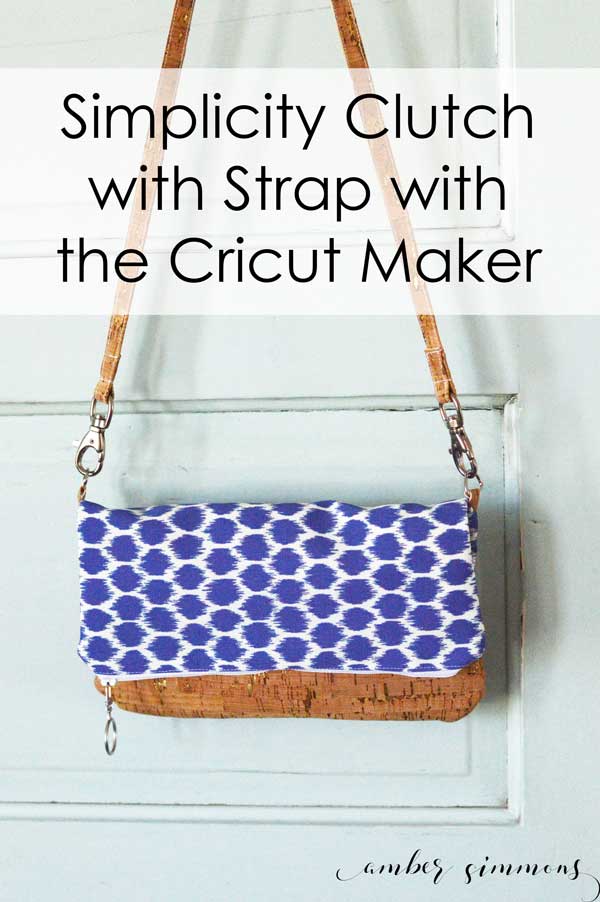
Today I’m going to share with you a step-by-step tutorial on how to make a Simplicity clutch with a strap using the Cricut Maker.
If I’m being honest while this bag was cute it was so hard to wrap my head around the pattern.
I think I spent a good 45 minutes trying to decipher what piece went where and why I needed all the pieces that it wanted me to cut.
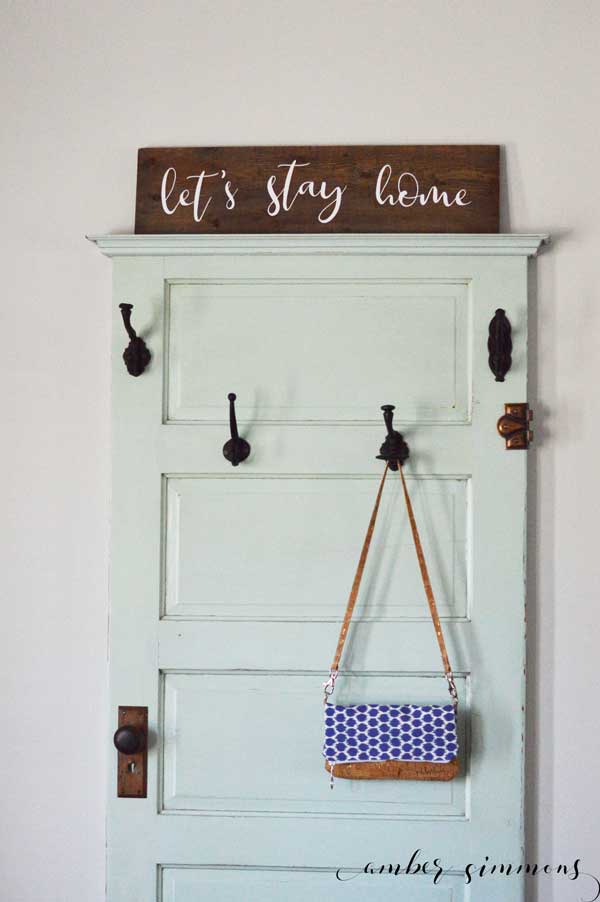
I don’t consider myself a beginner sewer. This is not my first time following a pattern. Nor my first bag. And I was lost.
I had a hard time figuring out what fabric needed to be on which mat.
But in the end, I did figure it out and I completed a super cute bag.
Hopefully, this tutorial helps you figure out what supplies you need, and how to make this bag.
Supplies
1/2 yard of exterior fabric (I used a blue dot from the remnant bin at Joann’s.)
1/4 yard of fabric for bag bottom and strap (I used cork from the upholstery fabric section at Hobby Lobby.)
1/2 yard of interior fabric. (I used the white with black dots from the Riley Blake Rockstar line for Cricut.)
1/2 yard of interlining. (I used the cream linen fabric. Also a remnant from Joann’s. This layer could be optional in my opinion.)
1/2 yard of lightweight fusible interfacing. (I would get one with a paper lining if I made this bag again.)
35″ x 1″ length of material for the strap. (I used the cork so if you do so get 1/3″ a yard of the bottom material.)
12″ zipper
Magnetic snap
5/8″ D rings (2)
3/8″ rivets (2) (Optional. I did not use them.)
Swivel hooks for a 1/2″ strap (2)
Heavy duty sewing needle
Thread
Simplicity Clutch with Strap pattern
Cricut Maker
12″ x 24″ Cricut Fabric Grip Mat
Cricut Washable Fabric Pen
Cricut Cutting Mat and Rotary Cutter
Cricut EasyPress
Xacto Knife
Chopstick
CUTTING
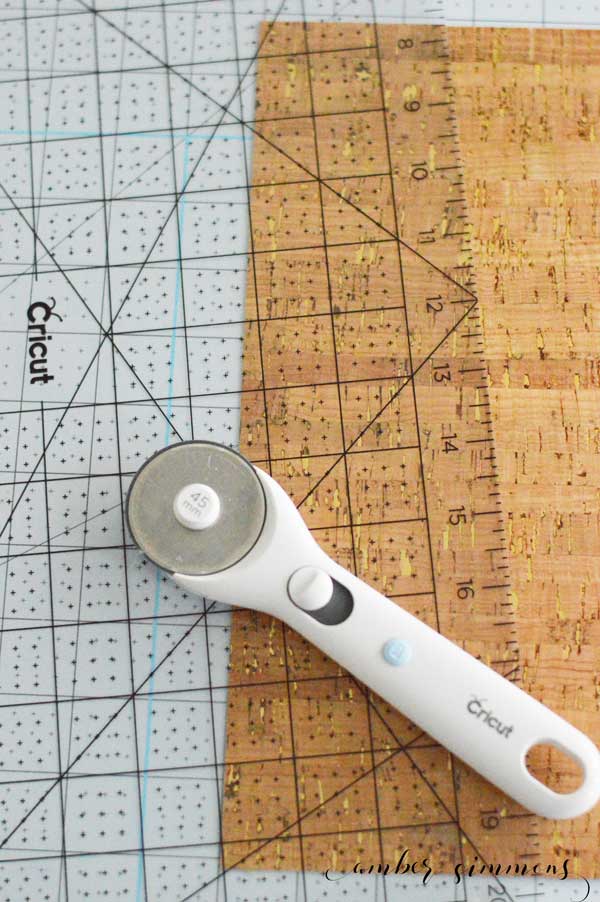
Sorting out what you want to cut on each mat can be tricky. So I thought I would help you out and tell you exactly what you are cutting.
REMEMBER! When using the fabric pen always place materials face down on the mat. This allows the pen to write on the back of your fabric.
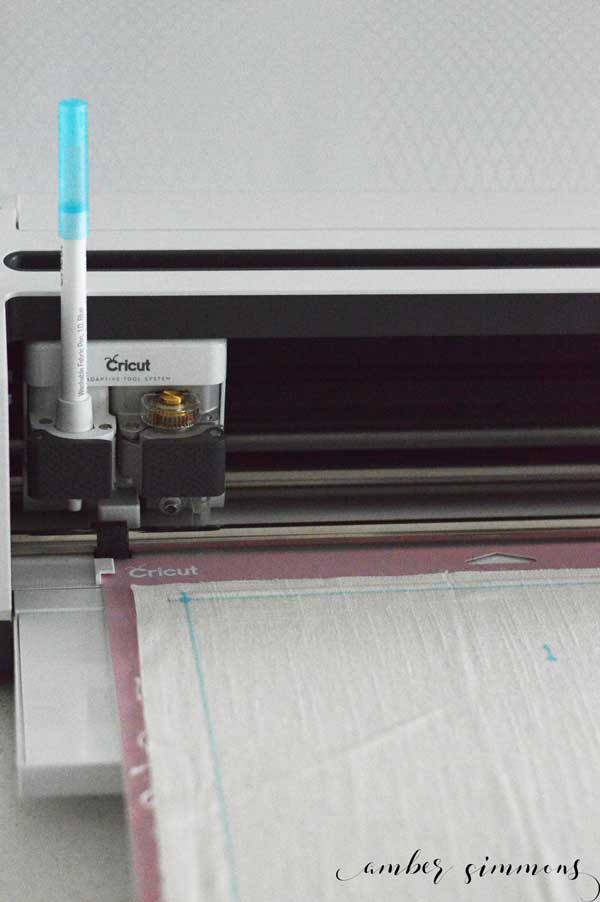
Mat #1
This is the interlining. So I could be white muslin. It could be whatever you want to put inside your bag. You are not going to see this layer. You might want to have an iron on adhesive or some spray basting for this layer. I also think this layer could be optional.
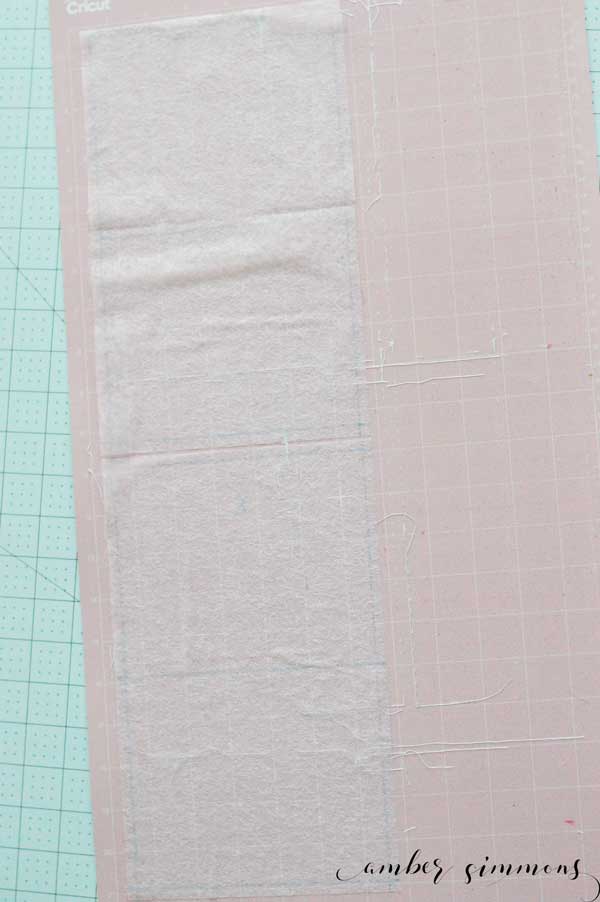
Mat #2
Interfacing for the pockets.

Mat #3
The bottom of your bag, in my case I used cork.
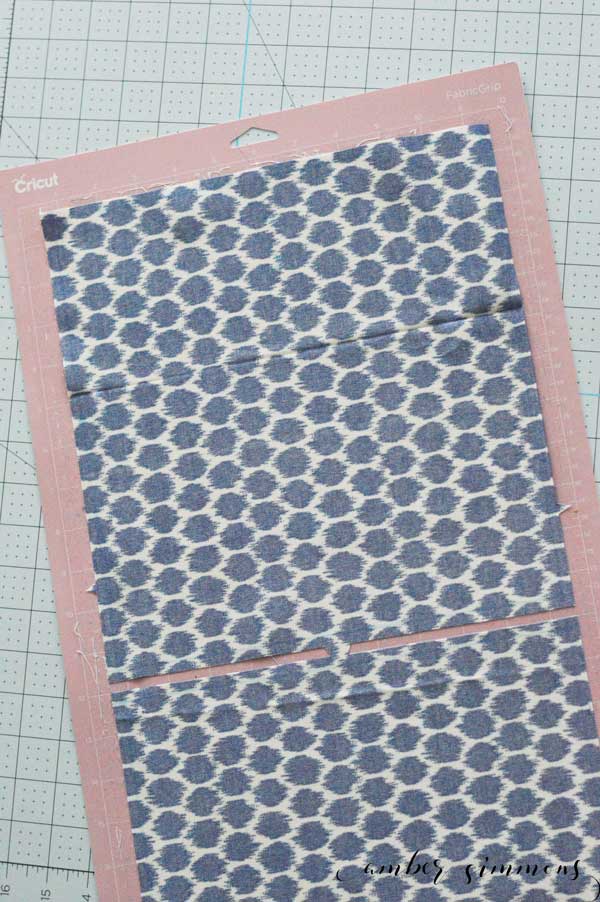
Mat #4
This is your exterior fabric. The sample has Aztec. Mine is the blue dot.
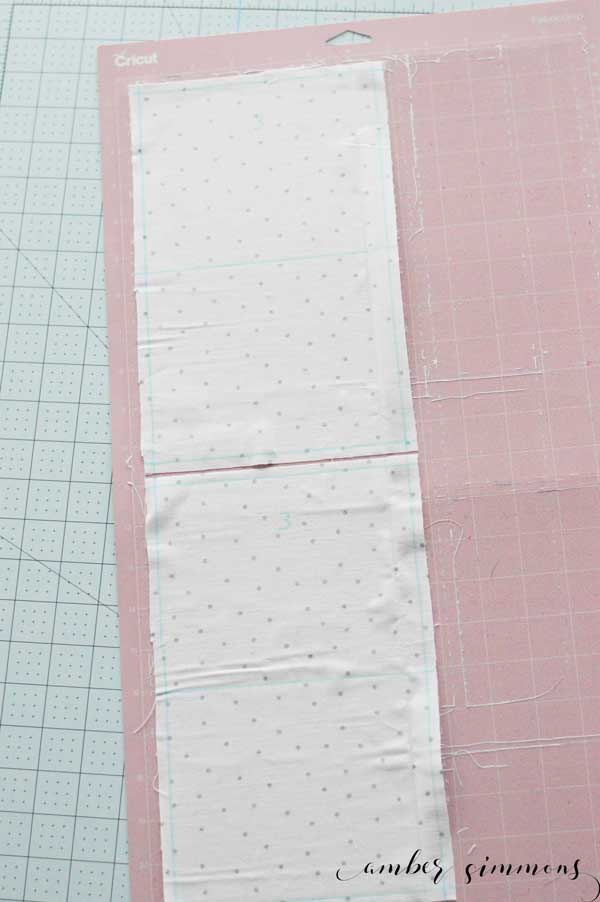
Mat #5
The interior fabric of your bag. This mat is cutting the pockets. I used the white with the black dots from the Rockstar Riley Blake line for Cricut.
Mat #6
The interior of your bag. I used the white with the black dots from the Rockstar Riley Blake line for Cricut.
ASSEMBLY
The 1st instruction says to apply the interlining to the front and back sections of the outside of the bag.
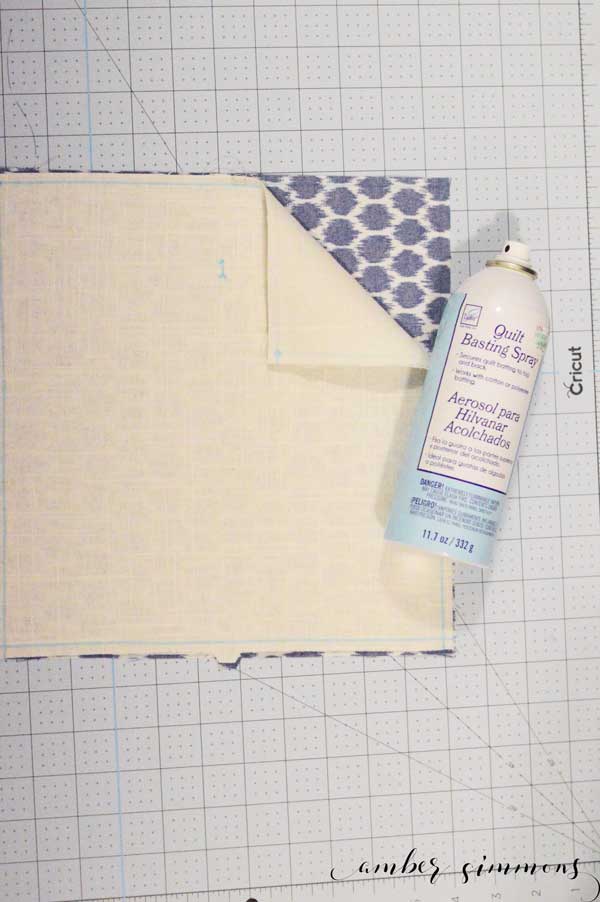
So I took the outside fabric, the blue dot, and I took the linen that I had cut for my interlining, and spray basted them wrong sides together.
Spray basting is a great way to temporarily apply fabrics together. It will wash out. And it does not come up your sewing machine.
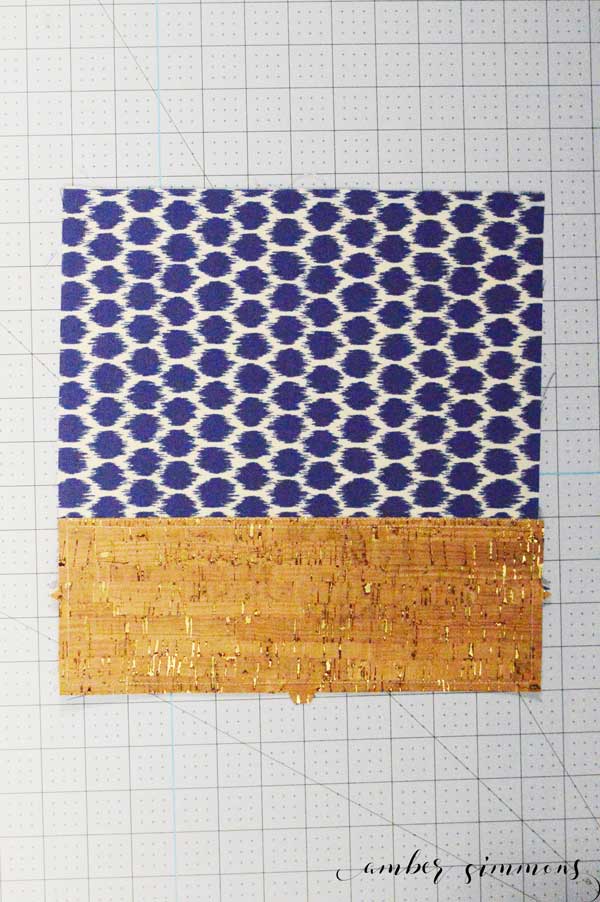
Then lining up the notches I put the cork piece on the front and back outside of the bag. It said to do a basting stitch all the way around and then stitch again across the top of the cork. I just did a sewing stitch all the way around close to the edges and then did a second line of stitching across the top of the cork. If you do basting stitch all the way around your basting stitches across the top are going to show when you finish the bag or you’ll have holes in your cork or leather if you remove them.
A basting stitch is typically a longer stitch that you sew into the margins of your project. They will not be seen on a finished project.
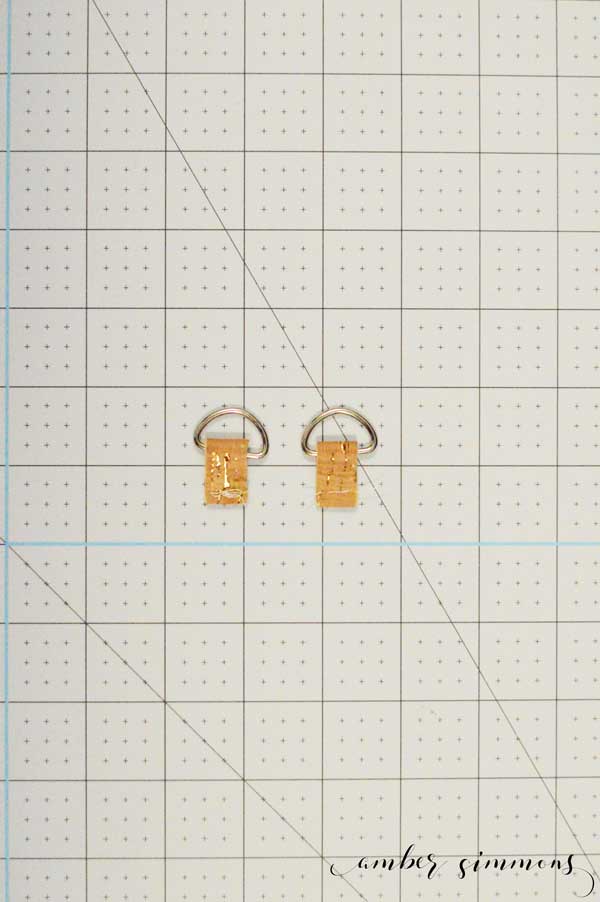
The next step is to insert the cork tabs through the D ring, line up the dots, and baste.
Then on the front of the bag, on the outside, you’re going to baste the tabs with the D rings on matching up where the dots are.
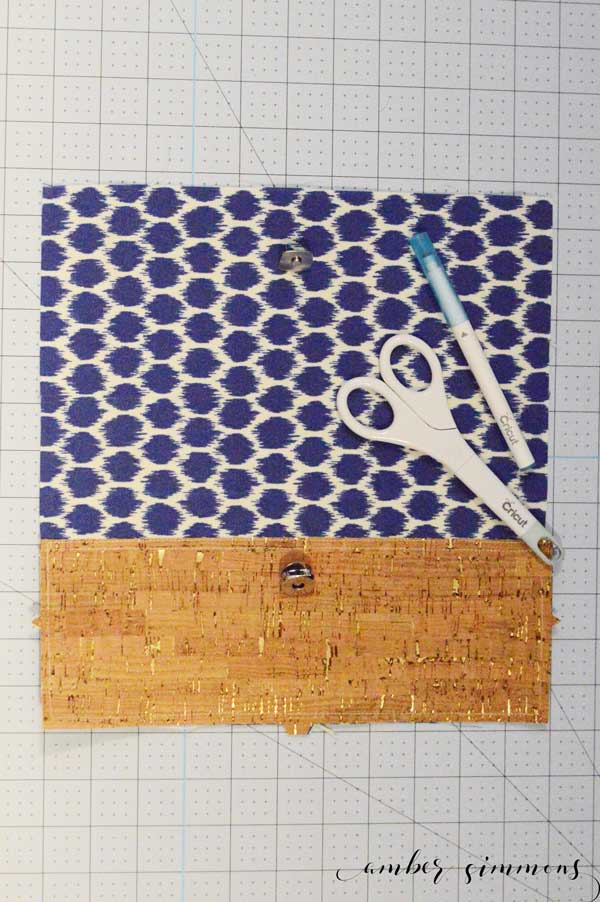
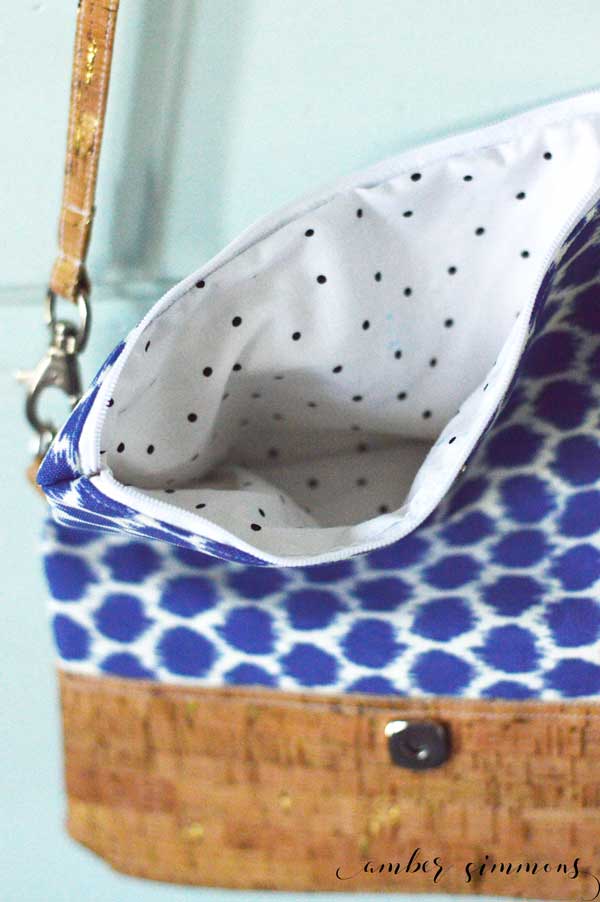
On the same piece, you’re going to apply the magnetic snap closures where the dots are. They were hard to see on my project but they are Toward the top of the blue. fabric and the top of the cork.
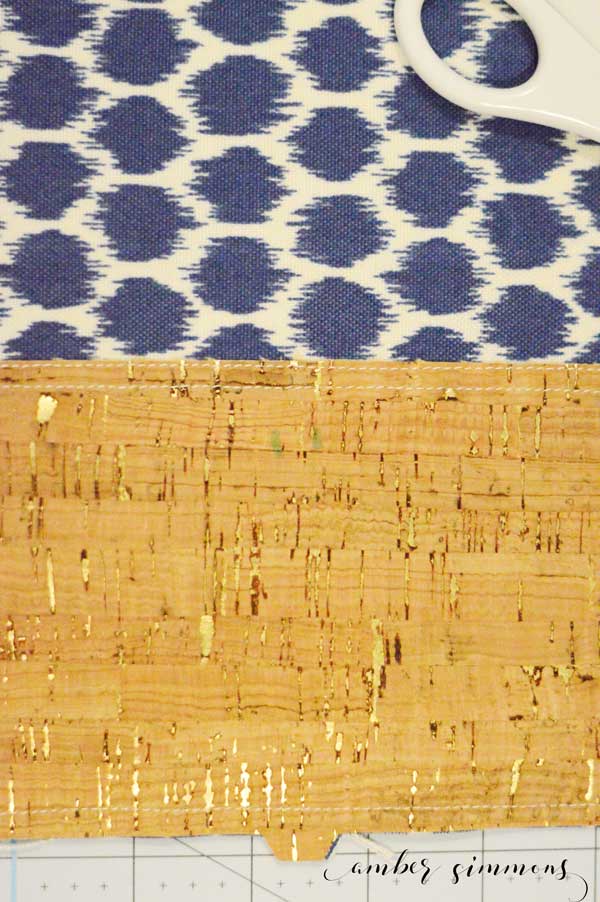
Using the back of the snap as a guide I drew lines with the fabric pen to show me where to cut. I think a Xacto knife would make cutting the slits easier, especially on the cork layer. I just made due with some scissors.
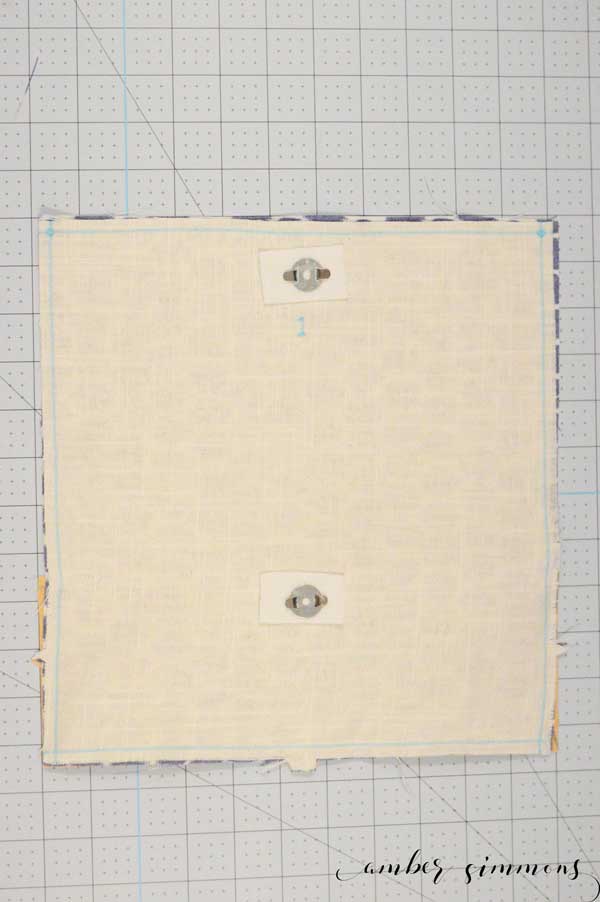
Check the instructions on your magnetic snaps. Mine said for best results to add a piece of cardboard between the disk and the bag. That seemed weird to me since I want this to be washable I don’t think that you can really get cardboard wet. So I used some thick interfacing that I had on hand. You could also use some thicker fabric or double some fabric up.
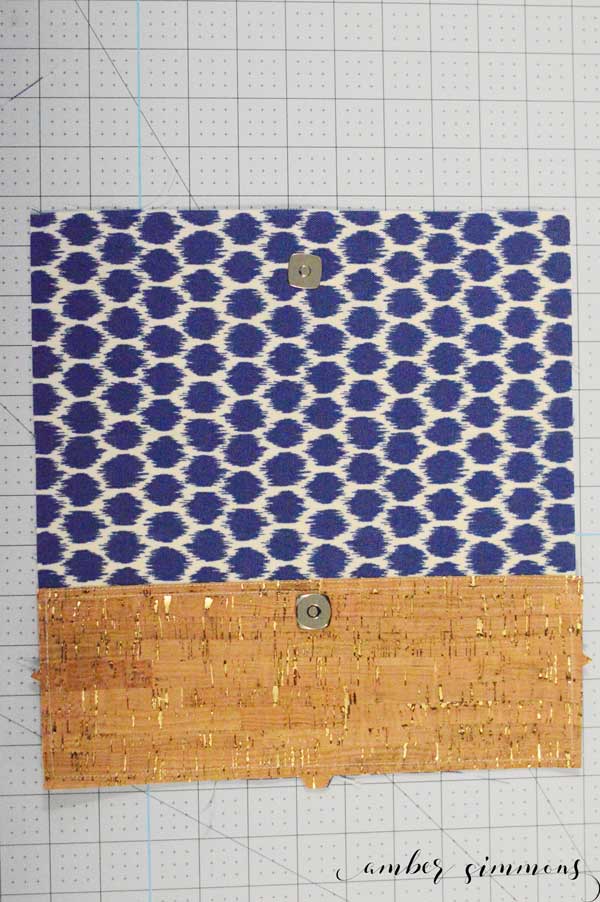
I used square magnetic snaps, but I think round would be a better choice. My top one is a little crooked, but I don’t think it’s very noticeable since the snaps are not visible when the clutch is closed.
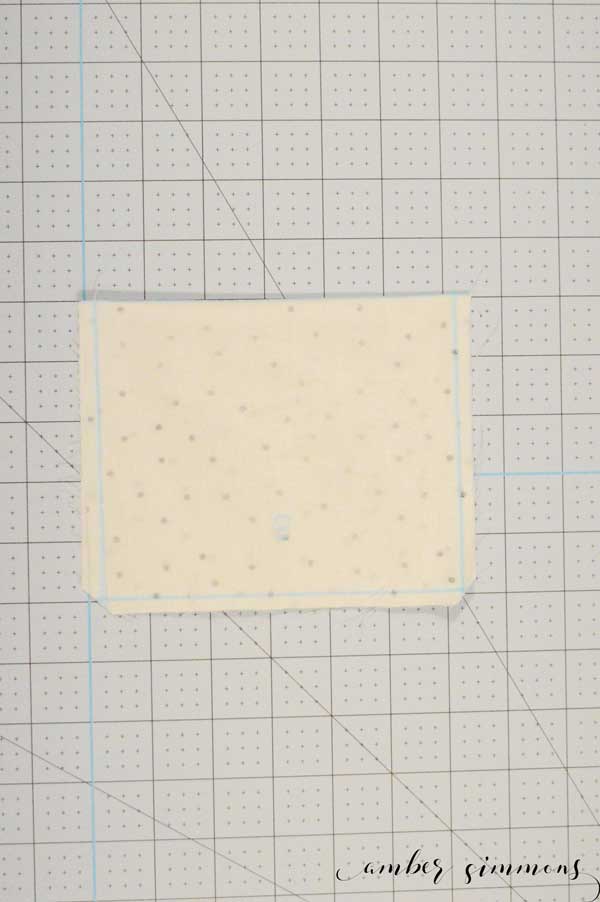
Next, we make the pockets. It says to apply the interfacing to the pocket, however, my interfacing did not have paper so I just lined them up. If your interfacing does not have a paper liner you can not iron it on to a single piece of fabric. It will glue to your iron or your ironing board.
I just lined them up, interfacing on the wrong side of the fabric, and folded the pocket right sides together. The fabric marker drew a line down the middle of both the pocket and the interfacing. This line is the top fold of your pocket.
Sew down from the top side, when you get to the bottom put your needle in your project lift up your presser foot and turn 90゚, then put the presser foot back down and begin to sew. You only want to sew about 1/3 of the way across the bottom of the pocket. Then you want to skip 1/3, and finish sewing the last 1/3 of the pocket bottom and back up the other side. The hole that you just left will be used to turn the pocket right side out.
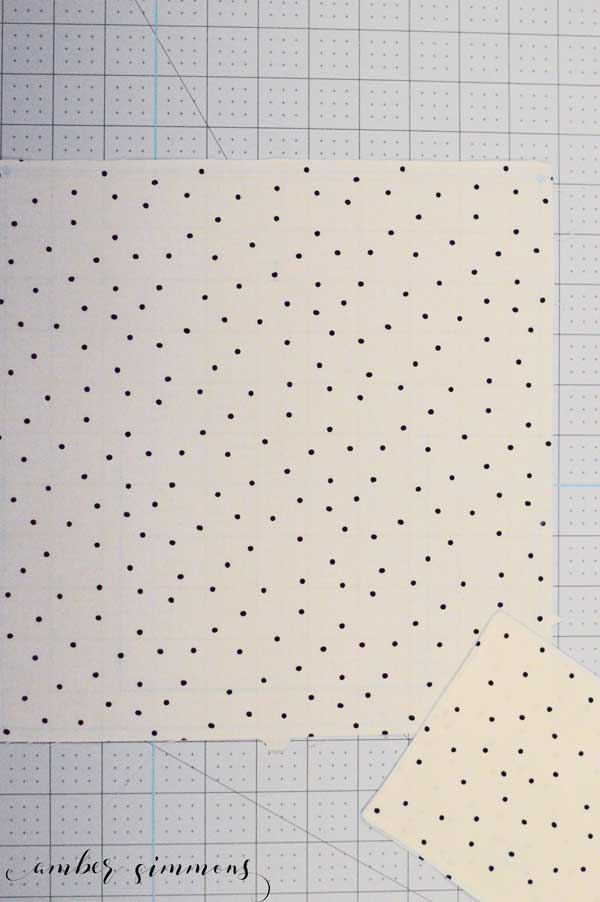
Before you turn the pocket you want to clip the lower corners. The ones on the side with the hole for turning. Not the folded side. When clipping the corners you want to go at a 45゚ angle and be close to your stitching but don’t cut your stitching. Leave a little bit of space.
When turning the pocket right side out you could use some scissors that don’t have a sharp point, a chopstick, or any other tool you have on hand to push the corners out to make nice crisp corners.
The instruction said to slip stitch the opening closed. I did not. I just folded the opening up inside so the edge was nice and even. Then using my EasyPress I pressed the pocket closed. This fused the interfacing with the pocket. It also glued that hole closed.
Repeat the pocket instructions to make two pockets.
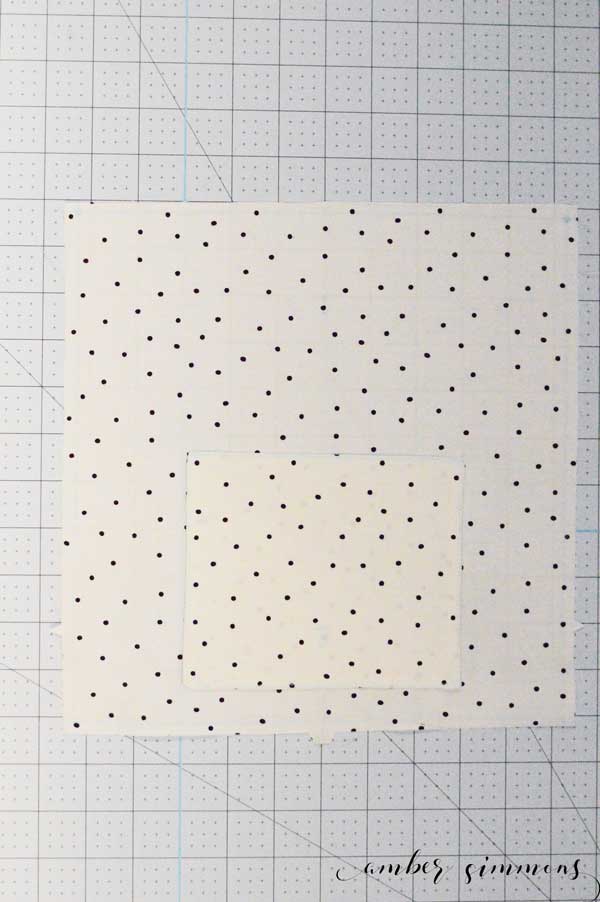
Next, you want to take the right side of the interior fabric and line the pocket up with the line drawn with the fabric marker. It shows you exactly where to put the pocket. Depending on your fabric it might be hard to see.
Then I started at the top side of the pocket, just above the pocket. I stitched down on to the pocket a couple stitches, backstitched up to where I started and stitched back down all the way around the pocket backstitching the other side at the top.
Backstitching just reinforces the top of the pocket a bit. It also locks your stitches in place so they are less likely to unravel.
The next instruction tells you to shorten your zipper 1/4″ shorter than the top of the bag. I wrote a post on how to shorten zipper here if you need a little extra help. I made my zipper about 10 1/4″ long.
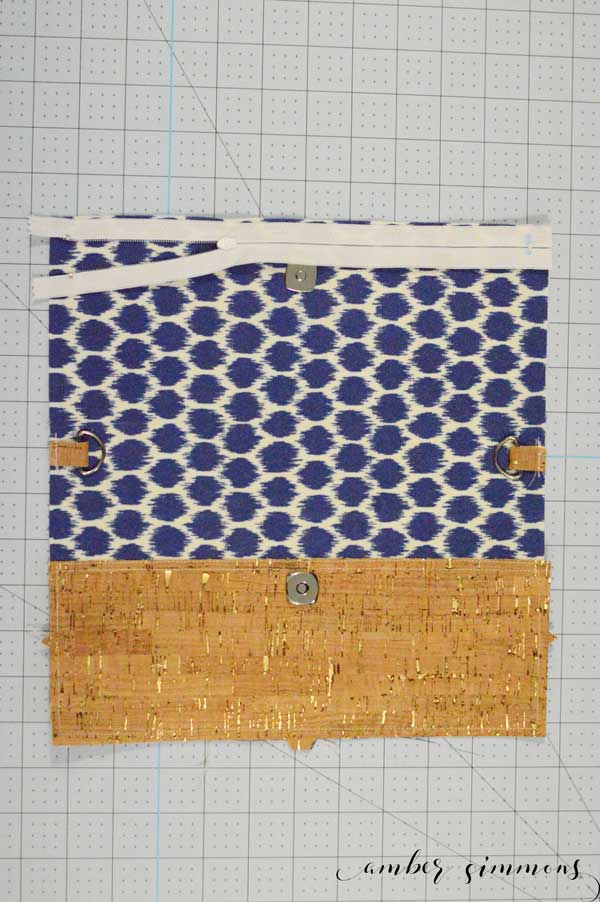
Then you’re going to lay the zipper face down on the outside of your bag. So the right sides are together, lining it up between the two dots and pin the zipper in place. Sew the zipper 1/4″ from the top of the project.
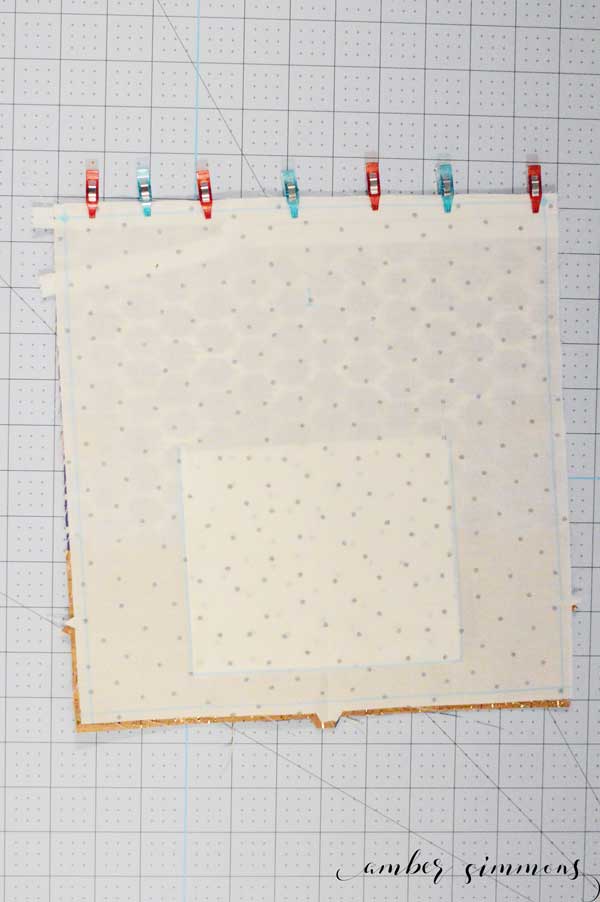
Then you’re going to lay the interior of your bag on top of the zipper and bag exterior, right sides together, lining up the tops. Pin and stitch 1/4″ down from the top of the bag across the zipper.
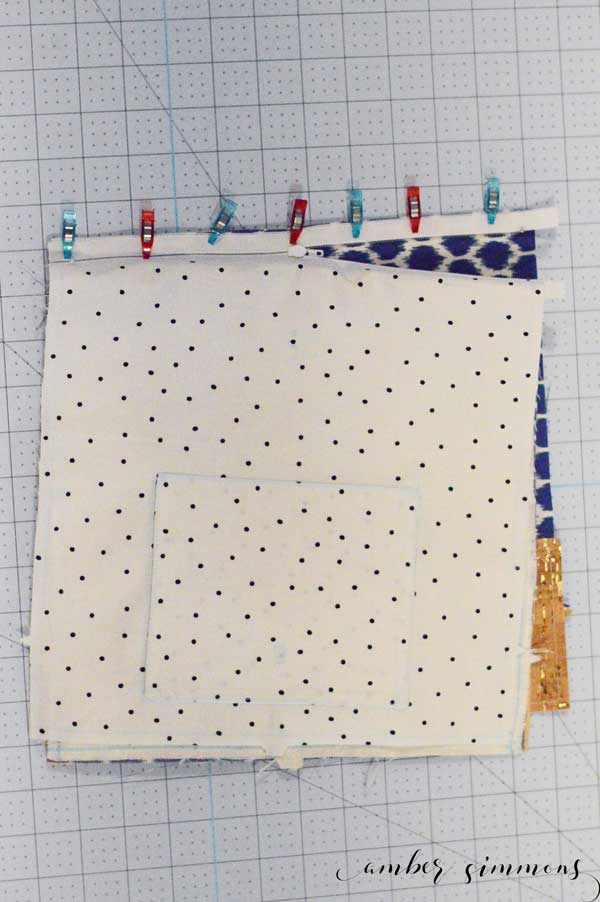
Next, you apply the back outside and interior to the other side of the zipper in the same manner.
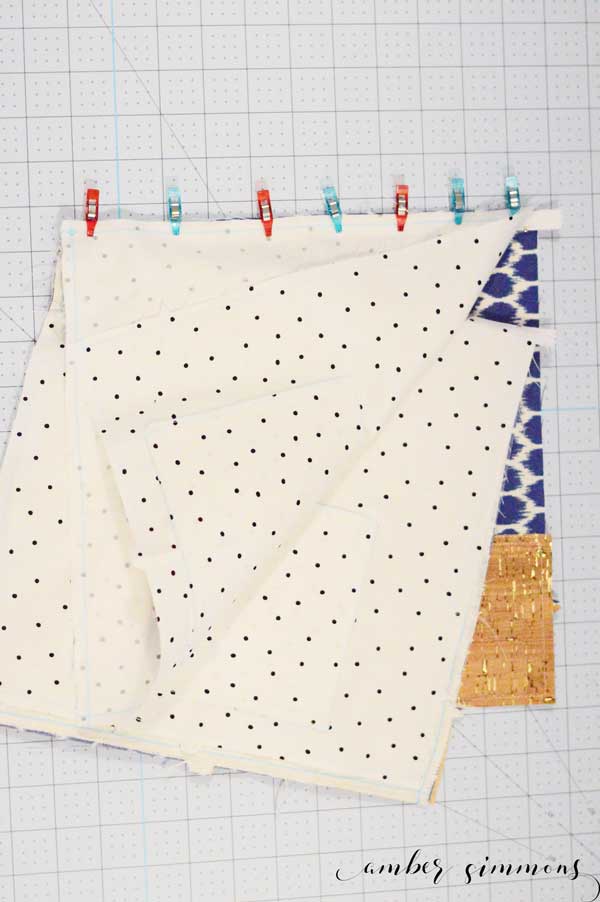
Press the zipper teeth toward the bag interior front and back sections. That means the margin of the zipper sewn into your bag will be pressed to the outside (the blue dot) fabric.
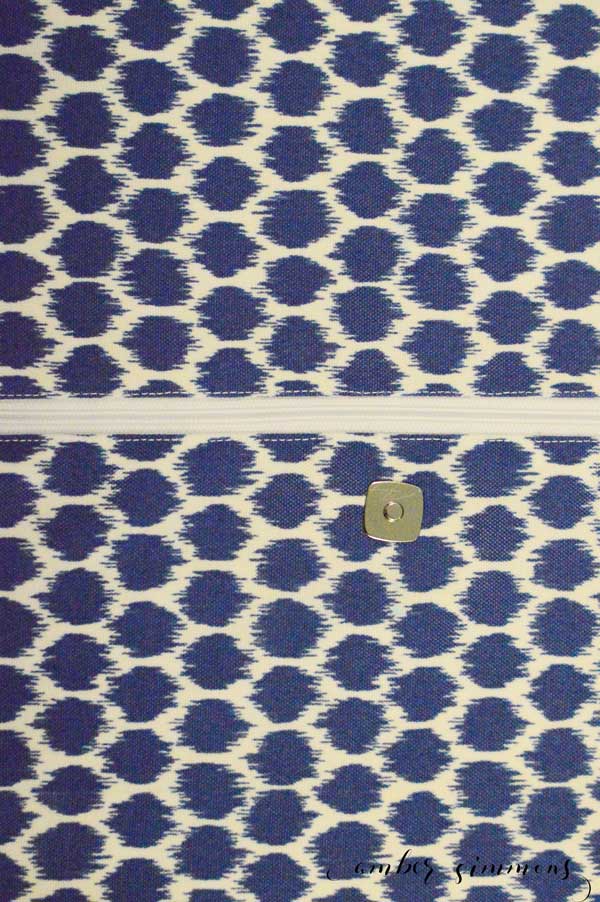
The pattern didn’t say, but I topstitched the zipper. It makes it look a little more finished and helps the zipper lay the direction it was pressed.
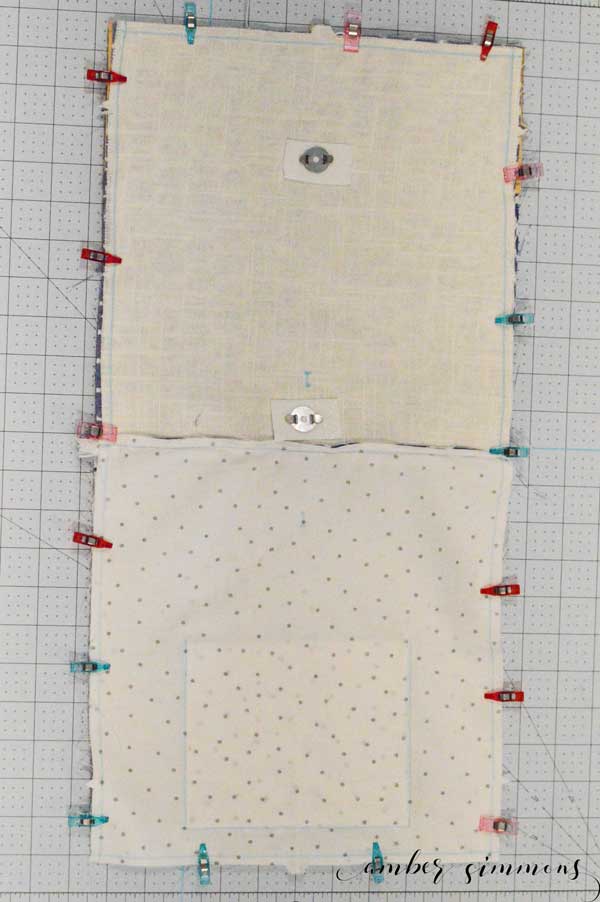
Next, you’re going to unzip the zipper, and line the bag up right sides together. The outside front and back right sides together and the inside front and back right sides together. Pin the bag together matching up all the raw edges. Stitch leaving an opening just like we did for the pockets, on the bottom of the interior of the bag. You want to leave an opening that’s about 4 or 5″ wide minimum. I used the pocket as my guide and just left the length of the pocket open. You’re going to use it to turn the entire bag right side out.
Once you’ve stitched all the way around you’re going to turn the entire bag right side out. Push all the corners out as much as possible with blunt scissors or a chopstick.
The instructions say to slip stitch the opening closed. I didn’t bother with that. I just did one top stitch line across the entire bottom of the interior of the bag.
Stuff the interior inside the bag and zip it closed. Press it to make it nice and crisp.
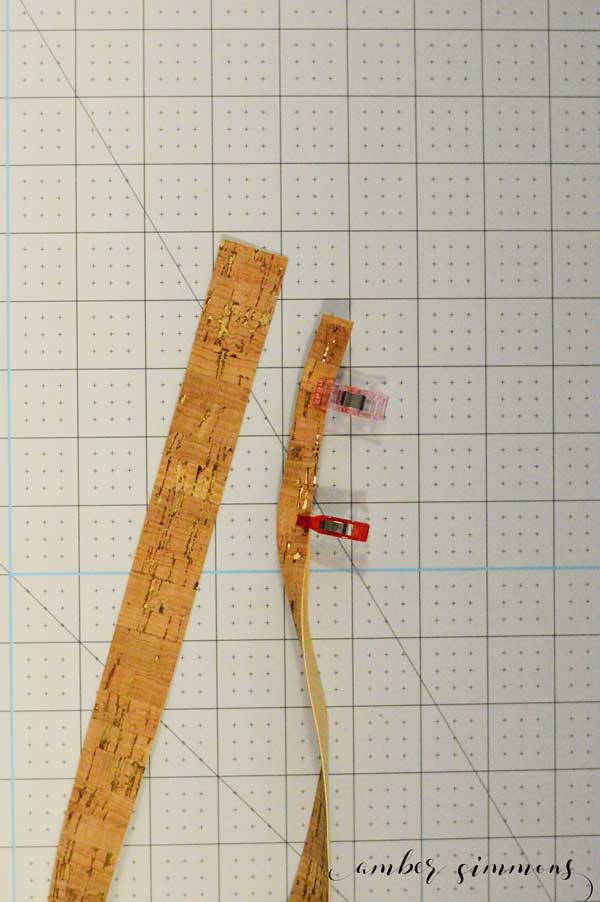
To make your strap you need a 1″ by 35″ strip of material. I used the cork material to match the bag.
You’re going to fold the strip in half lengthwise and do a close top stitch down the sides of the strip. I started with the open side, then I sewed down the folded side.
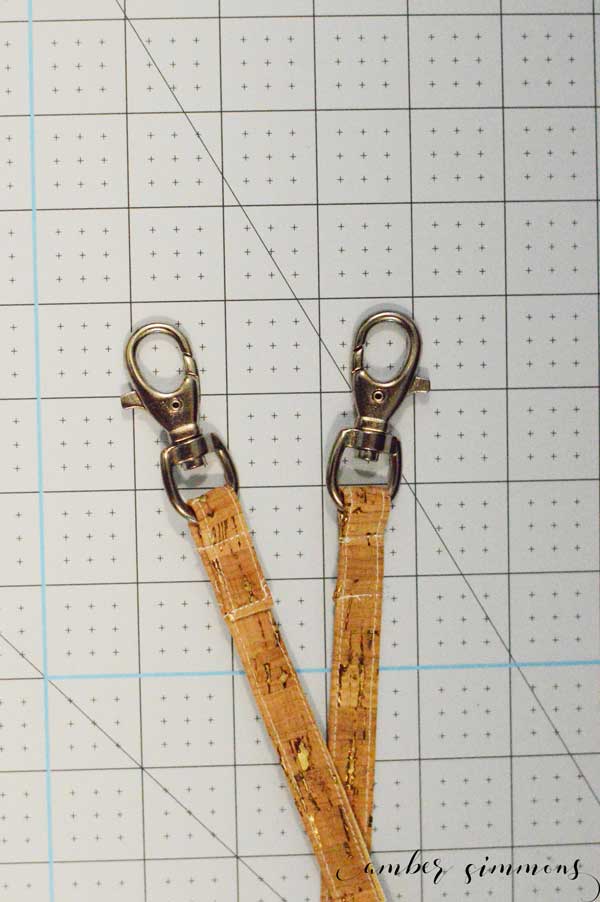
Then you’re going to put the end of the strip through the swivel hook and mark a placement for the rivet and install. I did not have rivets on hand, so I just stitched it down close to the hook and at the end of the strip.
Hook the strap to your bag and it’s done.
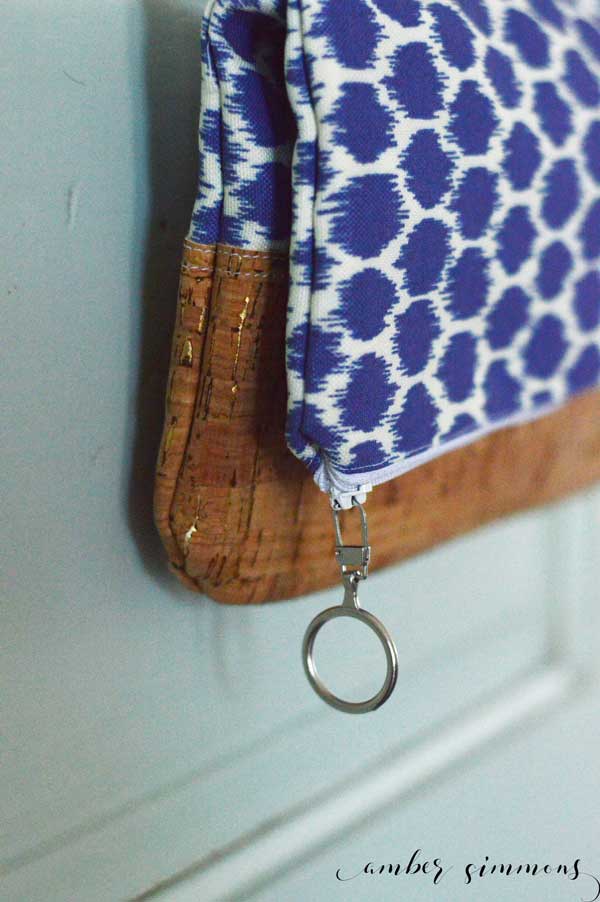
I also changed out my zipper pull, but that is optional.
I love how it turned out. It’s super cute.
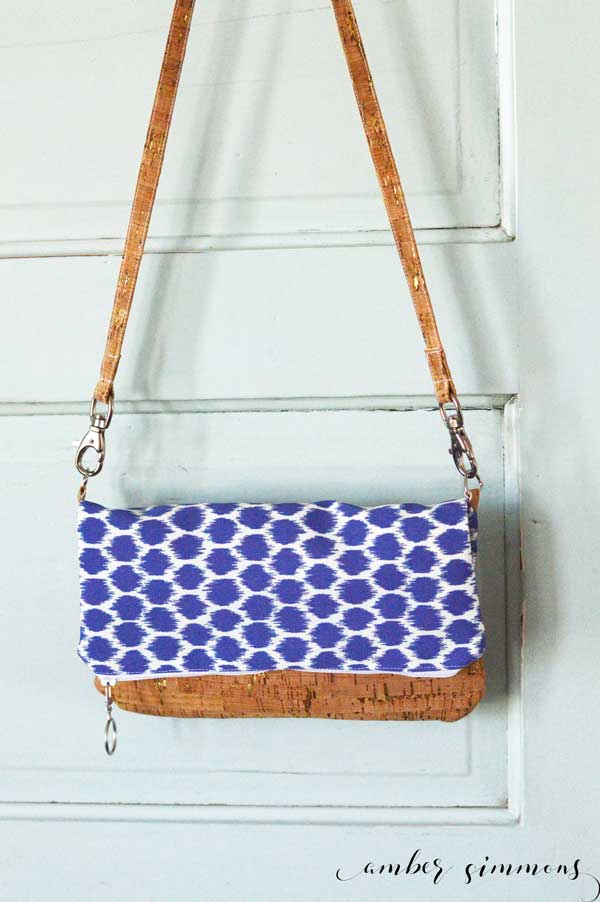
And while I think the instructions were bit confusing, I think it’s a simple enough bag to make and it sews up quickly.
Seriously, sewing with the Cricut Maker is addicting. I love love love that it cuts the notches, marks all of the dots and numbers the pieces with the fabric marker. It’s seriously amazing.
That’s my least favorite part of following patterns. Cutting all of the pattern pieces. Lining it up on the fabric. Cutting all the fabric pieces. Drawing all of the dots. Keeping all of the pieces straight. Ugh.
It’s seriously amazing. Now only if it was big enough to cut clothing patterns for me. Maybe someday.
Have you made a sewing project with the Cricut Maker? I would love to see it! Use #ambersimmonsblog on social media so I can check it out.
Want more Cricut projects?
This is a sponsored conversation written by me on behalf of Cricut. The opinions and text are all mine.




[…] least, this clutch by Sugarcoated Housewife is perfect for holding your essentials for a night out. Amber Simmons also made one with a fun pop of […]