Halloween is my favorite holiday, so I always love a good, quick Halloween decoration. Creepy crawlies are perfect for Halloween. I had a bag of spiders left over from a previous Halloween and I decided I wanted to make a specimen board with them. It was really easy. You can make the whole thing in probably an hour or so, plus dry time.
Supplies:
Spiders
Flocking, Black
Mod Podge (Or Elmer’s, glitter glue, or any other type of liquid glue)
Pins
Glitter
Paper grocery bag/ kraft paper
Frame
Tools:
Paint brush
Wire cutters (optional)
Hot glue gun
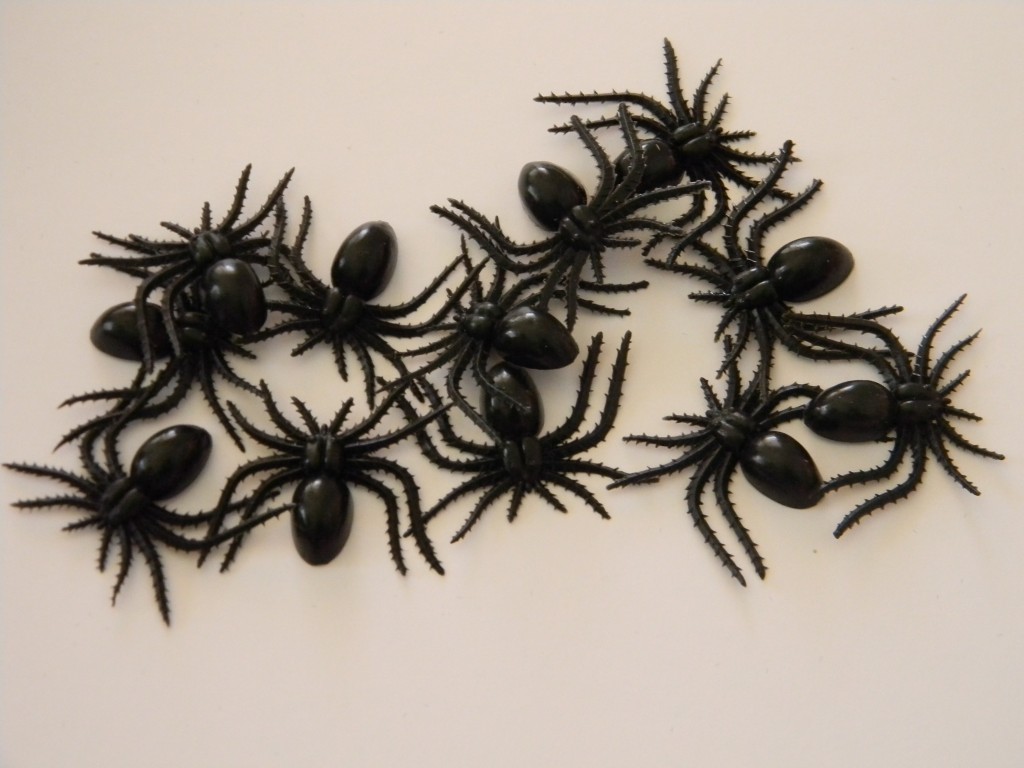
First you need a bag of Halloween spiders. They’re pretty cheap, a few dollars a bag, and can be found with the bags of candy alternatives, such as erasers and vampire fangs, for Trick-or-Treaters. They are cheap looking, I know. Don’t worry. We are going to fix that. Count out the number of spiders you want in your frame. I chose 16.
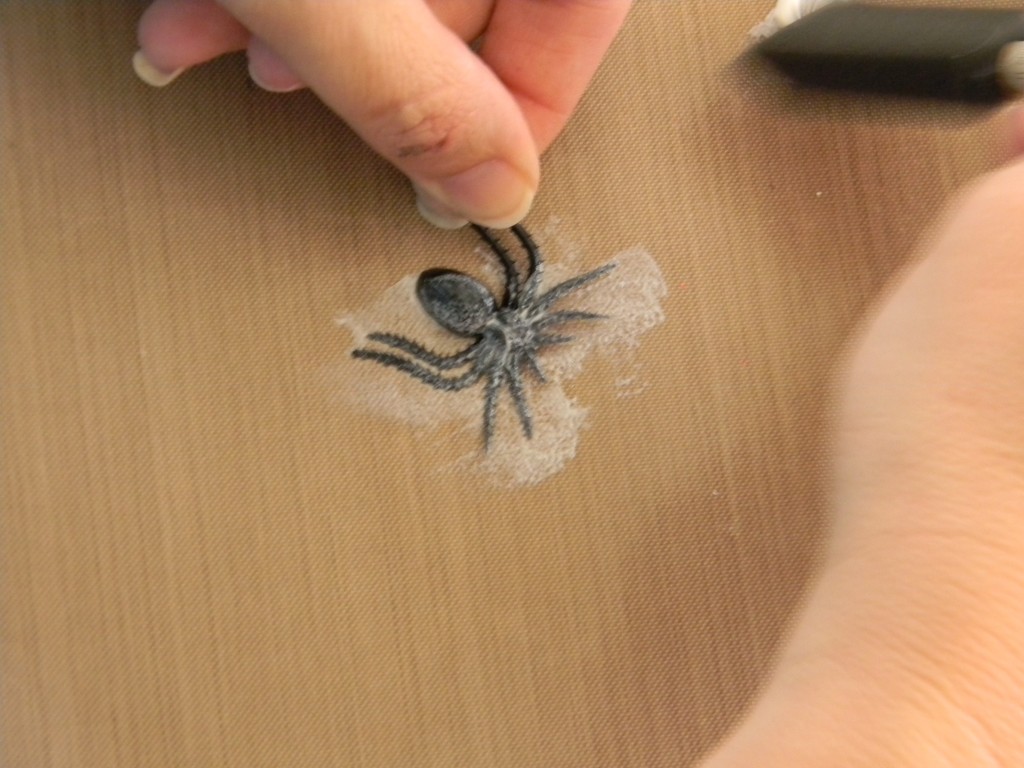
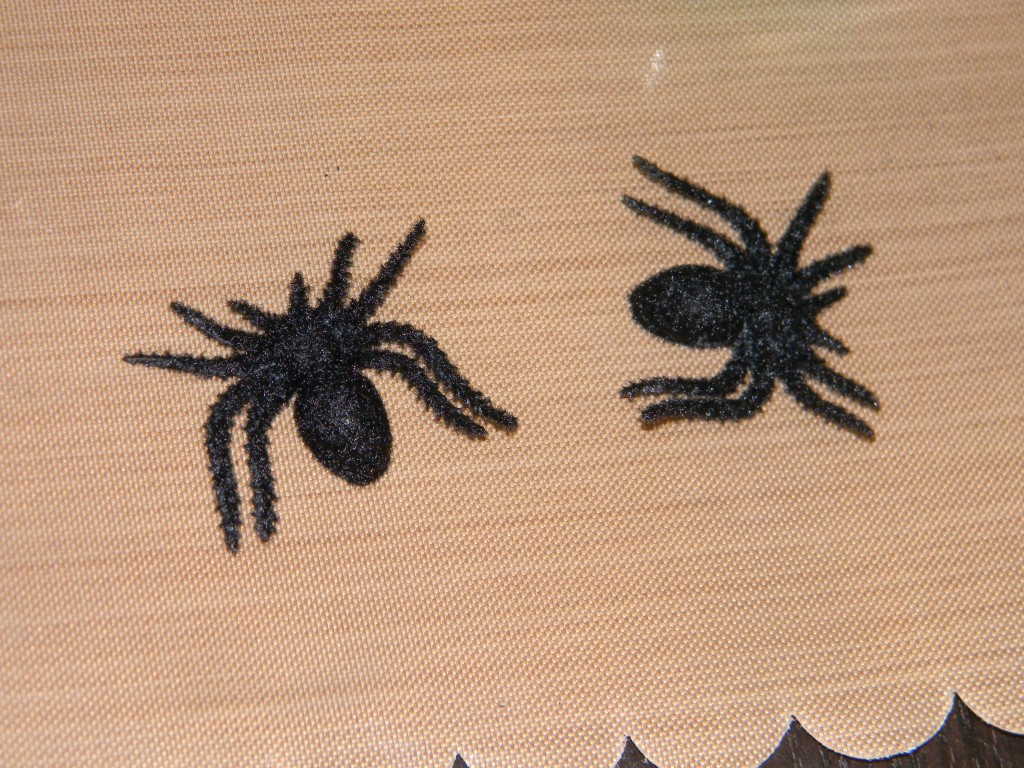
Then you paint them with some Mod Podge. ou could probably use a spray adhesive, but I wanted to make sure I got a nice thick coat of glue on them. Be sure to get the legs really well. These pictures are actually of my mom doing the spiders for me. Thanks mom!
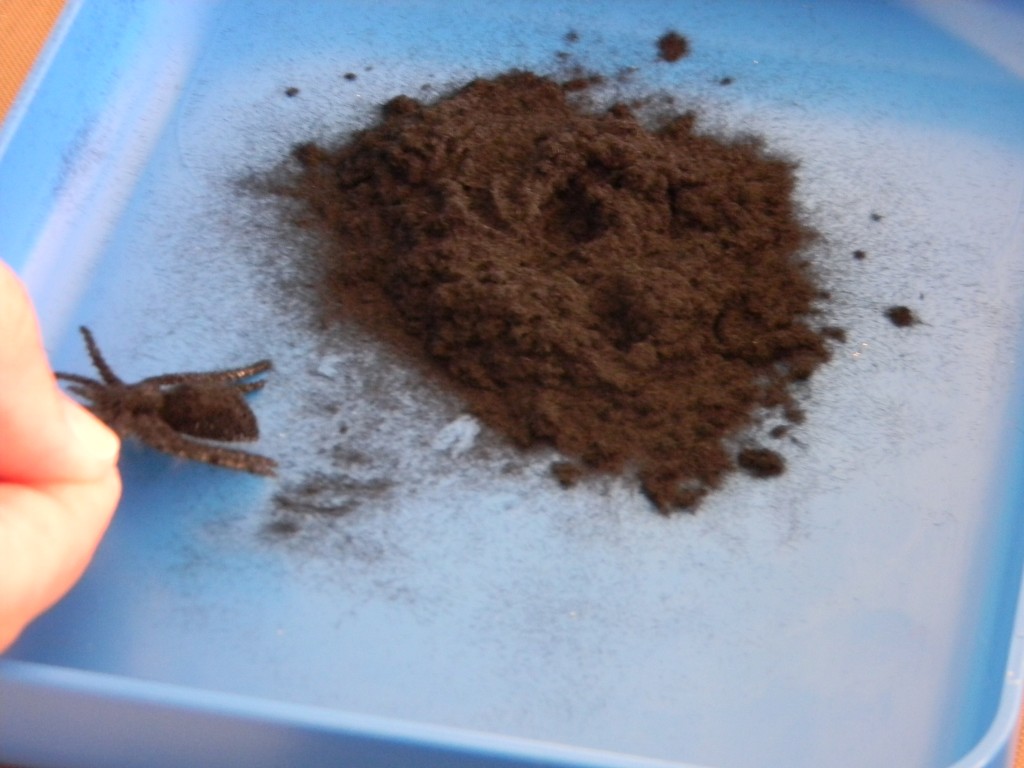
Once you get the glue on them, sprinkle the black flocking over the glue.
Voila! Instantly better. They look more like real spiders than cheap plastic ones. You might need to do some touch ups or do more than one coat of flocking. You can get flocking at just about any craft store. It’s usually somewhere near the glitter.
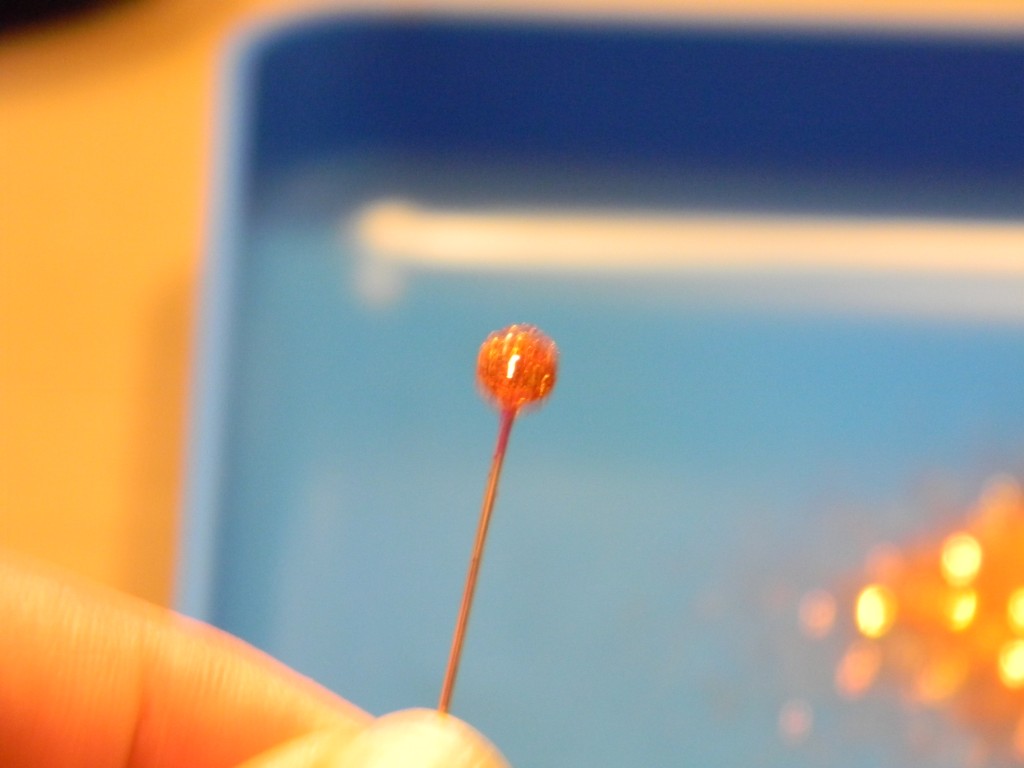
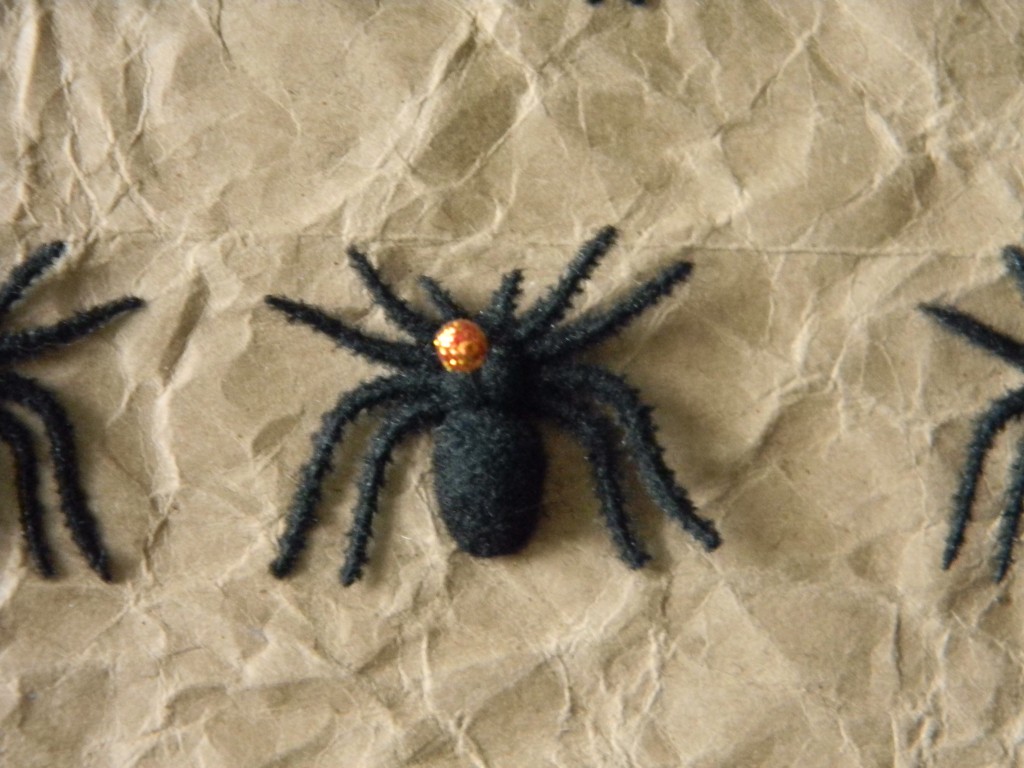
Next up is the pins. I just used some pins I already had in my pin cushion, but you can get some anywhere sewing supplies are sold. I used some Mod Podge on the ball of the pin and sprinkled the head with some glitter. I used Martha Stewart’s Fire Opal.
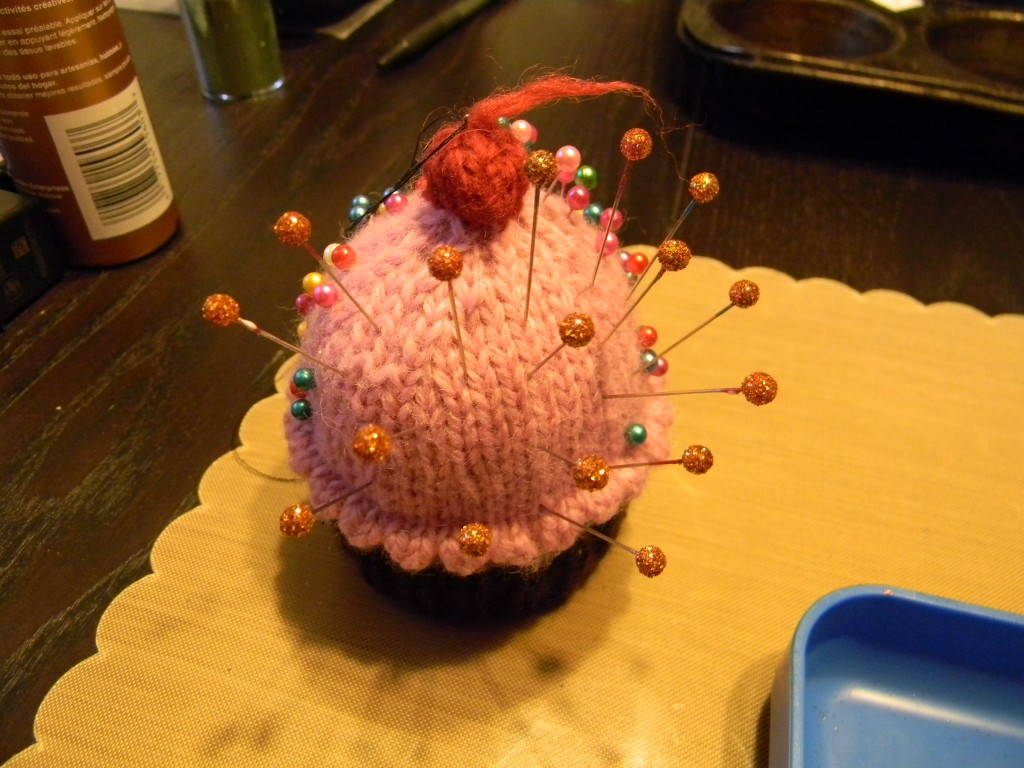
To let them dry I stuck them all back into my pin cushion. On side note, my mom made me this super cute cupcake pin cushion. Dexter, my little pom-chi, loves it. One day when I happened to leave it unguarded he chewed the stem off the cherry. So it’s not quite as cute as it was before he got ahold of it, but it’s still pretty adorable and functional.
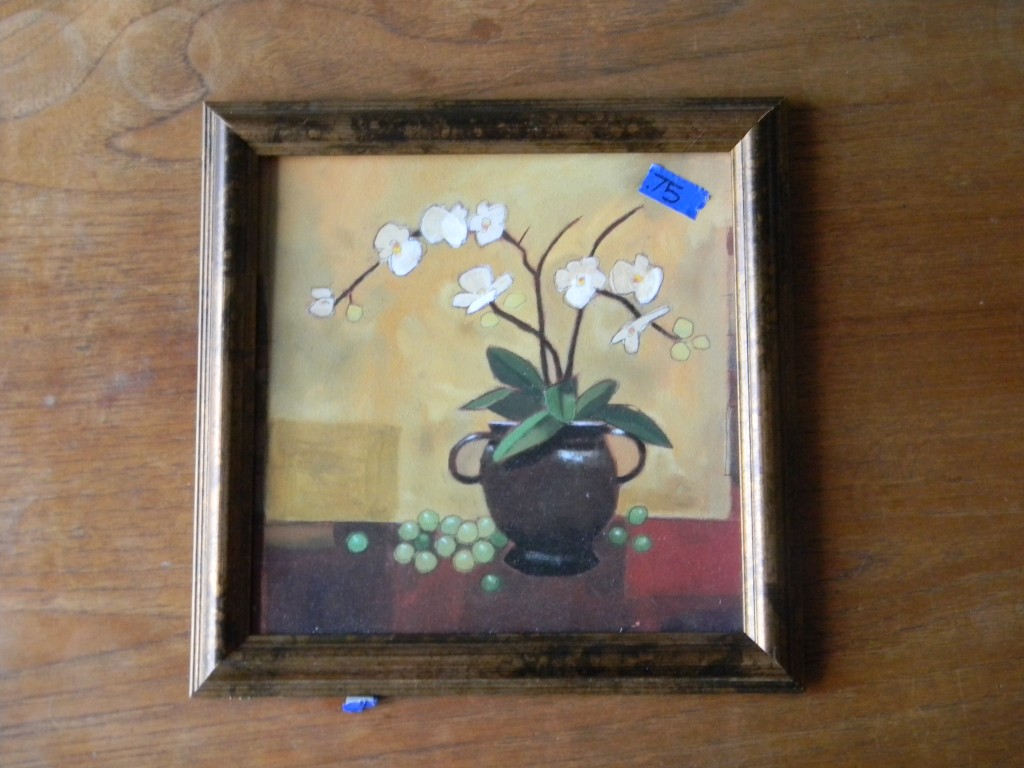
While my spiders and pins were drying I took my frame out for a good coat of spray paint. I got this frame from a local thrift store. It was $0.75. Score. I get all my frames from thrift stores. They’re SO much cheaper than even Walmart. Plus it’s a great when you need just a frame, with no glass, like this project. You could get a shadow box frame if you wanted the glass.
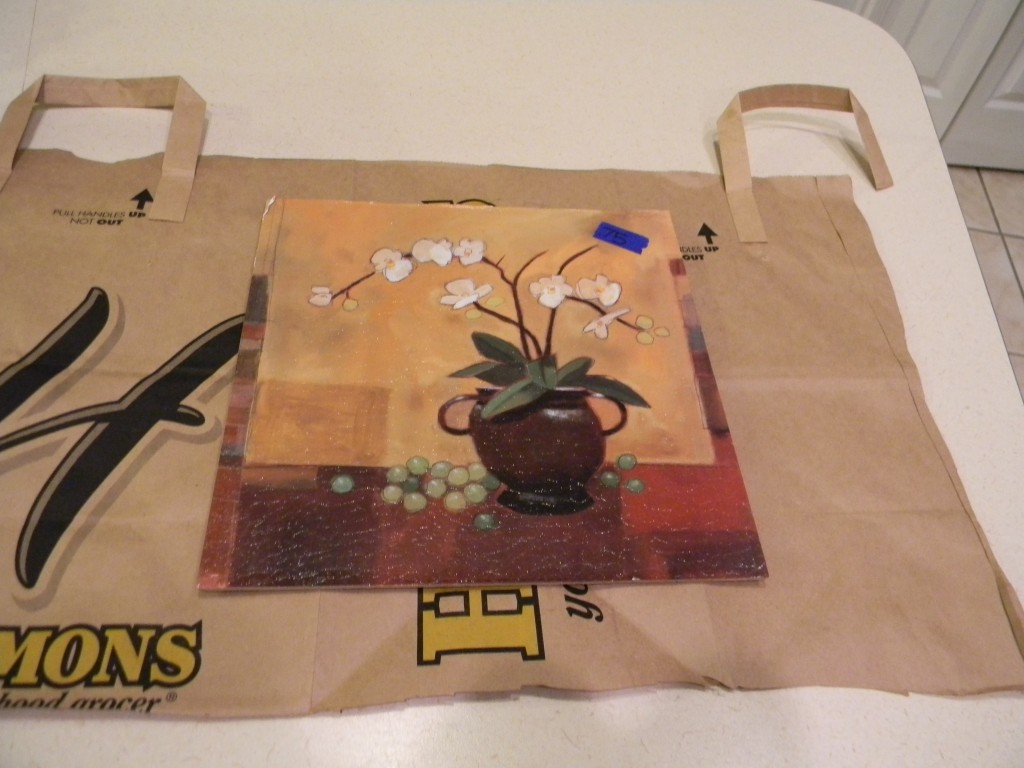
Next up is the paper bag. You could use kraft paper, but paper grocery bags are free! You could even just use cardstock or paint the backing to your frame. I cut it open so that I could lay it flat. I used the art that came in my frame as a guide as to how big of a piece of paper I needed. Then I added an inch to all the sides so that I would have a good amount of overlap. Make sure that you’re drawing on the outside of the bag, where the store logos are.
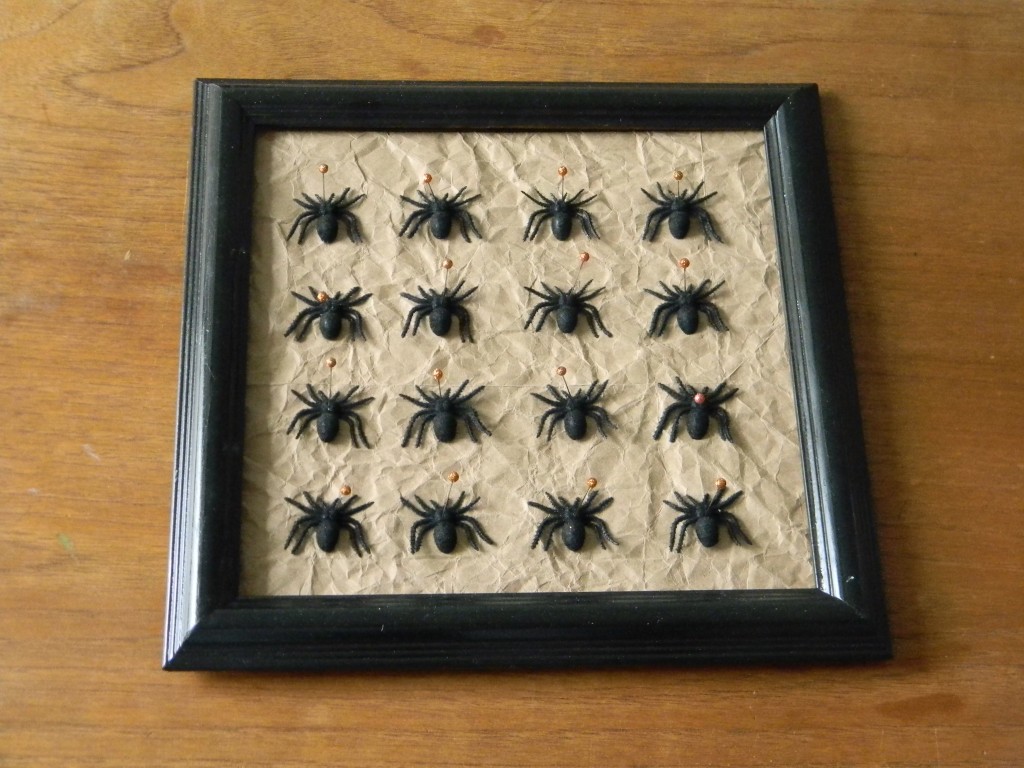
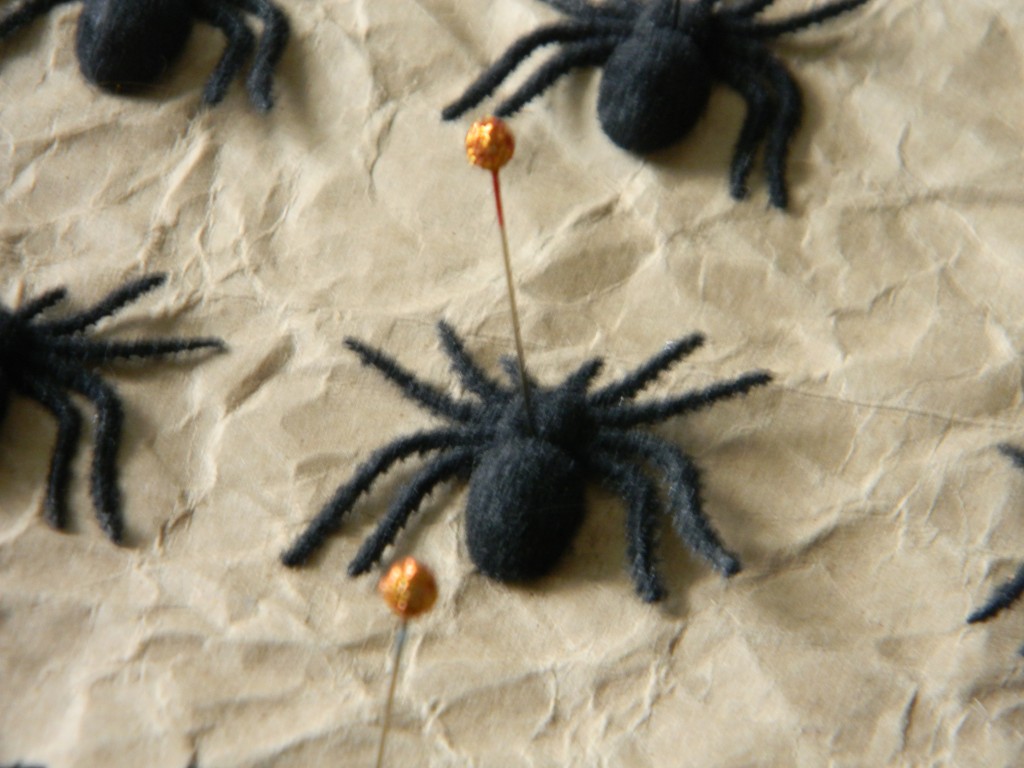
Once I had it cut out I applied it to the art piece that came with my frame. I just hot glued it to the back of the art piece. Once my board was covered and ready to go I put it back into the frame and turned my attention back to the spiders. I stuck the pins into each one and then laid the spiders out evenly on the covered board. I just eyeballed it, but you could measure if you wanted to be more precise. Then I hot glued the spiders in place.
Doesn’t it look so cool? It’s a great addition to any Halloween gallery. This project cost me a total of $0.75, for the frame. Everything else my mom or I had on hand.




[…] blog, so I think she and I must be kindred spirits. Rickabamboo contains not just recipes, but cute crafts, giveaways and updates in the life of her adorable baby boy. I am so glad she could visit today, […]