Make your own Trick or Treat Yourself Banner with this easy no-sew tutorial to add to your Halloween themed home decor.

Who is excited for Halloween? Me! It’s my favorite holiday.
Probably because it’s in the depths of fall. Which is also my favorite.
And it’s lots of fun.
And there are monsters, and witches, and pumpkins.
And let’s not forget all the candy.
Who doesn’t love Halloween? How can you not love Halloween?
So even though it’s still summer, I’m getting my Halloween craft on. In my opinion, it is never too early to start working on Halloween or Christmas crafts.
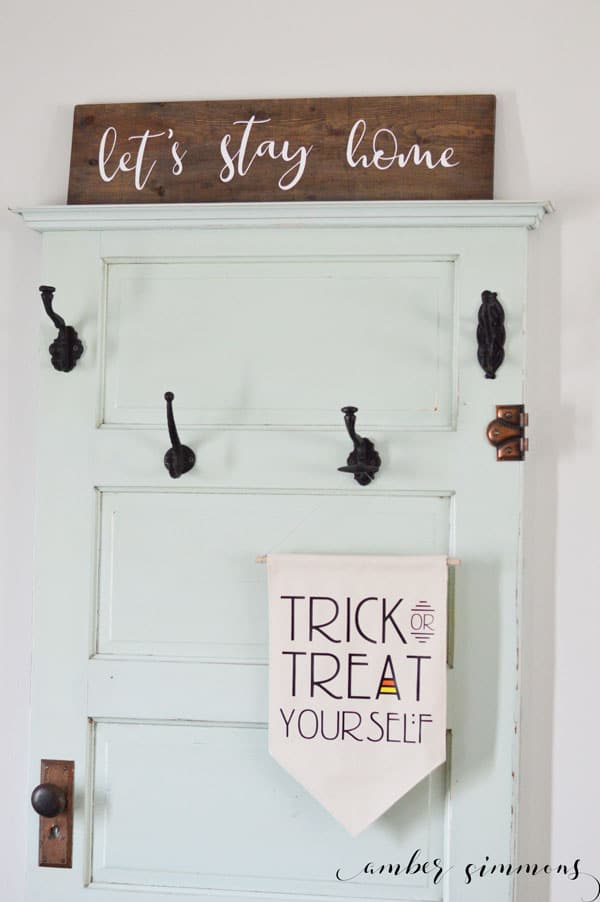
When my friend ask me if I wanted to have a craft day a few weeks ago I said of course. Then I asked what we were going to make.
She said that she wanted to make a little canvas banner for her wall. I have been wanting to make one of those as well. It’s been on my list for a while.
I started trying to think of ideas of what I wanted to put on mine. I remembered a sign I had seen on Pinterest a while back that said “trick or treat yourself”.
I don’t know about you, but I’m a big fan of the treat yourself philosophy. Maybe a little too much so. Haha.
So I decided that would be perfect for a cute little canvas banner. I made up this design using ITC Rennie font in Cricut Design Space.
I love this font. It just says Halloween to me. Without being very creepy looking.
Although it also says American Horror Story to me. I think it’s a very similar font to the American Horror Story font. (If you are looking for the American Horror Story font there’s one called Hill House on dafont.)
Do you watch that show? I like it… Sometimes. I don’t watch all of the seasons. The first season was great.
I liked Coven, whichever season that was. I can’t get behind the clown seasons. I’m not even afraid of clowns, but those clowns creep me out.
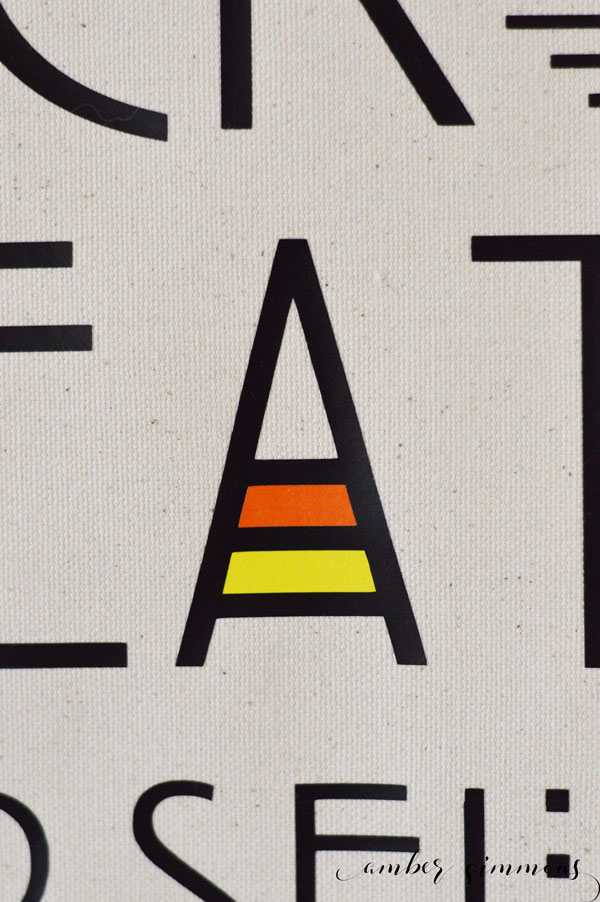
Anyway, back to the craft. The font was perfect because it’s Halloweeny. And I love the A in “treat”. I thought it was perfect for a candy corn.
It was already divided into thirds. I opted to not do a white section because I was doing an off-white banner.
But if I put this on a black banner I definitely would have put a white section on the candy corn.
Let’s get started.
Supplies
Cricut Maker
Rotary Blade
Fine Point Blade
12″ x 24″ Fabric Mat
Cricut EasyPress
Cricut Iron-on Lite in black
Cricut Iron-on Lite in yellow
Cricut Iron-on Lite in orange
Cricut Iron-on Lite in white (optional)
Canvas
Dowel
String for hanging
Stitch Witchery (1/4″)
Stain or paint (optional)
Trick or Treat Yourself cut file
How to make a canvas banner with the Cricut Maker
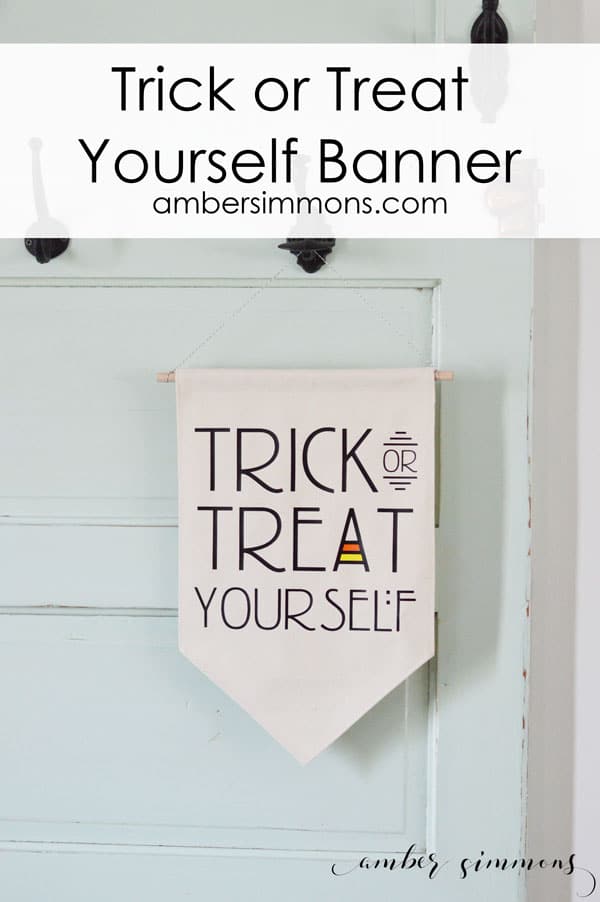
First, you want to cut your canvas for the fabric mat, 12″ x 24″.
Cut the banner using the rotary blade on the canvas material setting.
This is a very easy no-sew project. Press the edges under a quarter of an inch.
Then I used quarter-inch stitch witchery and sandwiched in the fold to give the front a nice finished edge.
For the top of my banner, I actually had the very top of my banner as the selvage edge. So I didn’t have to do any finishing of that edge.
And then I left a decent sized pocket for my dowel by folding the top edge down the back about 1.5″.
How to make a Trick or Treat yourself banner
Now we’re ready to cut out the iron-on. Make sure it is sized for your banner. If you used the banner from the cut file it is already the correct size.
Also, make sure that you mirror the image since it is text.
As with all of your projects preheat the banner to make sure there is no moisture. This gives it the best adherence of the iron-on.
After you have it all weeded place the candy corn pieces on the A where they belong. This will help you place them properly on your banner.
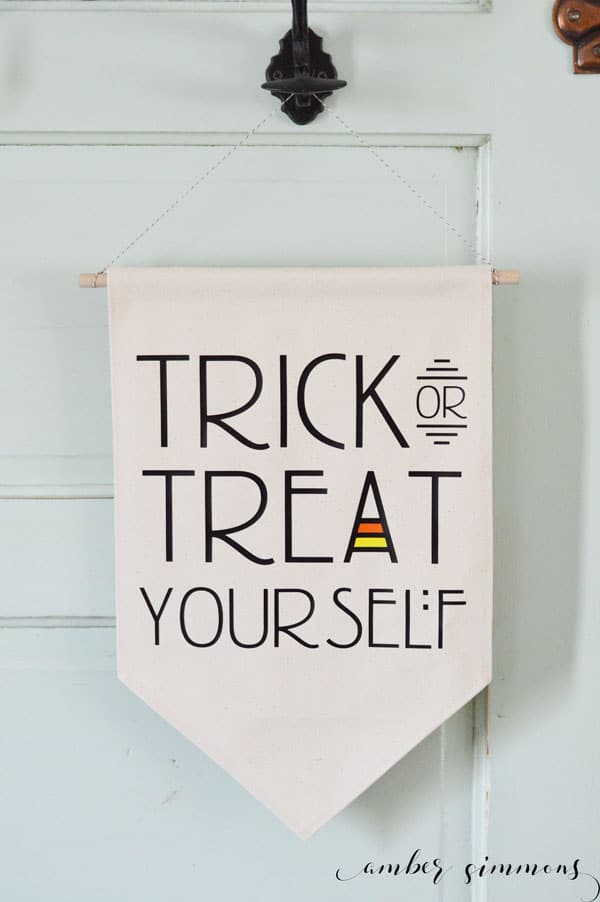
Place the text on your banner where you would like it. Press the A firmly to get the candy corn pieces down on the banner.
Depending on how closely you trimmed down the candy corn pieces you might have to do them one at a time so they don’t overlap each other.
Carefully peel the text back until you can access the candy corn pieces. Hold them in place as you peel the text all the way off and set it aside.
Press the candy corn pieces in place. With your Cricut EasyPress.
Once you have the colors in place line the A up over the top of them and press the text on with your Cricut EasyPress.
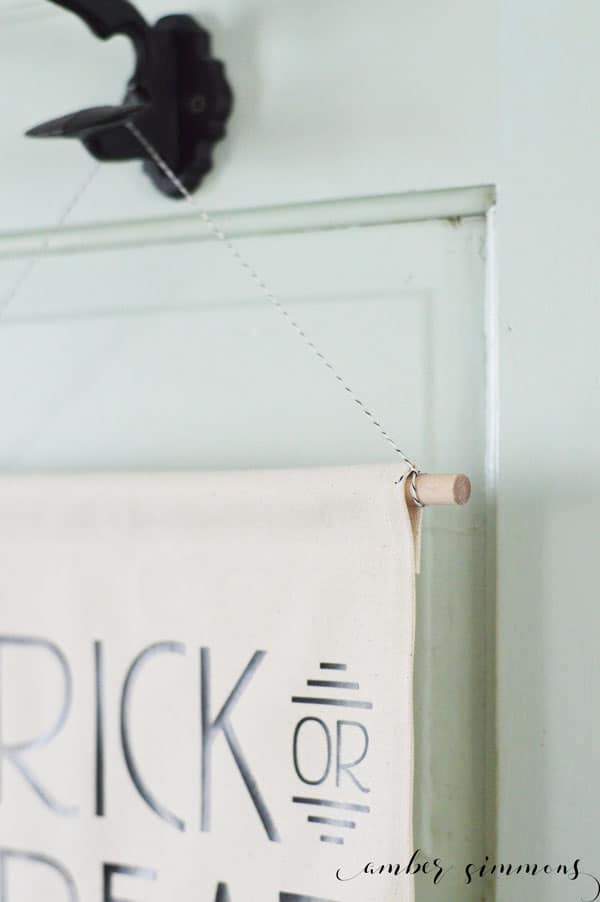
I cut my piece of dowel down so that it just stuck out the edges a little bit, about 13″.
Then I painted it with some watered down brown acrylic paint with a touch of gray thrown in. So it’s more of a wash than a paint or a stain.
Just to add a little bit of color to the nude wood.
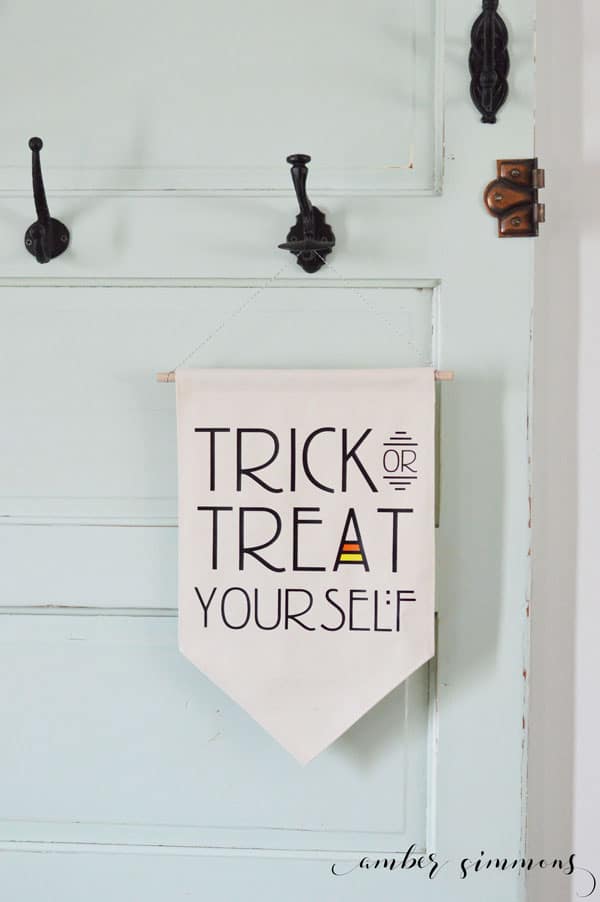
When it was dry I slid it in the pocket and tied a piece of black and white baker’s twine around either end of the dowel to hang my little banner.
I think it turned out absolutely darling. I love it. Are you ready to get your Halloween crafts on?
Check out my other Cricut projects here.

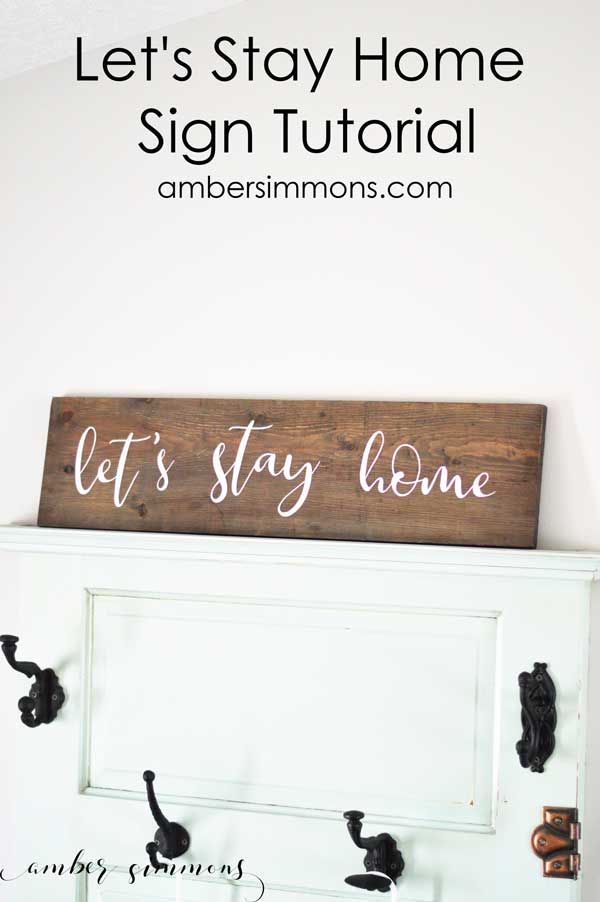
Love the cute sign on the top of the door? Check out the tutorial here.
Be sure to join my Makers Gonna Make group on Facebook for more Cricut ideas, help, and fun.




Leave a Reply