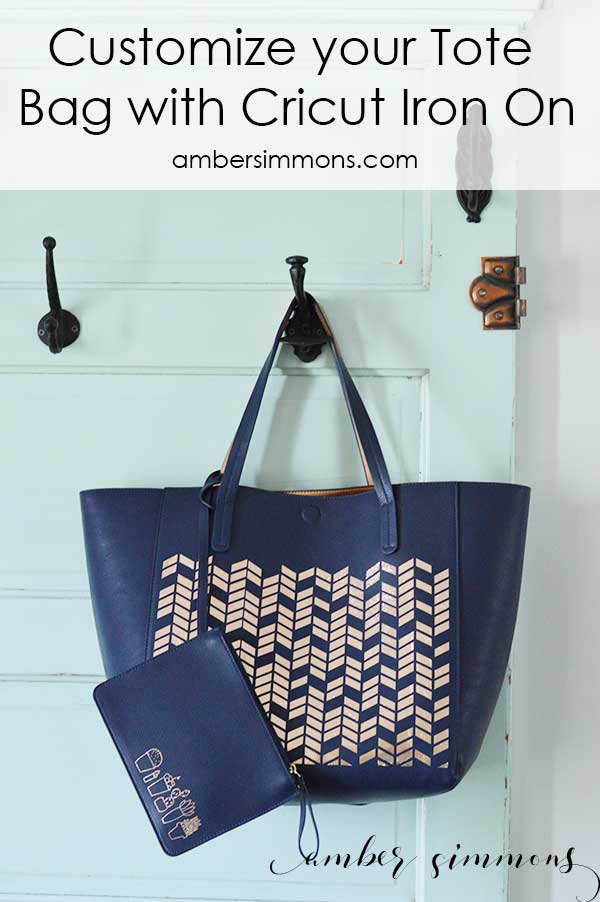
This tutorial shows you how easy it to customize your handbag with Cricut iron on to make beautiful, one of a kind purses, zippered pouches, and more.
If you follow me on social media, whether my Instagram or Facebook page, then you know that Cricut just held their Mountain Make-a-thon event here in Salt Lake City and that I was lucky enough to attend. You can see my post on how fun it was and the exciting new products they announced here: What is the Cricut Maker?
So, as a maker, of course, I had to make all the things to take with me to the Make-a-thon. One of the things I made was a new handbag. I swear I buy/make a new bag for every event that I attend. But I mean, it had to be done right? How you can you go to a crafty event and not make things for it?
Anyway, I wasn’t planning to make a bag. Or even buy a new one. I was at Target picking up a few things that I did need and I happened to see this reversible tote. It was on clearance 70% off. So how could I just leave it there? I love navy and the inside was a pretty golden color. I saw it and immediately thought of the Cricut Mountain Make-a-thon and wondered if I would be able to iron on some rose gold. The bag is faux leather, so I wasn’t sure how well, if at all, the iron on.
The bag is faux leather, so I wasn’t sure how well, if at all, the iron on material would adhere. I decided to take a chance and go for it. So I put it in my cart and it came home with me.
Supplies
Tote bag
Cricut Explorer Air 2
Rose Gold Foil Iron on
Iron
To see how well it would work, I put an iron on design on the little-zippered pouch first. For that, I chose Succulents #M1AABF32. Because, well, succulents. The design was super cute. I sized it to five inches to fit on the pouch. I wanted it to go across the bottom, but not completely.
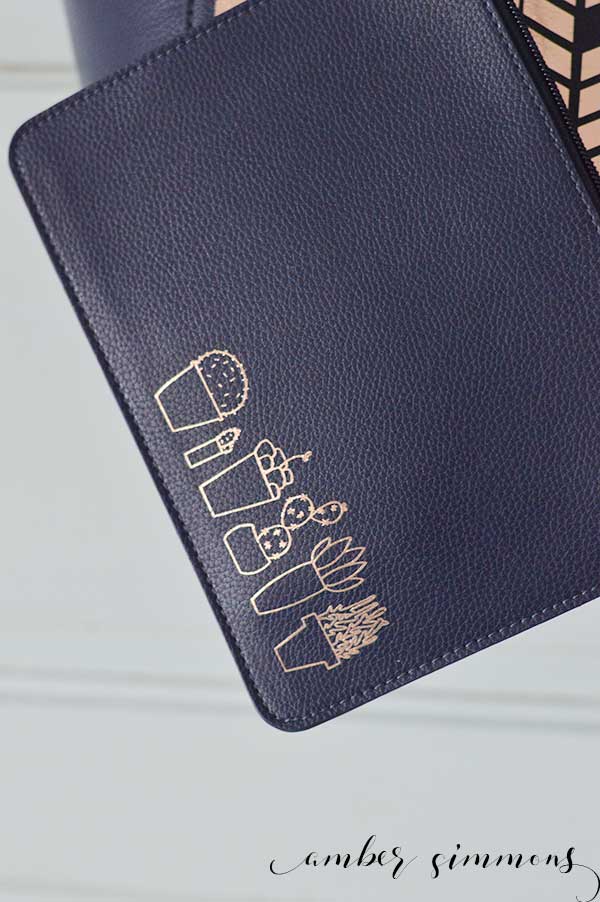
I cut it from rose gold iron on and weeded with my Bright Pad, which was a HUGE help with all the tiny pieces. Then came the moment of truth. I placed the succulent design on the pouch, put a piece of broadcloth on top for good measure, and ironed it into place. I was afraid with how hot the iron has to be to get the iron on to adhere that it might melt the faux leather. It was totally fine. And I was giddy with how cut my little succulents looked on the pouch.
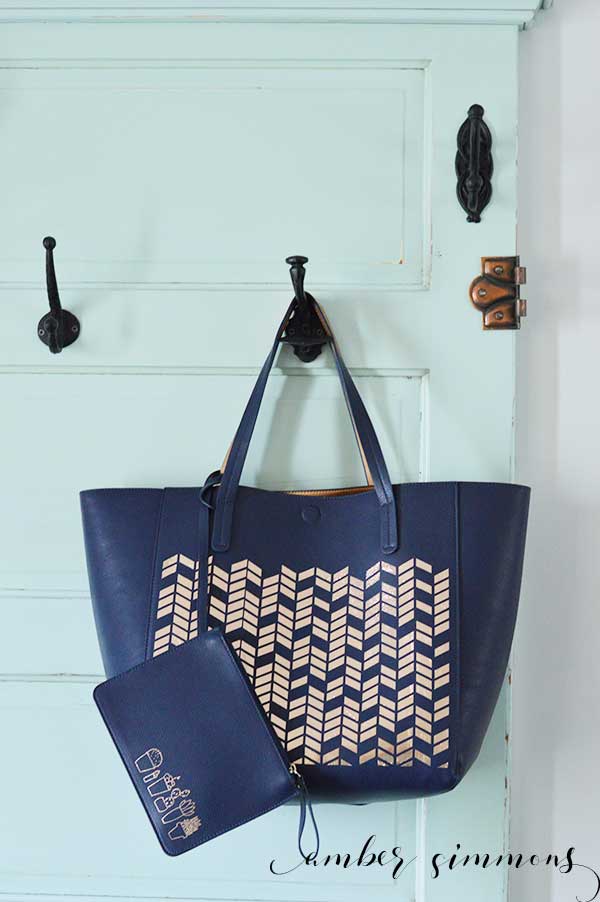
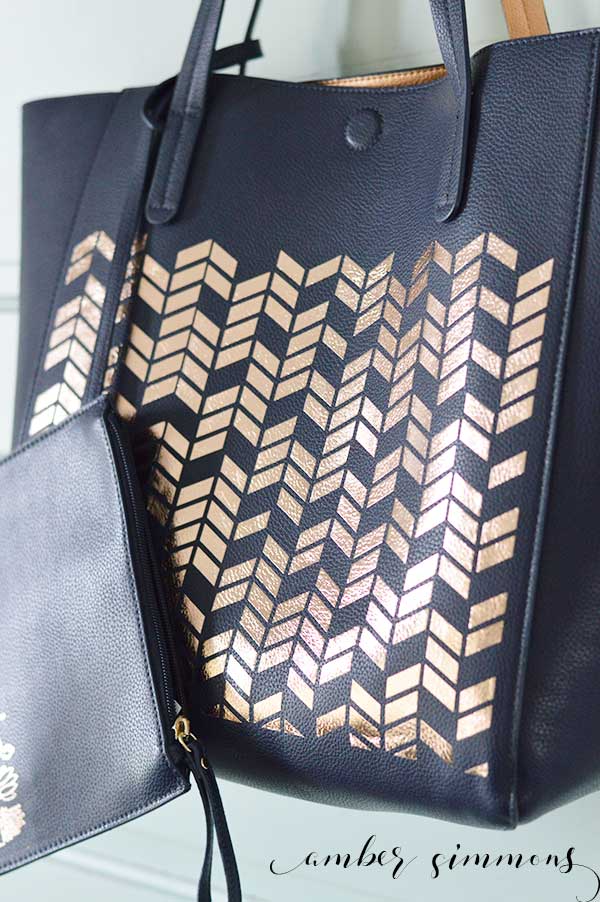
For the bag itself, I knew that I wanted a pattern that was simple, yet elegant and would look stunning in the rose gold. I chose Arrow Feather Pattern Overlay #M46280. The front of this bag was about 15 inches wide, so I went with a 14-inch design. I only had a 12 x 12 mat so I had to piece it, but if you have a 12 x 24 mat you can cut and iron on all in one. When I was ready to iron I opened the bag and pulled it over the end of the ironing board so that I was only working on the front side of the bag.
I put down both pieces so that I knew everything was in the right place, and then I took the smaller piece off and focused on ironing on the larger piece first. It was a bit tricky. There were a few places that I had to keep going over because they didn’t seem to adhere and a few places where I practically melted the iron on.
I blame these issues on my iron. I have had it for the better part of 10 years and I have been wanting to get a new one. But since I haven’t, this is what I was working with. I think a lot has to do with how big the design was and I didn’t really understand where the hot and cold spots on my iron were as well as hot greatly the temperatures vary.
Most irons contain one small spot that heats up the most and everything else is varying degrees of the heat setting depending on how close they are to the hot spot. This is why I can’t wait to get my hands on the EasyPress. Nine square inches of evenly heated iron surface? Yes, please!
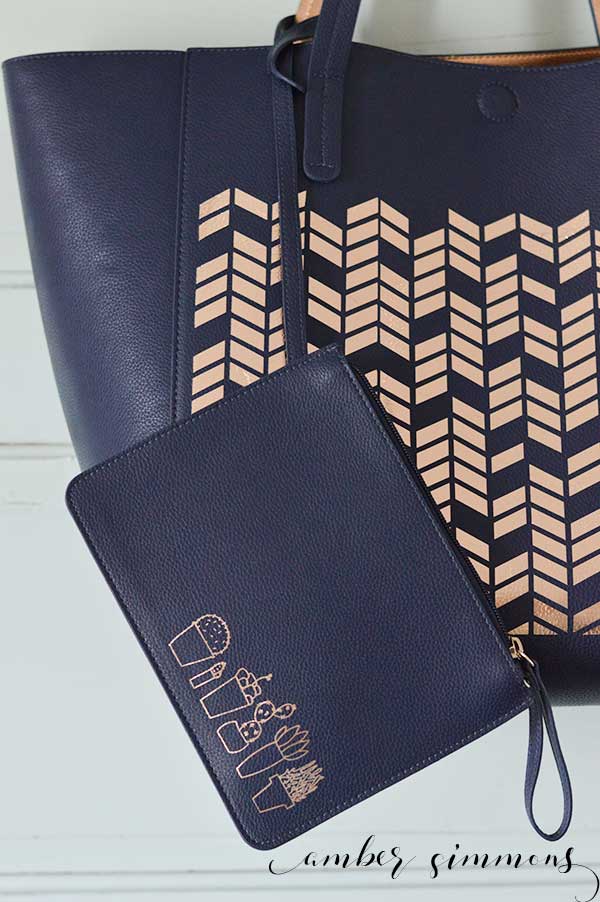
Peeling up the plastic transfer sheet was like magic. The rose gold went from being flat and smooth to taking on the texture of the faux leather. Once the first piece was in place I lined up the second and repeated the process.
I am thoroughly happy with the result. I never had any issue with the faux leather getting too hot. So it was really an easy project.
Plus people couldn’t believe that I had made it. They thought I must have bought it like that. That’s a win in my book. I see myself carrying this tote bag for a long time to come.



It’s interesting to learn that when it comes to customizing a bag that there are somethings that I need to do to help get the look that I am wanting. I am glad that you mentioned that if I am going to use broadcloth to help iron the decal I want properly. I like how you mentioned that this will help with keeping the leather from melting but still keep the succulent design that we are wanting.
Where would you find the designs? I’ve searched using the numbers provided but can’t locate them. Please