
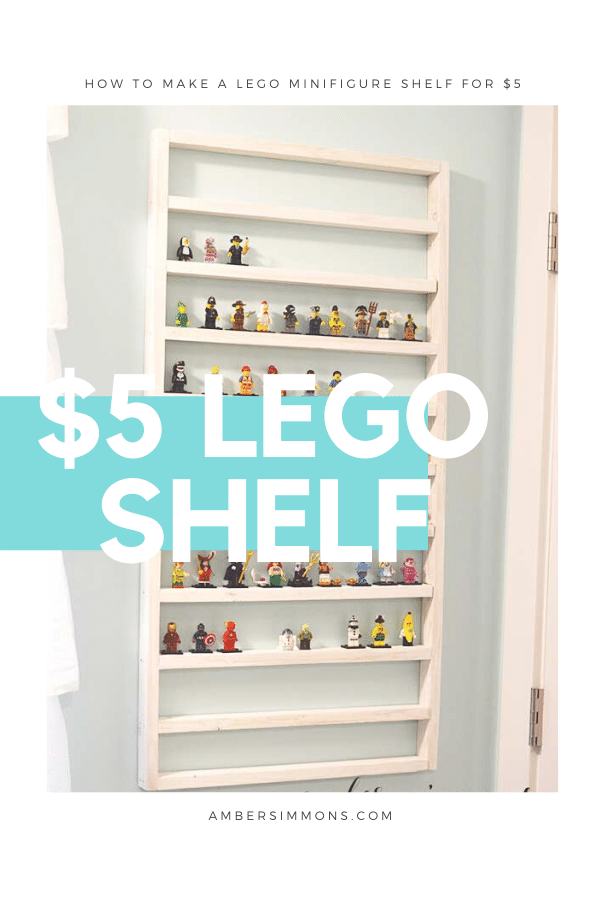
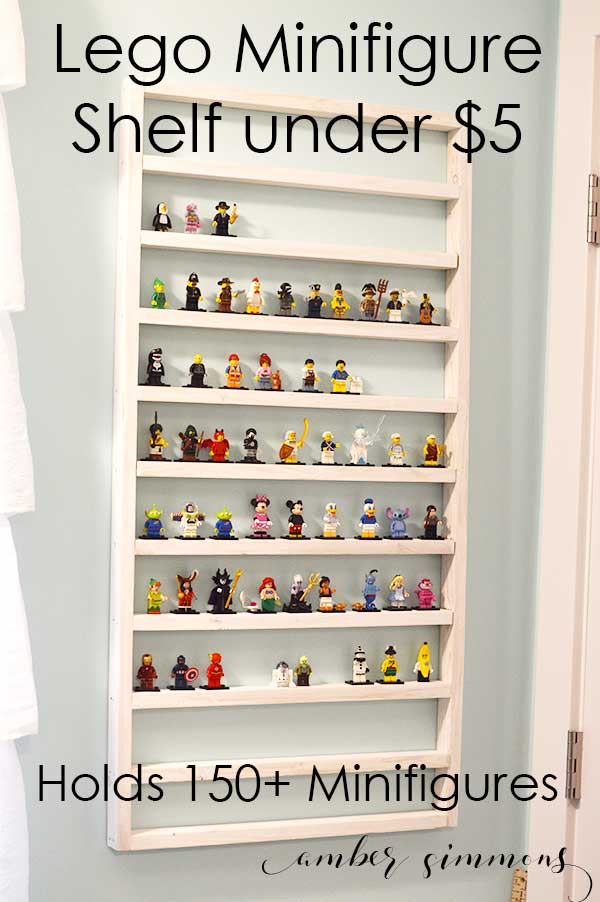
This easy tutorial for a DIY Lego Minifigure Display Shelf can hold over 150 Lego Minifigures and costs less than $5.
If you have kids then you probably have Lego Minifigures.
Even if you don’t have kids, if you grew up loving Legos then you probably have Lego Minifigures.
If you have kids and you grew up loving Legos then you probably have your own Lego Minifigures.
I know that I totally do.
I have a collection that is just Mama’s.
They aren’t really for playing with because I don’t want to lose pieces.
Which doesn’t mean they never get to play with them. But they aren’t stored in all of the other Legos.
Every time a new a series comes out I spend a good amount of time feeling all the baggies trying to find the ones I want.
And trying to make sure that I don’t end up with duplicates. Who else is feels the Legos?
Speaking of, the new series comes out May 1st! So be sure to be on the look out for that.
If you go to the Lego store the employees might be able to help you figure out which ones are which. Also, if you can’t seem to find the one you are looking for you can ask them to bring out a new box.
It started out with just a couple of fun ones. You know, like the guy in the chicken suit. I was actually given that Minifigure. And I thought it was so fun.
That’s when my Minifigure addiction started. And it morphed into a few dozen Minifigures.
So where does one store them all?
On a special shelf of course. It makes me so happy to see them all sitting up on their shelf.
Let’s talk supplies.
Supplies
Three 1 x 2 x 8 furring strips
Nails
Nail gun or hammer
Ruler or measuring tape
Optional: paint
Build Your Own Lego Minifigure Display Shelf
Actually, this isn’t even all of them. I have a gallon sized bag that has a bunch of them. It has yet to be found since the move.
Well, it was found. And then I put them in a “safe” place. So yeah. Who knows when they will resurface?
I made this quick and easy Lego Minifigure shelf to hang on the wall. The best part? It cost less than $5!
It was actually under $3.50. Can you believe that? That’s less than the cost of a Lego Minifigure.
You just need three 1 x 2 x 8 furring strips and some nails. They are $1.05 at Home Depot. They are usually on an end cap.
You have to dig through to find some good ones. Or you can buy a whole bundle. The bundles seem to be in much better condition than what is already loose.
I recommend trying to get some from a bundle if you can. They tend to be straighter and have fewer knots.
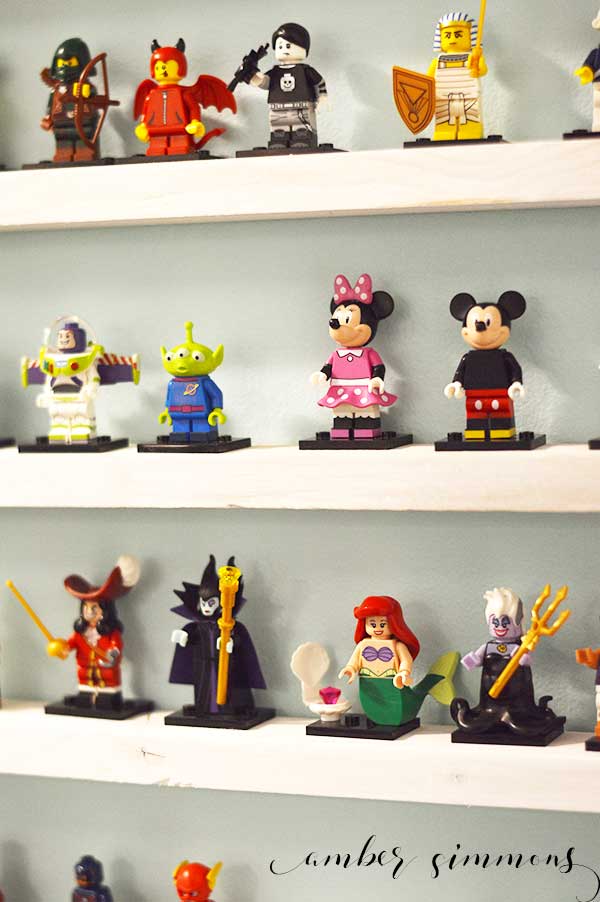
Note: This will fit most Minifigures, but not all. For example, Medusa has a long tail behind her, so this shelf is not deep enough. You can always use wider boards such as 1 x 3s or 1 x 4s and follow the same cut and assembly.
Lego Minifigure Display Building Plans
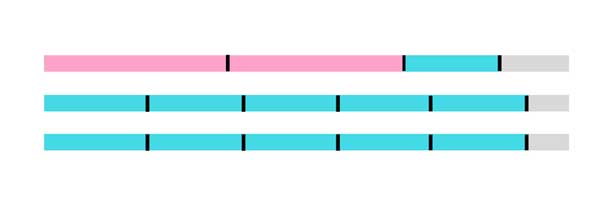
Here’s the cut list:
Two (2) 38″ pieces (pink)
Eleven (11) 18″ pieces (blue)
Assembly:
Note: You are making a 2″ deep shelf. So when assembling the 1″ side should be facing out. Also, all 18″ pieces will go between the 38″ pieces
Sand all ends and sides. If you are staining do so now.
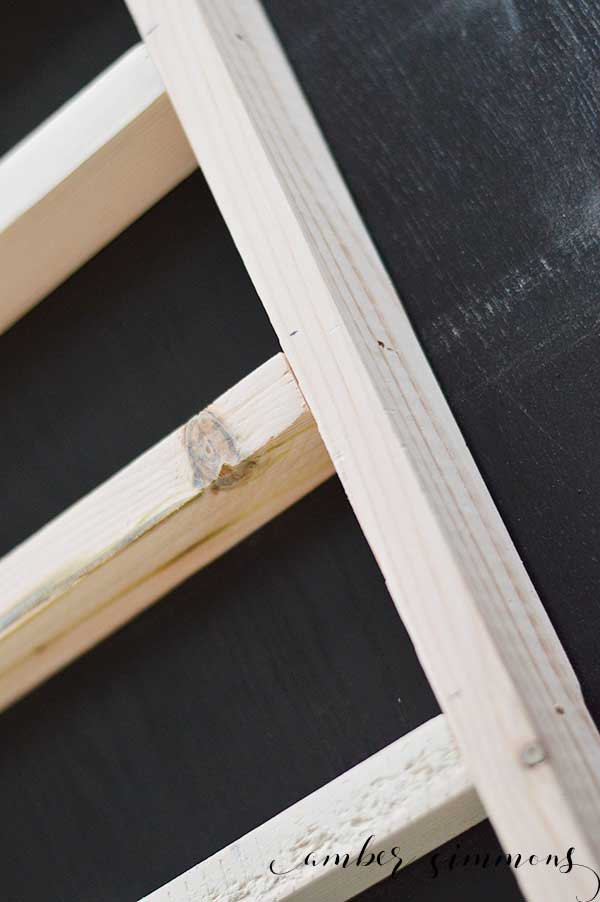
Lay the 38″ piece on its side and snug an 18″ piece right up the end to create a corner. Nail in place.
Measure 3″ from the 18″ piece and mark. Put the next 18″ piece right up on that mark. Nail in place. Repeat until you reach the final 18″ piece.
Put the final 18″ piece at the end of the 38″ piece to create the corner. Nail in place.
Take the other side piece and stand it on top of the first side. Mark all your shelf spacings.
Put the final side in place and nail the shelves according to the spaced markings.
Done!
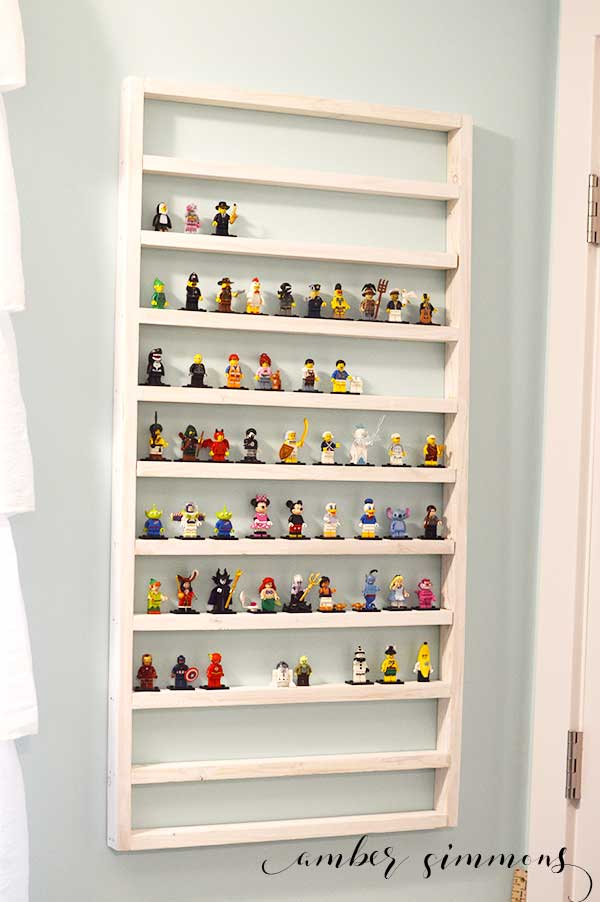
I whitewashed mine with white craft paint thinned out with water.
You can add hooks on the back to hang, or simply mark where the top corners will go and put nails sticking out of the wall accordingly.
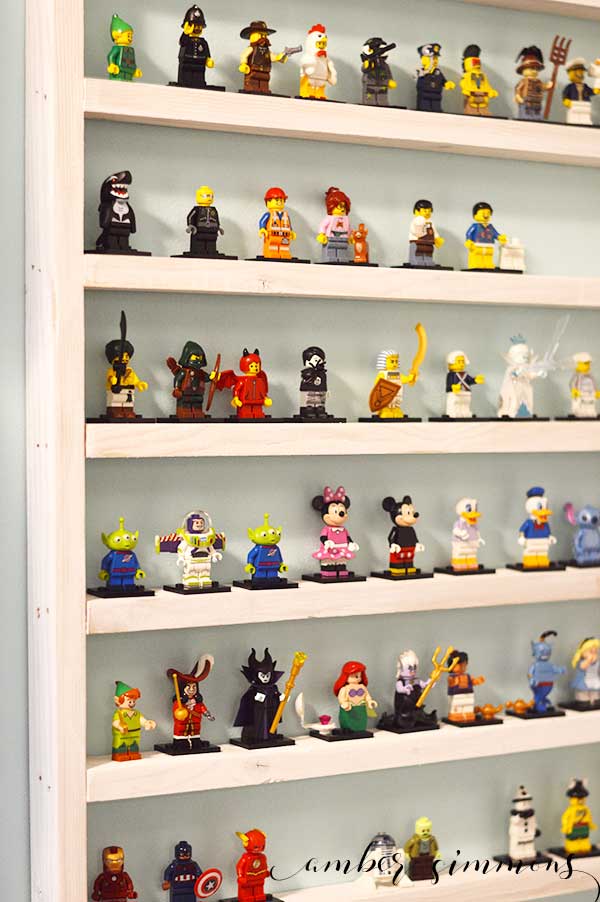
Each shelf can hold fourteen Minifigures standing on their little black plates.
The top can hold fifteen for a grand total of 155 Lego Minifigures!
I love how it turned out and I can’t believe that it took me so long to actually build a shelf to keep them on.
I have it hanging up in my craft room where I can see them and know that they are safe.
I have thought about using the Kragle but I don’t think I can do that.
$5 Lego Minifigure Display Shelf
This easy tutorial for a DIY Lego Minifigure Display Shelf can hold over 150 Lego Minifigures and costs less than $5.
Materials
- Three 1 x 2 x 8 furring strips
- Nails
- Optional: paint
- Hanger or nails for hanging
Tools
- Saw
- Nail gun or hammer
- Ruler or measuring tape
- Pencil
Instructions
- Measure and mark your boards. You need two 38" pieces and eleven 18" pieces.
- Cut on the marks.
- Lay the long pieces down and place a short piece between them all the way at the end to create a corner.
- Using a nail, attach them together.
- Repeat for the other side of the 18" piece. You have made one end.
- Using the measuring tape, measure 3" above the 18" piece and lightly mark on the long side pieces.
- Place another 18" piece at the marked lines and attach to the sides using nails.
- Repeat steps 6 & 7 to complete the rest of the ledges on your shelf.
- Paint your shelf.
- Hang on the wall using nails or hangers.
- Display all your Lego Minifigures.
Have you been to Legoland? Get Away Today can make booking your vacation a breeze.

Check out my other DIY projects for more fun.


This is great! I can totally use this for all my mystery minis as well. Cant wait to build it. Been looking fir some way to display them without it costing a ton!!
This would totally work for the mystery minis. Great idea.
*slow clap* This is an awesome DIY post, and I LOVE that you found a way to keep Legos from invading my valuable floor space. My feet will be forever grateful!
This looks like it would work great for hot wheels and other little toy displays. Thanks!
Definitely!
Great plan! Thank you for sharing. BTW you could cheat and find the codes for the blind boxes to get the ones you really want.😄 No one likes doubles. Peace, Karen
I’m pretty good at feeling them and knowing what is inside, but I didn’t realize there were different codes. I will have to check this out.
Love this! What are the overall dimensions?
Thank you!!!
It’s roughly 38″ tall by 20″ wide.
Where did you purchase the lego black plates? And how did you attach then to the shelf?
The black plates came with the lego minifigures in the mystery bags. I didn’t attach them to the shelf but you could glue them down.
How did you ensure the shelves are level? I really struggled with this!! 😭
I am wondering if this could be altered somehow to work for ROBLOX characters. They are a little bigger than LEGO figures. If you have made one for those, I would appreciate any help. We have lots of those. Also really want shelves for all my kids’ Skylanders games. There are so many, but super hard to dig through the box to find the right ones when they want them.
It could definitely be altered. I haven’t made one myself. But just decide how tall you want the shelf space to be and then add the width of the wood. Then choose how many shelves you want, add the top ledge to the calculations, and that will tell you how tall to cut the side pieces.
I really want to do this and would love to use a nail gun but haven’t ever done so. Would you be able to recommend a nail gun and the length of nails for this project? Also, what would you recommend I use if I wanted to add white backing? My walls are dark so the figures won’t pop out if I don’t make a backing. Thanks so much can’t wait to try
I would just get some cheap hardboard for the back and paint it white. I just used 1 1/4″ nails I believe but you could use a hammer and nails or drill some holes and set screws in instead.
Hi. Do you think I could use 2x2x8 strips? That’s the only size I could find