Tutorial on how to use Cricut Iron-on on wood to make a cute farmhouse style Let’s Stay Home Sign that looks hand painted without all the mess of painting.
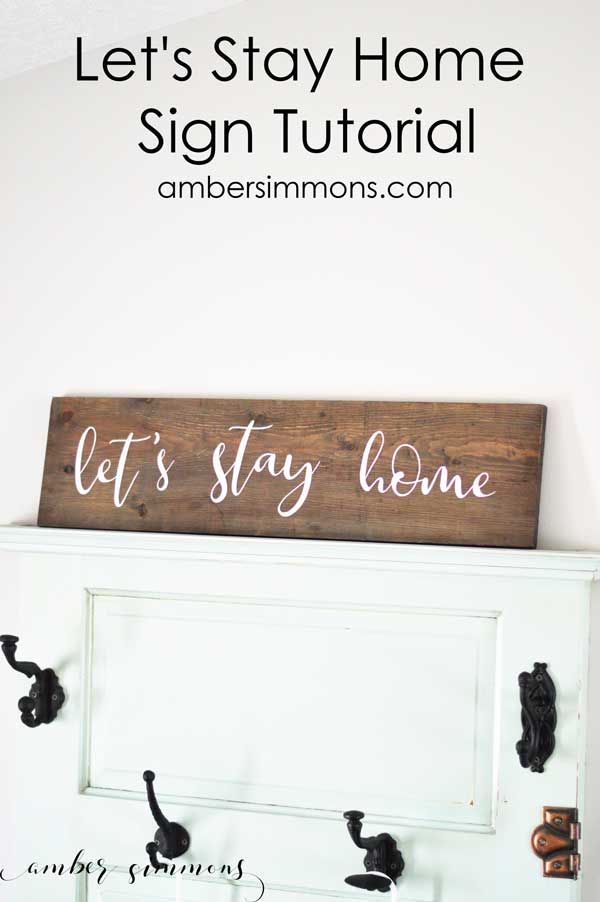
You might have noticed a super cute sign in my last post for the Couples Beauty and the Beast workout shirts.
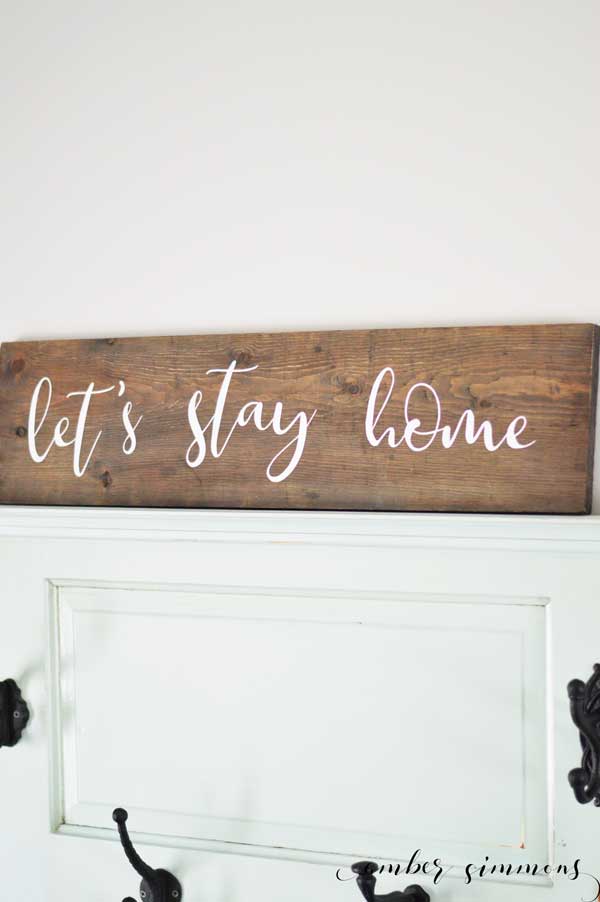
It’s just a wooden board that says “let’s stay home” in white on it. Would you believe me if I told you that I use iron on to put the words on?
That makes it so fast and so easy. And great for craft night, because you can just iron it on and be done. No waiting for the paint to dry.
The font that I used is called Boom and Farrow. It’s from Creative Market if you want to buy it you use it for all kinds of projects. Or I created a design for you to download here on my blog if you just want to make this sign.
Powered by Creative Market
This board was stained and sealed about 3 or 4 years ago to be a shelf. And as you can see it never became a shelf. So when I had an idea to try ironing onto would I went down to my basement and pulled that bad boy out. Ironing onto wood was not my idea. I happened to see it as a base material on the easy press settings. So once I saw it, naturally, I had to try it out.
Supplies:
White Cricut Iron-on Lite
Cricut Maker
Cricut Weeding Tools
Cricut Easy Press
Wooden Board
Design or Font
Since I had already originally sealed it, I sanded it a little bit too rough it up with some sandpaper first. I don’t know if that is needed or if it does anything to help. But I figured since sealers job is to protect wood, it probably wouldn’t allow the adhesive to bond very well. I did have some slight bubbling on the wood. And I think that that is probably sealer? Maybe it’s sap? I’m not sure. Just don’t use sealed wood. That’s the best plan.
So I cut the phrase out of white Cricut iron-on. My board is a little bit longer than the 24in so I had to cut each word individually and just try and space them out. It’s all one phrase in my downloadable design. So if you need to separate them you will need to cut them apart with the slice feature. Check out my tutorial on how to use the slice feature if you need help.
Once I had them in place where I wanted them I used Cricut’s recommended heat press settings for wood which is 300 degrees for 40 seconds.
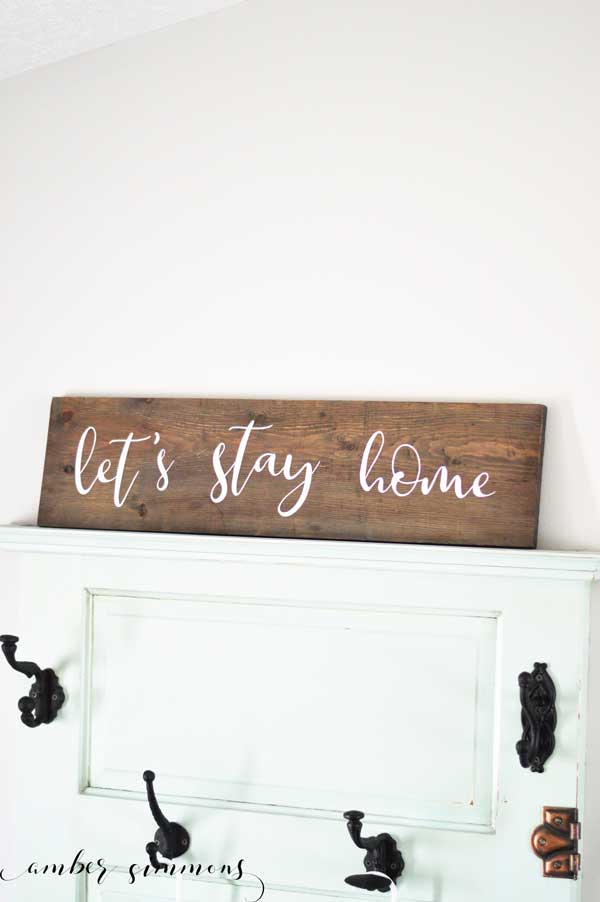
Now it took me a few times of using the easy press to get it to stay down. A couple places just didn’t want to adhere to the wood. They finally ended up doing so, I think maybe my board is not as flat as it looks. So when I would press the easy press down it wasn’t making complete contact. Or it was that it was sealed. Again, don’t seal it before ironing on.
Once it all looked like it was on there I waited for it to cool and did a cool peel. There are some imperfections, slight bubbles in a few of the letters. But overall I’m very pleased with it. Considering that this board was not intended to be ironed onto. Plus, I think those imperfections make it look more like it was hand-painted.
And I didn’t even have to paint. Or Cut vinyl as a stencil. I love the idea of stenciling. I love the way paint looks on wood. But oh my gosh, stenciling is a big pain to me. It is not something I excel at.
I love how happy it looks up there. And I can see it from my kitchen. It reminds me that I love to be here. Even when it’s a mess.
Want more Cricut Projects?
Have you tried using iron-on on wood? Did you love it?





Wondering if you would varnish/ seal over vinyl; would it be safe to put outside?
If I were going to put it outside I would probably put something over it. Just to be safe.