This fabric alphabet is so easy to cut with the Cricut Maker. It is the perfect gift for toddlers and baby showers.
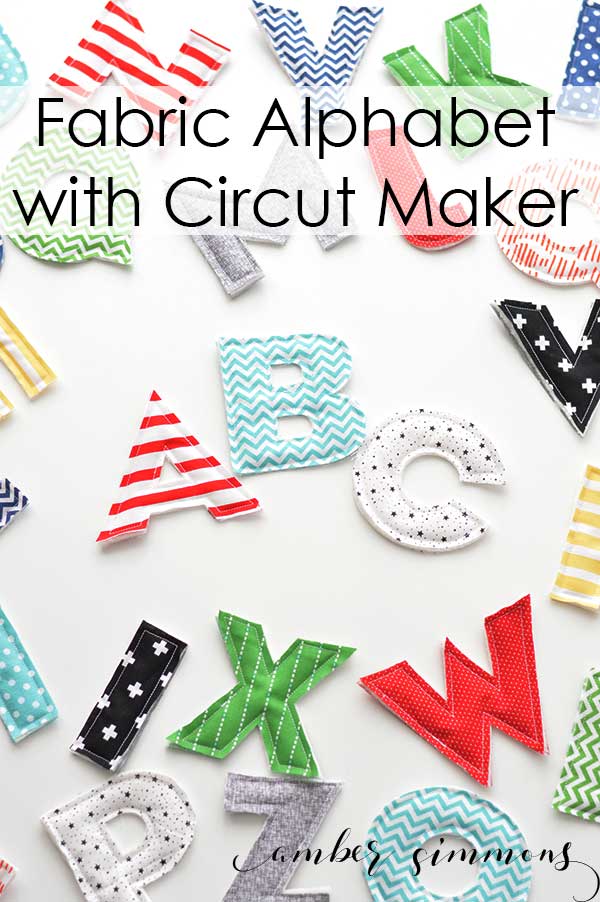
Hey everyone. Today I am sharing the tutorial for these super cute and simple fabric alphabet letters.
I have wanted to make these cute fabric letters for years but I just couldn’t motivate myself to do it and cut them all out.
In comes my favorite crafting tool, the Cricut Maker, and it makes this project a breeze.
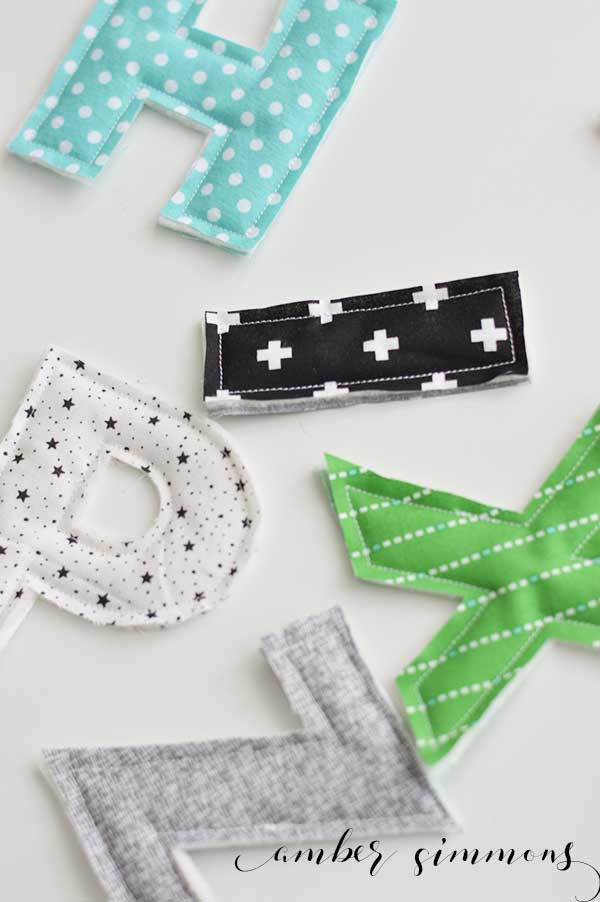
This project is three layers. It’s a quilt sandwich.
Fabric, quilt batting, fabric. I just topstitched and left the edges raw.
I think the letters are super cute that way.
My fabric selection came from my stash. Some of it is from Joann’s a few years ago.
Some of it is from the quilt shop a while back. And a few of them are Reily Blake for Cricut.
Supplies:
- Fabric Alphabet Cut File
- Fabric
- Quilt Batting
- Cricut Maker
- Cricut Fabric Mat
- Sewing Machine
When you go into my Design Space file you will see a rainbow alphabet, a flipped rainbow alphabet, and a black alphabet.
The rainbow ones are to be cut from your fabric choices. For my alphabet, I used thirteen different fabrics.
That way I had two letters from each print. You can do as many or as few fabrics as you like.
If you are going to change and do a fewer number of fabrics go into the color sync tab and in your right-hand column and move the letters around that way.
It’s much easier than changing each one individually.
For more Design Space tips check out my Design Space 101 series.
First I cut out my batting.
I had the Maker cut the batting for me.
I LOVE the rotary blade, you guys.
It is seriously the best.
I just put my batting that I had leftover from a quilt on my mat and chose “Quilt Batting” as the cut setting.
You want to cut all of the black letters from the batting.
They are ungrouped so that they will rearrange on the mat to the best cut position.
If for some reason one messes up, simply change the color of it and it will be placed on its own mat to be recut.
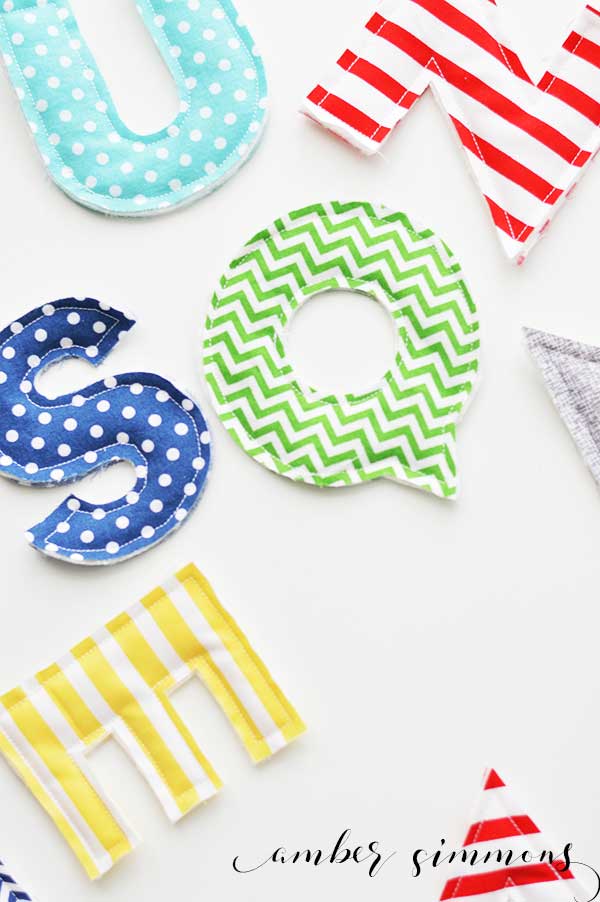
Next, I cut all of my fabric. You will need to cut a regular and a flipped letter for each letter in your fabric alphabet.
For some letters, it doesn’t matter, like “A”. It looks the same from the front or the back.
But for “B” you want a regular B and a backward B.
They are all ready to cut out, but if you change the colors around make sure that you have the front and the back of the letter.
As I was cutting the fabric I sorted them with the batting.
So I stacked all the “A”s together and all the ‘B”s so that they were all ready for me to sew when I sat down.
To create the sandwich I placed the back the letter with the right side of the fabric on the table.
Then I put the batting on top.
And finally, I placed the front of the letter on with the right side of the fabric out.
You should see the right side of the fabric on the front and the back.
When I was ready to sew I used the edge of my presser foot as my guide.
I wanted something a little less than a quarter of an inch seam allowance, but you can choose what works for you.
I sewed a couple of stitches, backstitched a couple, and then continued around the letter.
It’s a good idea to start in the center of the letter if it has a cutout, such as “O”.
I sewed around the middle of the “O” and then around the outer edge.
I ended my stitching with a couple of back stitches too. Just to lock it in.
It was a fairly quick project to sew, but it would probably have gone even quicker if I didn’t have to stop every three letters to get someone a snack or a drink. #momlife
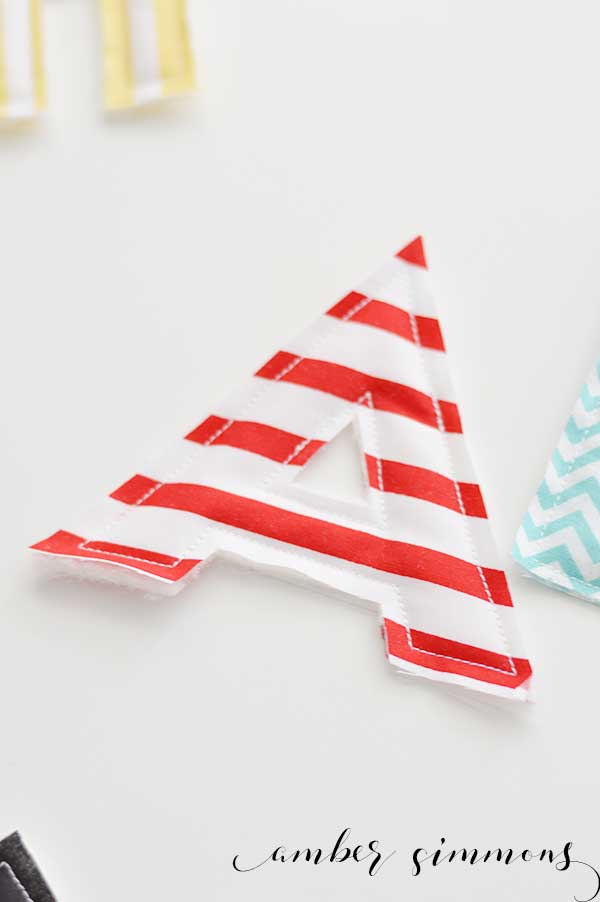
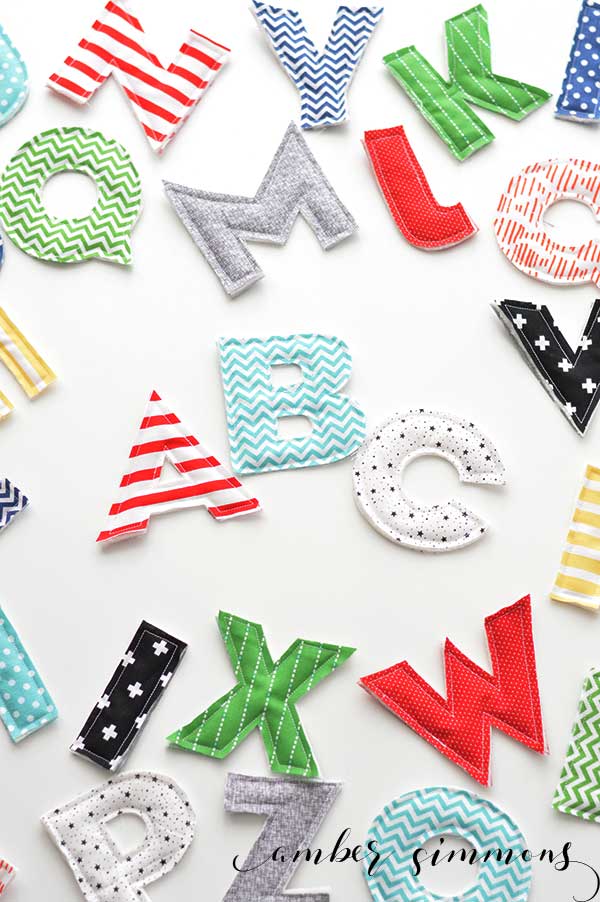
I think they turned out super adorable.
I love the raw edges of the fabric and that you can see the batting. There’s something so cute and simple about it.
I am considering either making or finding a drawstring bag for them.
These are great for babies and toddlers as they are soft and will help with learning sounds and letters.
You could also add velcro and put them in a quiet book. Or magnets and put them on the fridge.
They would be cute hanging from a line with some clothespins.
You could make more of them and spell out words. The possibilities are really endless.
Want more Cricut Projects?



Hi. I love this. I just got a Cricut Maker and I’m sort of a newbie.
How do I use your pattern?
Welcome to the Cricut Maker club. You are going to love it. The pattern should be ready to go. You simply cut your batting on the black mats and your fabrics on all the others. Does that answer your question?
Thanks!! I just cut everything, about to sew!!
I used a pink mat for the batting and that didn’t go too well but it worked.
I’ll send you a pic of the end result!
I didn’t know there was a black mat? Where do I find that?
There isn’t a black one. I was referring to the mat of black shapes I was cutting out.
What kind of batting do you use?
I just used a regular batting that you can buy anywhere. It was left over from another project so I can’t tell you exactly what it was.
Lovely project! If I did not want my batting to show, could Cricut cut the batting smaller? Or is there a way to make the lettering bigger with an outline possibly?
Thank you. You could definitely do that. You can change the sizing. I think the trick would be that really the letters would have to be a more narrow outline, but still about the same sizing.
What type of quilt batting did you use. My Maker with the rotary blade is just tearing the batting.
Move the star wheels to the side. Stick the batting down really well to the mat. I used regular batting that you can get anywhere. It was left over from another project so I can’t tell you exactly what it was.
I was able to cut the letters out of fabric with no issues, but when I tried cutting the batting, it would roll up off the mat into the cricut and wrap around the silver bar. Any tips? What type of batting did you use? Do I need to move the white wheels to the side? Thanks so much!
I would move the wheels to the side, just so they aren’t an issue. I would also press the batting down the mat really well. I used a regular batting that you can buy anywhere.
I’m having trouble loading your design space link for the alphabet letters, says the webpage is unavailable. Any ideas?
I doublechecked the link. It is the correct one. I have seen several people in Facebook groups say that Design Space isn’t working properly for them. I would have to guess it’s a Design Space issue. Hopefully, it is resolved soon so that you can get creating.
Thanks for the tutorial! I’d love to make the fabric alphabet, but it’s not showing up in Design Space. What is the name of the project? Is there a cost?
The project is not searchable in Design Space. I made it myself and have included the link in the supply list.
This is awesome!! I’m trying to do this on design space but it says it’s $4.99.. what am I doing wrong?
It’s possible the font is a paid font unless it’s included in your Design Space subscription.