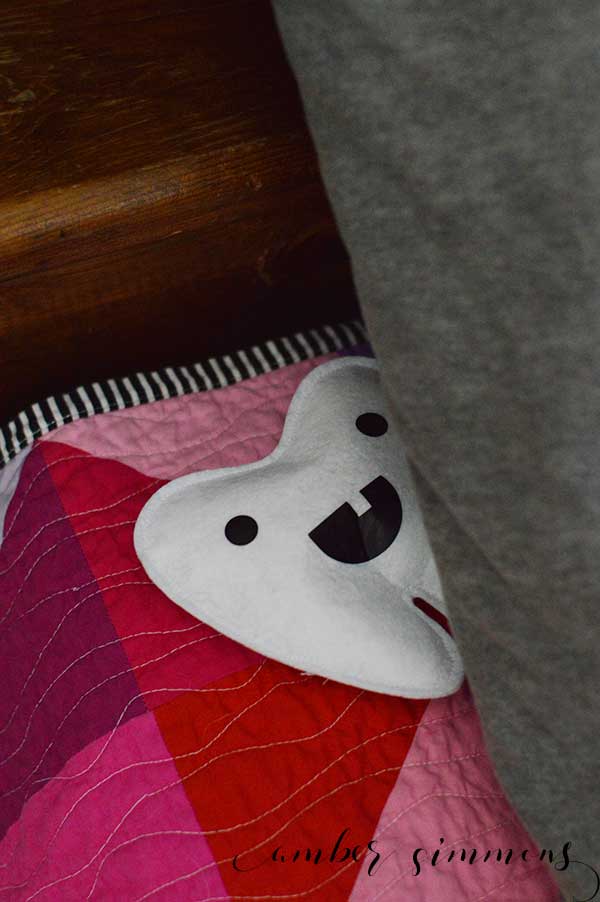
This sweet Tooth Fairy pillow is so simple to make and it will make the Tooth Fairy’s job so much easier. She will be able to find the missing tooth so easily.
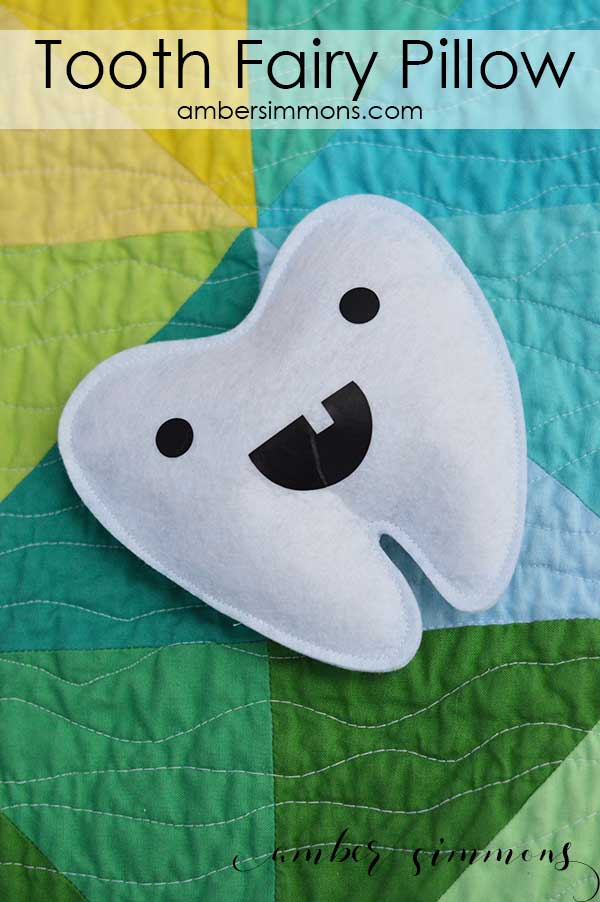
So this year Katie from Clark’s Condensed and I are hosting Create With Cricut where we assign a new mystery material every month and see what some fellow bloggers come up with. This month the mystery material is felt.
I decided that I wanted to make this cute felt pillow because this Tooth Fairy pillow is something that has been on my to-do list for a while. And with a five-year-old in the house, you never know when you might need something like this.
This cute pillow is made with my Circut Maker and the rotary blade, but if you have a machine that can cut felt you can probably make it without the rotary blade. I am just now sure how well it will cut.
Supplies
- Tooth Fairy Pillow Pattern
- Felt (I used Cricut brand)
- Iron-on
- Stuffing / Polyfil
- Sewing Machine
- Cricut Maker
- EasyPress
First I found a tooth shape I liked. The one I used had a cute face, but I wanted to cut a tooth out the smile and it wouldn’t let me. So I made a new face. Everyone knows that a tooth has teeth, right?
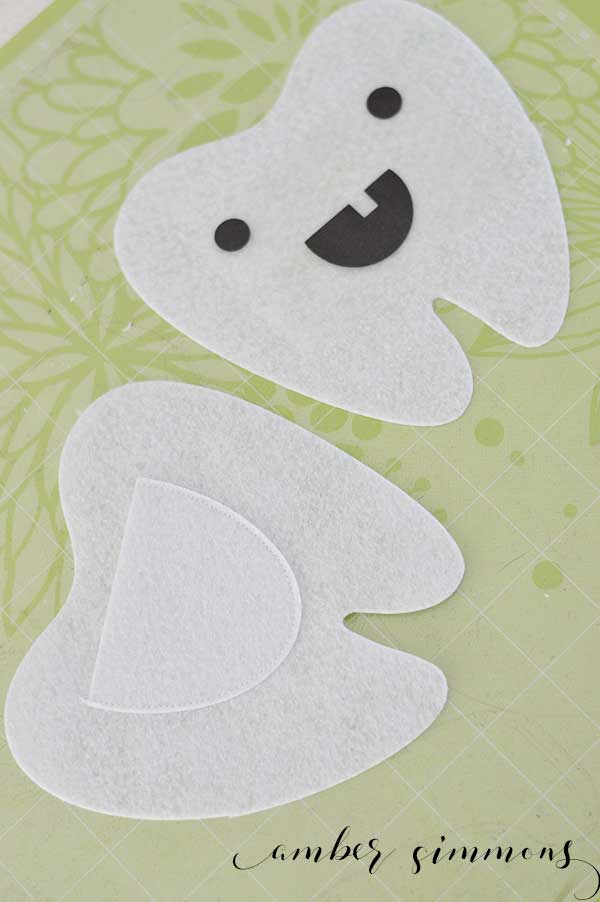
I then added a pocket to the back side of the pillow for storing baby teeth and Tooth Fairy payment. I even added some optional fairy wings should you want to add them.
I cut out all the pieces with my Cricut. I had two teeth and a pocket out of felt and a face out of black iron-on. If you cut out the fairy wings you will have two wings and two swirls, one for each wing. I was thinking you could do the swirls in iron-on.
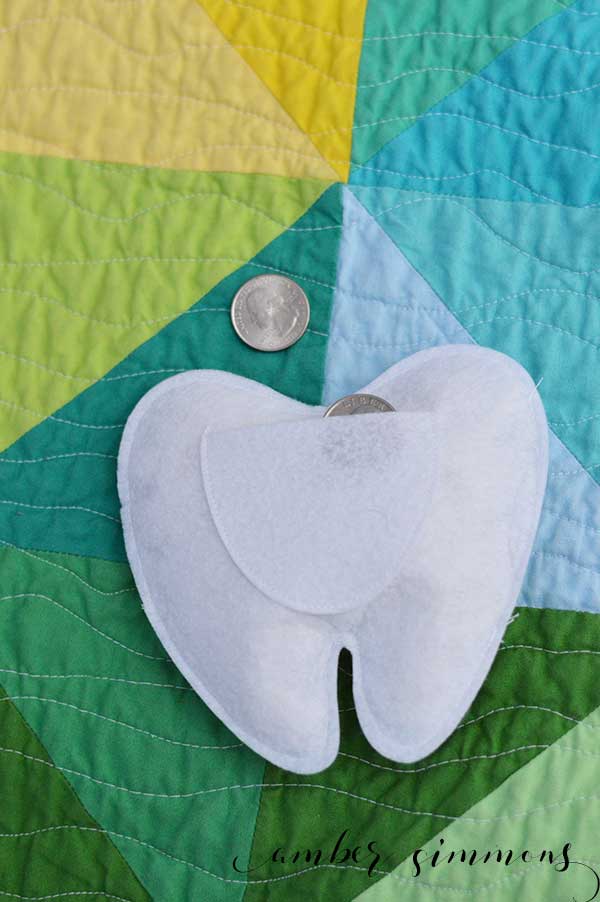
Assembly is simple. Iron the face on to the front of the tooth using the EasyPress. I used the felt wool setting for iron-on light. I pressed the face on, then flipped the tooth over and pressed again. Pressing from the back helps to further adhere the iron-on to the material. Note that bottom of the tooth is shaped differently on either side, so whichever you choose to be the right side of your felt for the front will be the wrong side of the back.
After you find the outside of the back, sew the pocket to the center. If you are adding fairy wings, I would sew them right outside the pocket now.
Now you are ready to sew the pillow together. Sandwich your pillow, right sides out, and stitch around the edge, using a small seam allowance. I started on a side and went around. Important: Be sure to leave an inch or two open on the side so you can fill the pillow.
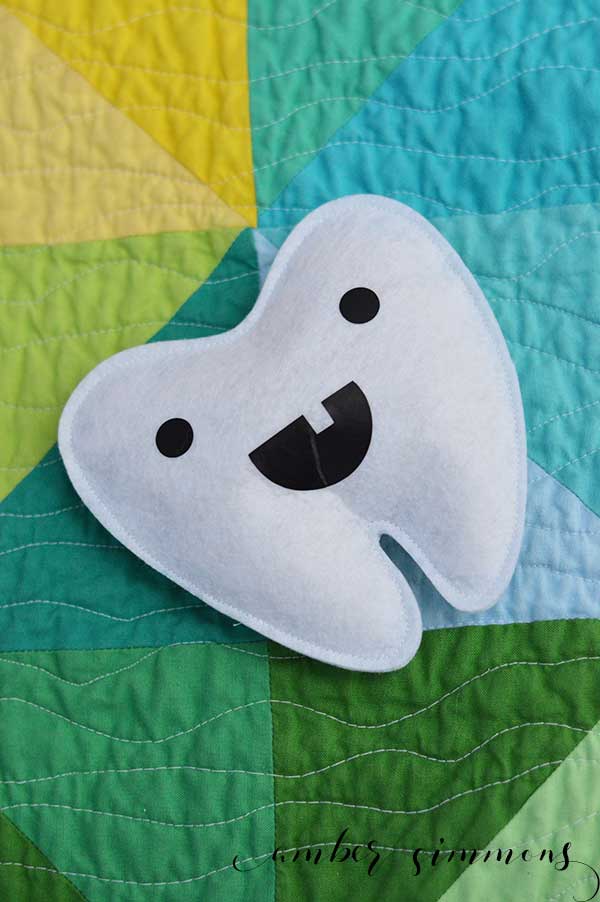
Once it is sewn together, add stuffing through the hole. You can fill it as full as you would like. Once it is to your liking, simply top stitch it closed using the same seam allowance.
And you are finished! So simple, but SO cute! Come on baby teeth! Get wiggly. We are ready for you.
What does the Tooth Fairy pay at your house? I need to be up to date on the current value of baby teeth. Haha.
Want more Circut? Check out my other Cricut projects.

Be sure to check out some of the other fun felt projects from this month’s Create with Cricut.





Thanks so much for the cute pattern. I added lashes to the eyes and a bow. I also added a loop of ribbon to at the top so the pillow could be hung on the door knob. (The tooth fairy at our house has had some trouble keeping the kiddos asleep while she works.) My daughter loves it! Now, we’re just waiting on some teeth. 😉