How to Finish Your Quilt with Riley Blake Quilt Kit and the Cricut Maker by piecing the blocks, quilting, and binding.

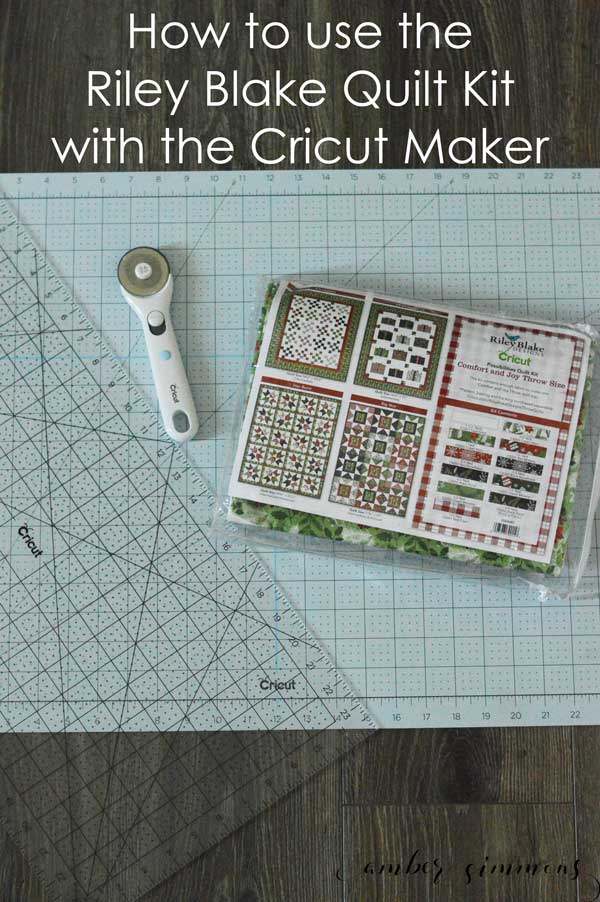
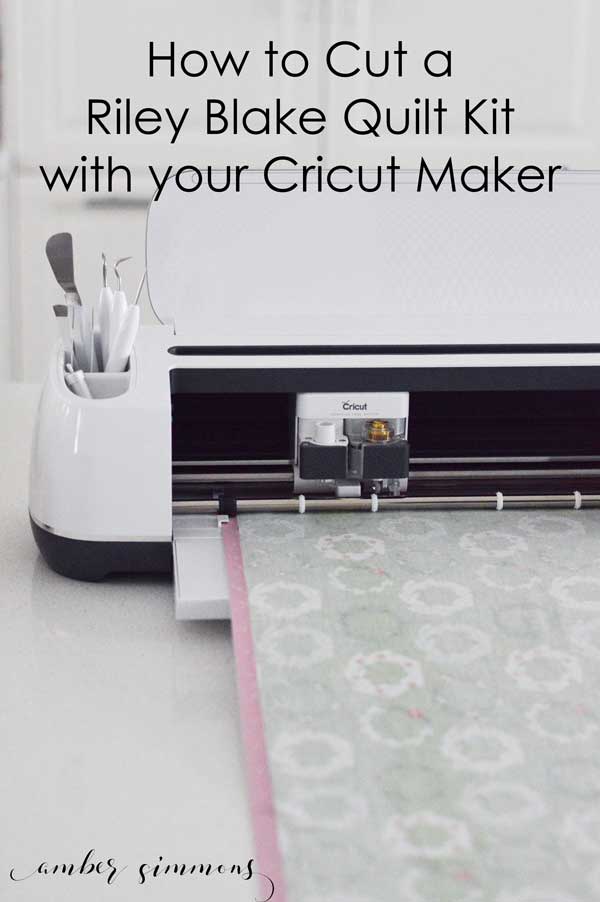
If you caught part one, How to Use the Riley Blake Quilt it with the Cricut Maker, and two, How to Cut a Riley Blake Quilt Kit with your Cricut Maker, on this series then you are probably ready to see a finished product. So today we are putting it all together. As a reminder, we are making the Maze Throw with the Comfort and Joy Riley Blake quilt kit.
Now that we have all of our pieces cut for our blocks it’s time to assemble the quilt top. If you check the PDF it shows you not only the assembly plot process but the block layout.
This is where you need to keep your fabric number straight if you want it to be laid out like the pattern. The good news is that it’s kind of random so if you get mixed up it’s going to be fine.
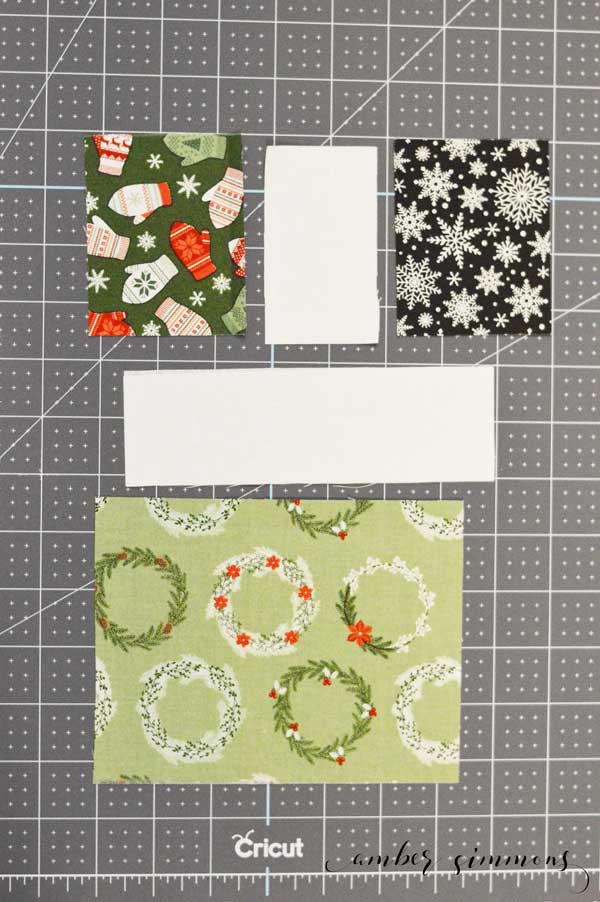
For each block, you need two little rectangles, one big rectangle, one small white strip and one big white strip.
To assemble we’re going to sew the small white strip to a small rectangle, long sides together. And the big rectangle to the long white strip long sides together.
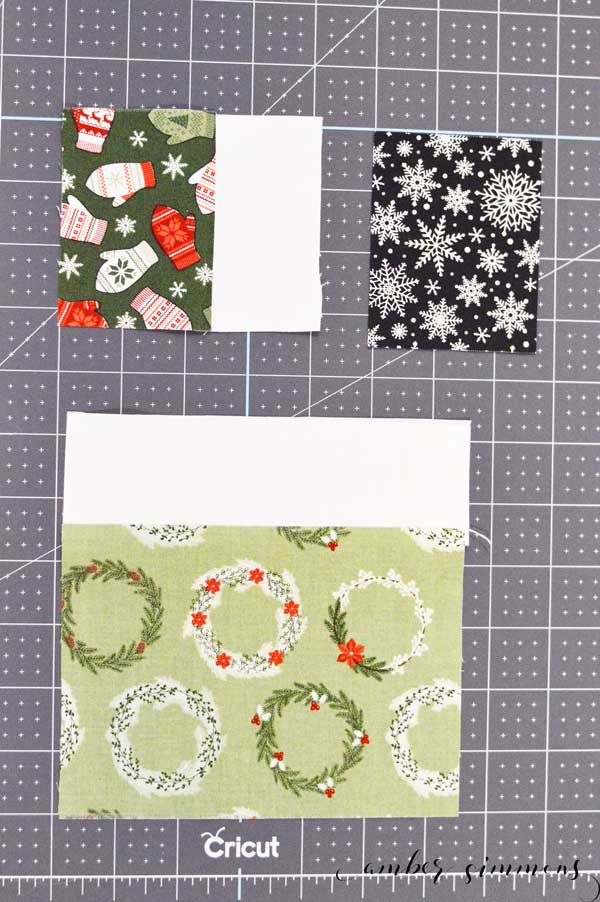
Now we press. Pressing is very very important for your finished product. If you don’t press your seams you are going to have a hot mess on your hands. Not only will the back be a mess, but it’s going to be hard to stitch it all together because nothing will lay flat.
Depending on what I am making I change the way I press. I used to press all my seams open, and that works well. But it takes a little more time than just pressing them to the side. So lately I’ve just been pressing all my seams to the side. In this case, I press to the dark side. Yes. Just like in Star Wars. Come to the dark side.
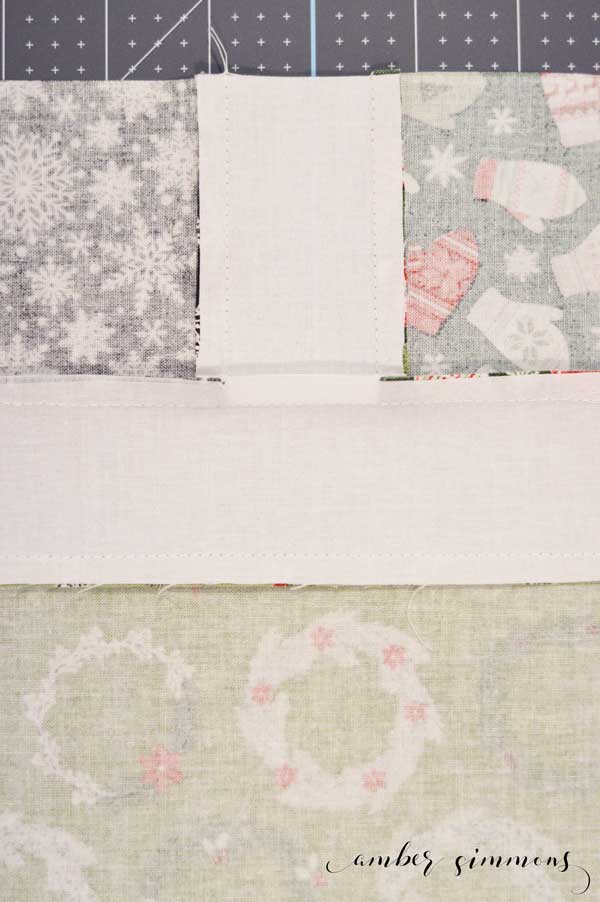
Of course, you can’t always go to the dark side on this project but overall that is how I pressed it. So the seams lay flat down to the printed fabric.
Now that all the seams are pressed you will so the other small rectangle to the other side of the small white piece. Then press the seam toward the print.
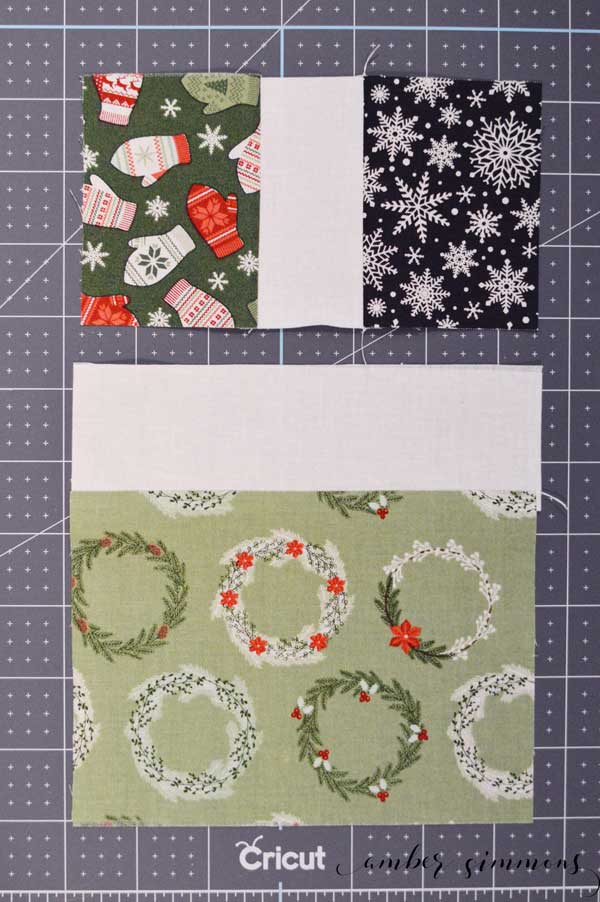
Next, you will sew your block piece with the small rectangles to the white strip on the large rectangle block. Press the seam. And that block is complete.
You’re going to follow the chart on the how to lay out the blocks, fabric wise, until all the blocks are sewn. The chart has twelve different block combinations. You will need 29 finish blocks. Blocks 1 through 5 you will make three each. Blocks 6 through 12 you will make two each.
Once you have all of your blocks sewn together it’s time to trim them up. You don’t have to cut a lot off. I probably cut too much off. But sometimes I end up with wonky looking blocks. So what you need to do is trim them up so they’re nice and squared with straight edges. This helps with the assembly and getting everything to line up correctly. I ended up cutting mine down to 6 inches by 9 inches. When you’re trimming up be sure to be aware of where the center of the block is. You don’t want a lopsided block.
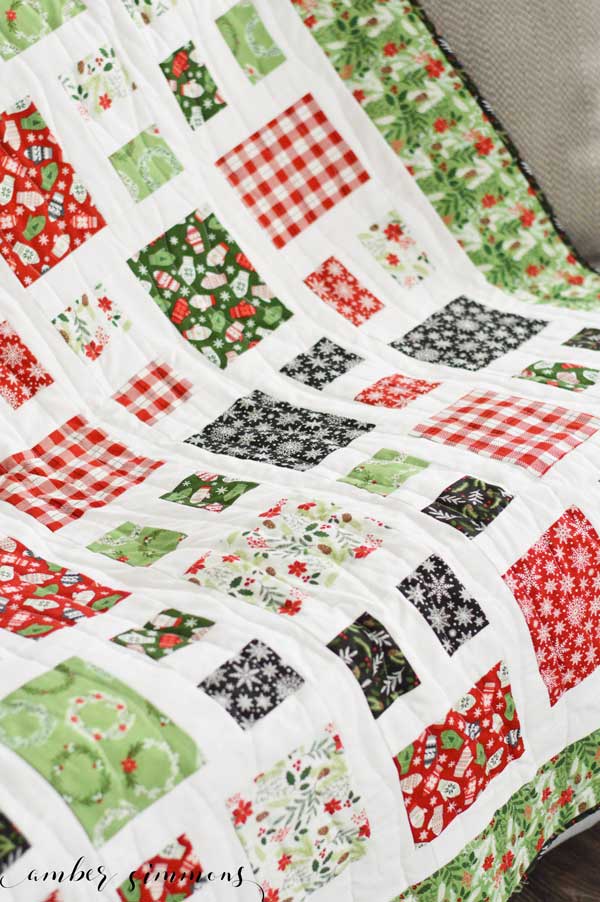
When all of your blocks are trimmed up it’s time to assemble your columns and rows. For the columns, you will need blocks 1 through 5 and some of the white strips that you used next to the large rectangle. You will sew the white strip in between the quilt blocks.
The pattern makes it seem like column 3 is different from columns 1 and 5, but if you look they all three contain blocks 1 through 5 sewn in that order. So you are going to make three identical columns. Column 3 will just be flipped upside down in the finished quilt.
The same with columns 2 and 4. The pattern has you sew them separately, but they are identical. They’re just flipped in the finished quilt. So you’re going to sew two identical columns for columns two and four you are going to need the longest white strips that you cut.
Once you have sewn all the blocks together and pressed to the dark side your column is done. Take it back to your rotary mat and trim up the sides if there’s any wonkiness going on.
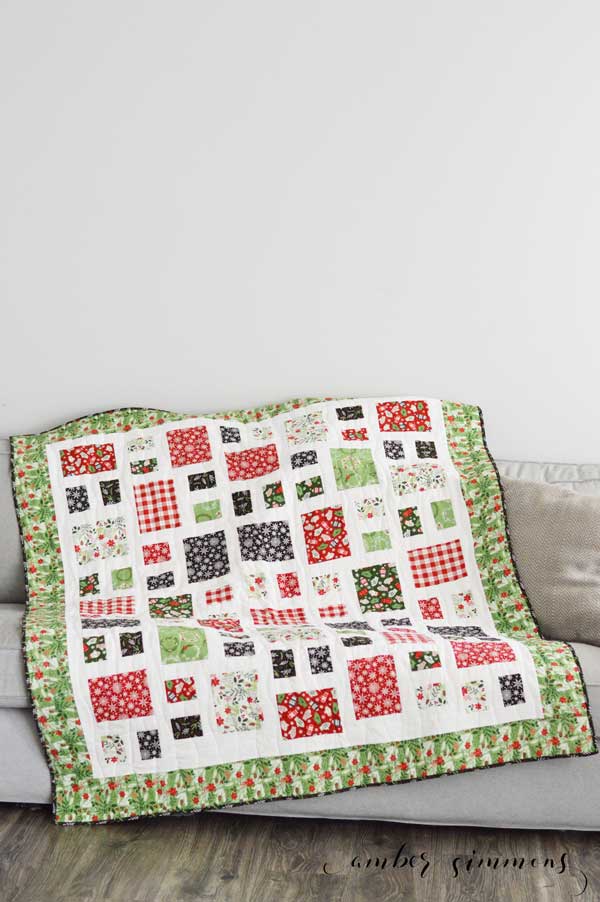
Now it’s time to assemble the quilt top. If you haven’t already you’re going to need to cut out your slashing. Step 15 in the PDF talks about laying out four strips of 2 inch by the width of the fabric. I did not have these. I had to go cut them. I don’t know if I missed a step somewhere or if this is when you get that together.
So you’re going to take your two inches by the width of the fabric and so all four of them together to create one long strip. The pattern says to use half inch seems. Then to make a second one.
Next, you’re going to sew one of the strips you made in Step 15 to the side of column 1. When I did this I like to put the white strip down on my machine and my column up on top of the sandwich. This is because the column with the quilt blocks has way more seems in it and I can watch them and make sure that they are going to be nice and flat and none of them get sewn weird.
You’re going to trim off the excess after you get to the bottom of the column and take the excess and move onto column 2. And so down the side of column 2. That is how the pattern is set up. You just sew down the left side of each column and then assemble.
Alternatively, you can also so down both sides of column 1 and then add column 2. Then sew a white strip down the other side of column 2. Then add column 3 and so on. That is how I did it. The pattern does say to press the seams toward the white fabric again I think I went to the dark side.
When you have all the columns sewn together you’re going to take the white strip you made in step 17 and sew it to the top and the bottom.
Next, you’re going to cut six strips 5.5 in by the width of the fabric of fabric number two. In the Comfort and Joy quilt kit it is the green print with the pine cones.
You will sew three of them together using half inch seams. And then repeat to make a second strip.
Then you are going to sew one of them to the sides of the quilt trimming off the excess. Take the second one and sew it to the top and bottom trimming off the excess.
Press your seams and you are done with the top of the quilt. Congratulations.
Next, you want to finish the quilt by either taking it to a long arm quilter with the required amount of backing fabric or quilting at home.
I just quilted mine myself really quick on my home machine. If you’ve never quilted on your home machine before don’t worry. It’s quite easy.
I should have taken some pictures of laying it out but I was in the zone. You’re going to want to take you’re batting and let your quilt top on top so you know the correct size to cut it. The batting needs to stick out the sides by a couple inches on either side. The pattern description says that you will need a 52 inch by 70 inch piece. So you can also just cut a piece of batting that size.
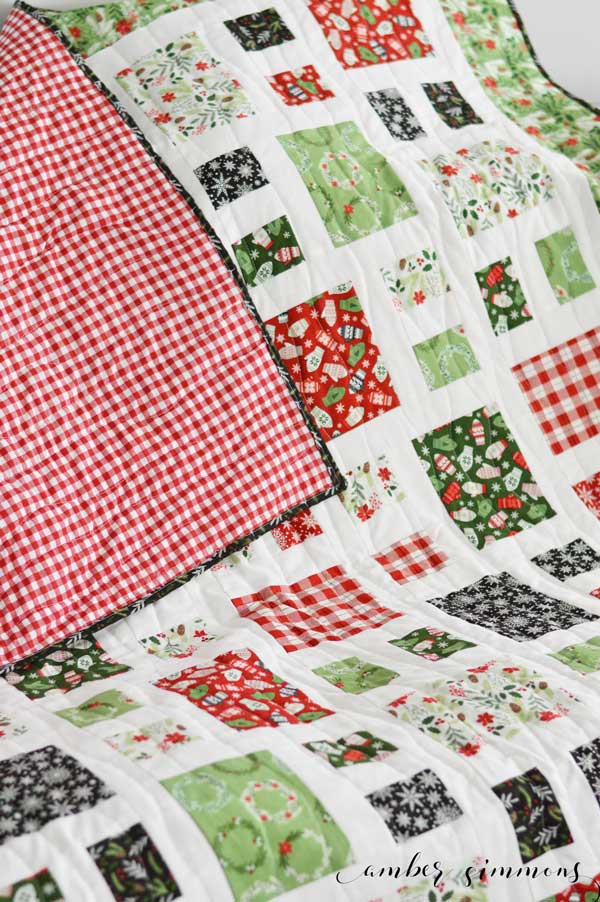
The same with the backing. You can use your quilt top on top of your backing fabric to make sure it is the right size. I only bought two yards of my backing fabric which was not quite enough. So I used some of the extra green outer borders to piece together the last section.
The instructions for the quilt just say that you need a 52 by 70 inch backing fabric. So you can do that however you’d like. I laid out my fabric cut the two yards down a little bit because there was far too long for the quilt and too narrow. Then I took the section that I had just cut off and moved it to the side to make it wider.
Of course, the fabric is not 2 yards wide or even close to that so I was missing a corner of my backing which is where I filled in with the extra border fabric from the front.
You’re backing will need to be the same size as your batting or very close to it. The backing should be a little bit bigger than your top as well.
Once you have your three pieces ready you will want to assemble them. You can either use pins that are for quilting. They are safety pins that are not completely straight, they’ve got some curve to them.
But my preferred way to assemble is with spray basting. It’s a washable spray glue. So I lay my batting down on my floor and spray half of it. Then starting in the middle I lay the middle of my back fabric down and smooth out as I go toward the sides.
You want it to be nice and smooth and no wrinkles in your fabric. Then I spray the other half and repeat.
Once it’s all nice I flip it over and repeat the process with the top of the quilt. In my experience, the spray basting holds very well. I don’t even use any pins. But you could use both. If it were bigger than this I might use both but usually, I’m just making mini quilts or baby quilts and it’s not a problem.
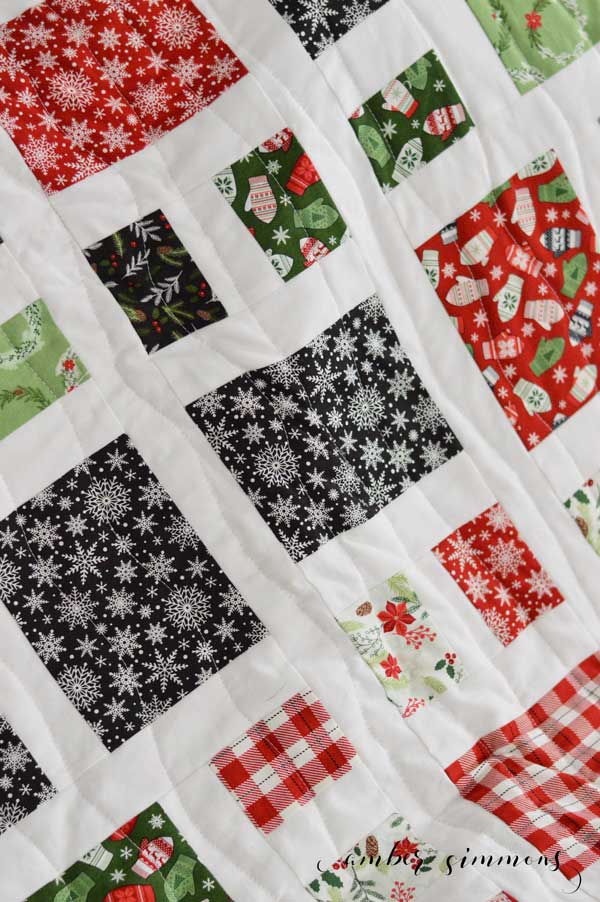
When it comes to quilting on your machine you’re going to want to start in the middle of your quilt. This helps to keep everything all the layers from shifting too much. You’re also going to want to kick your stitch size up a bit. I went from piecing the top on a stitch length of 2 to quilting on a 4.
I just quilted a wavy line down my quilt. So I started in the middle and just sewed a meandering line down the middle of the quilt. Then I moved over a few inches and did it again and again and again. I move to the right. This way I have less and less quilt rolled up in the throat of my sewing machine.
I use the quilt blocks as a guide. I sewed down the middle of column 3 first. The next line I quilted went down the center of the little rectangle in column 3. The next line I quilted went down the white sashing strip.
I gave columns 1, 3 and 5 three rows of quilting down them. And columns 2 and 4 had four rows of quilting down them. All of the sashings had a row of quilting down them. And the border had three rows of quilting down either side.
You could do it closer together if you would like. That is just how I did it. Don’t worry about how it looks as you’re doing it. Because sometimes I think there are wonky stitches all over the place. As I have stopped and repositioned my hands and started sewing again sometimes I change the exact angle I was just at and so it takes a little bit of a funny turn. But no one is going to notice. I promise.
I do have a quilting foot for my sewing machine, however, I just did this with the same foot I pieced with. So you don’t need anything extra to do it this way. No quilting foot. No walking foot. Just your regular piecing foot. I also forgot to drop my feed dogs but you can do that if your machine does it and you would like to.
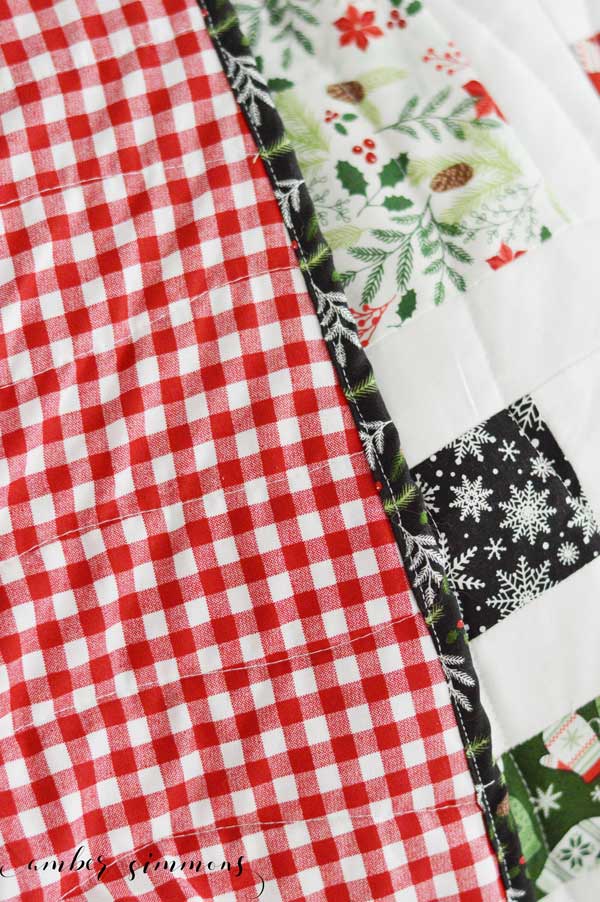
Now that it’s all quilted you want to trim the batting and the backing down to be even with the top.
Then it’s time for binding. Riley Blake has a great video on how to bind your quilt right here.
You’re going to want to take the binding fabric from the kit to make your binding. In this case, it was the black print with the pine cones.
When I made mine I cut 2-inch strips, which is the size she was talking about in the video.
When your binding is done your quilt is done. Do a happy dance. Celebrate.
I like to throw it in the washing machine with a color catcher and get it all soft and crinkly for the couch.
Have you made a quilt before? What are some tips you would share with a new quilter?
Be sure to check out parts one and two if you haven’t.
And if you are looking for more Cricut projects check these out.
This is a sponsored conversation written by me on behalf of Cricut. The opinions and text are all mine.






[…] […]