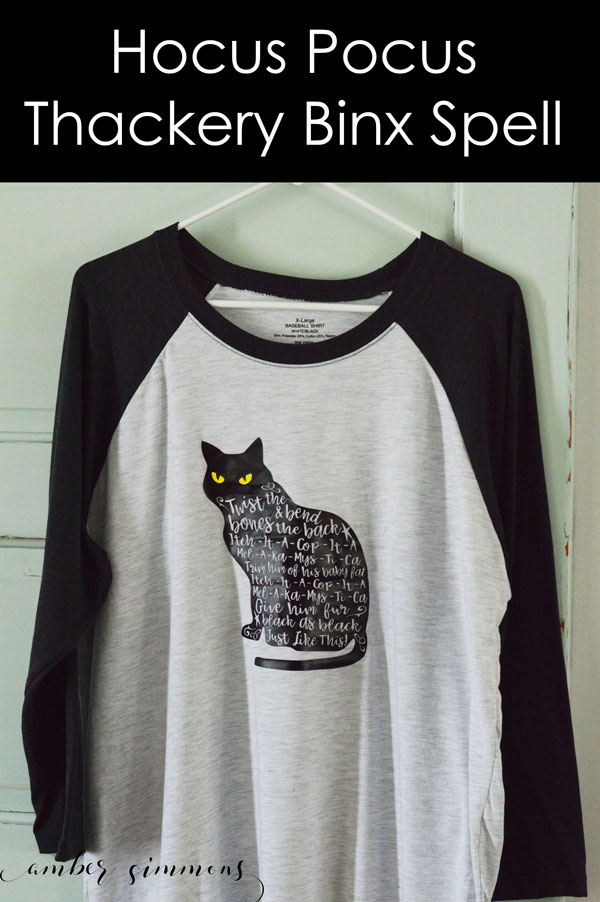
This Hocus Pocus inspired Thackery Binx shirt tutorial will put a spell on you and all Halloween lovers in your path.
You may or may not know that Halloween is my favorite holiday. I love all of the magic love it. It helps that it happens in the depths the fall. Which is also my favorite season.
So it would stand to reason but some of my favorite movies would be Halloween movies. Including everyone’s favorite, Hocus Pocus. It’s seriously one of the best Halloween movies. It helps that it’s family-friendly also.
so when I started thinking about Halloween this year I knew that I wanted to make some Hocus Pocus shirts.
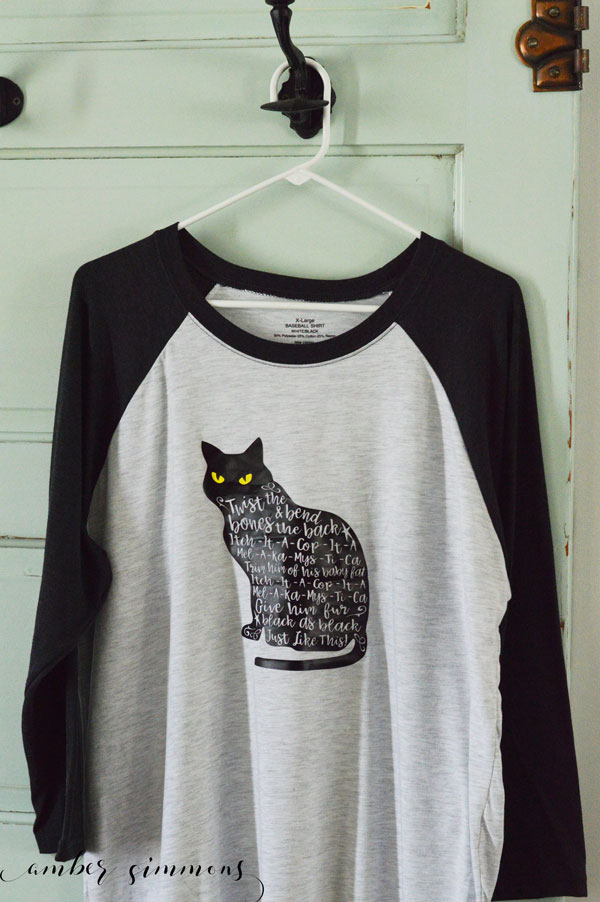
Today I’m sharing with you the first of a few designs. This one is when the Sanderson sisters turn Thackery Binx into a cat.
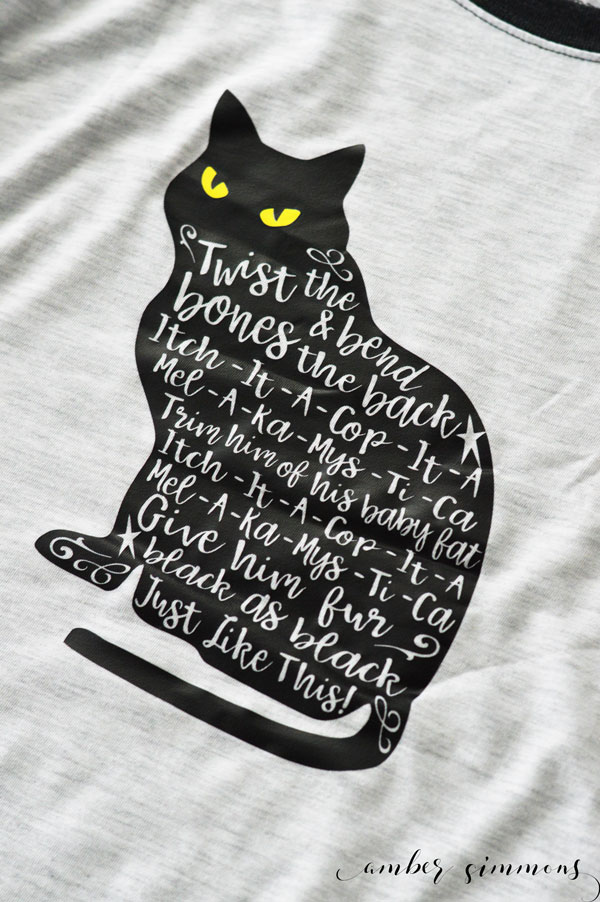
So I took a cat from Cricut design space and sliced out the words of the spell they used to turn him into a cat.
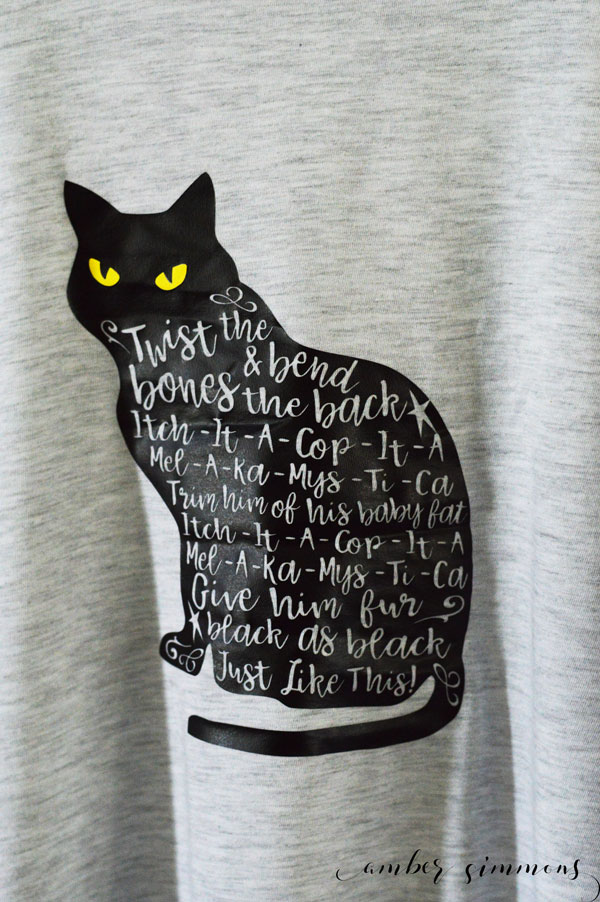
I love how it turned out. I can’t wait to start wearing it. Is August too soon to wear Halloween shirts? Probably not. I do what I want. You’re not my mom.
In a Facebook group, someone was asking people to share their Hocus Pocus inspired crafts. I shared a screenshot of this design in Cricut design space. And people loved it. Which makes me so happy.
I had several people ask me if I would be willing to share it. And of course, I will. Everyone needs a little hocus-pocus in their life. So here’s what you’re going to need.
Supplies:
Thackery Binx cut file
Cricut iron-on light in black
Cricut iron-on light in yellow
Cricut Maker
Cricut EasyPress
Cricut EasyPress mat
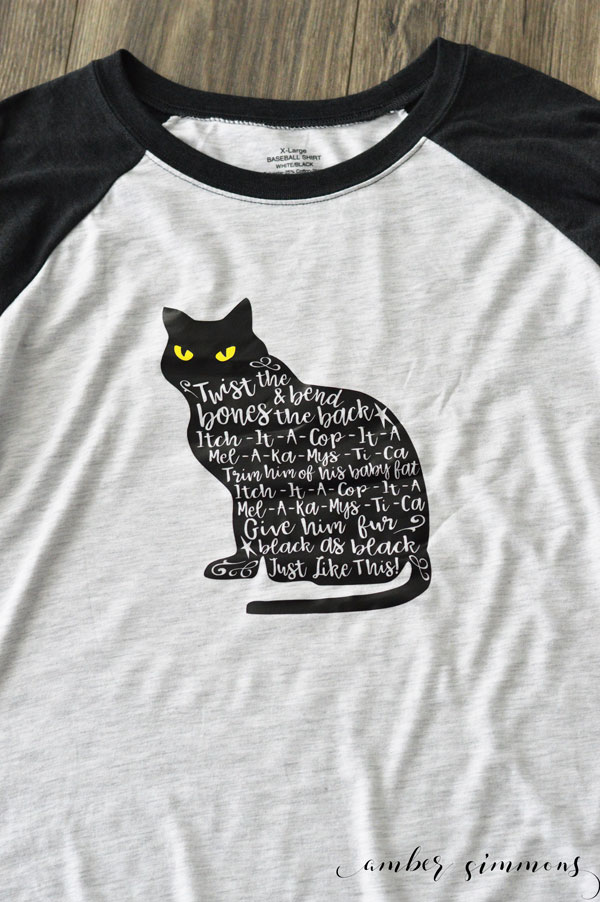
you want to open up the cut file and size it for your shirt or whatever you plan to put it on. please note I cut this about 7 in wide for my shirt and I think that is the smallest you would want to go. I was losing the centers of A’s and some of the flourish loops of the text.
Be sure to mirror it before you cut it. Don’t want your words to be backward. That would be so sad.
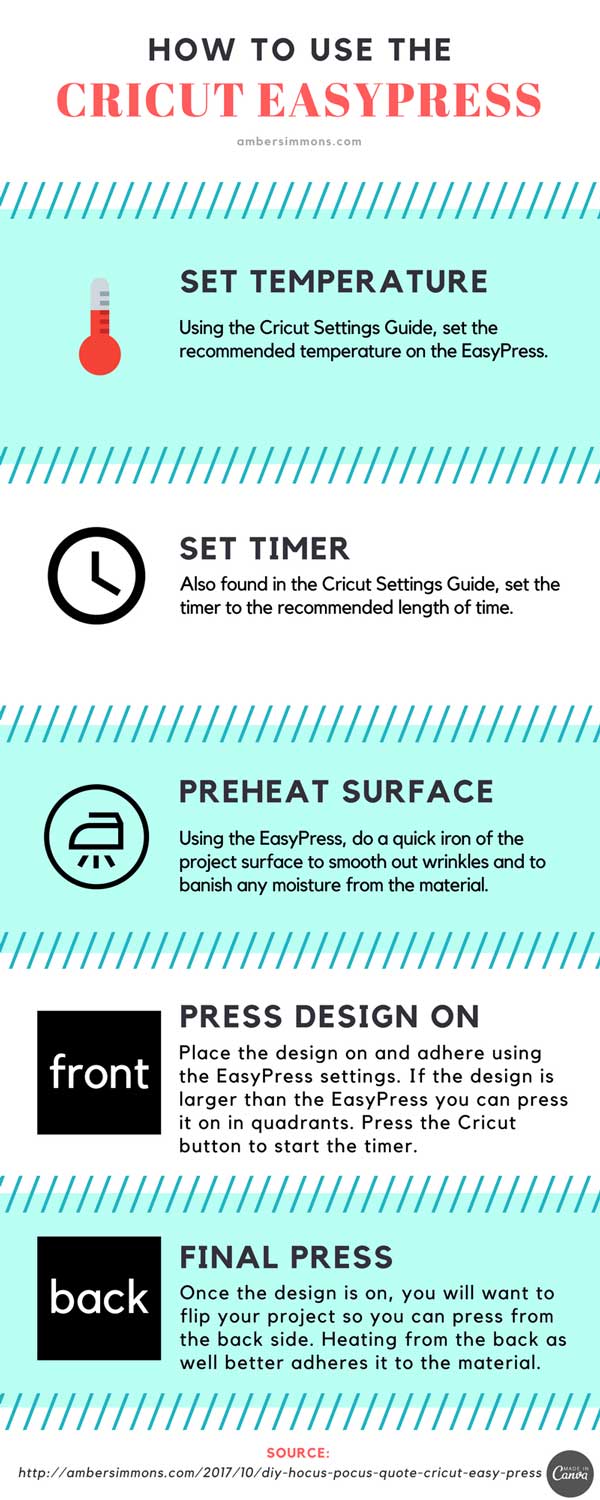
Once it is all cut and weeded you want to preheat your shirt with your easy press. This helps to get all the moisture out which makes the best seal. If you’re having problems with iron-on lasting on your projects it’s probably because there’s too much moisture in the project when you started.
Once you have preheated and have a hot shirt place the cat on the shirt where you would want it to go. Then use the easy press to adhere it. Follow Cricut easy press temperature recommendations which are currently 315 degrees for 30 seconds for the Cricut light iron on.
you want to press from the front. For the 30 seconds. And then flip your shirt over and press it from the back for 30 seconds. Pressing from the back also helps draw more of the adhesive into the fibers.
Once you are done with the cat peel off the lining. Place the yellow eyes over the eyes of the black cat.
Press it on from the front and then again from the back.
Peel the lining. And you are done.
Who else is ready for Halloween?
Want to see more Cricut projects check them out here.
Looking for more crafty fun? Join my Makers Gonna Make Facebook Group.






I’m so sad! The file isnt in design space anymore 🙁
It should be. I’ll double check the link.
It appears to be working form my end.
Ms Simmons, would you consider selling the Binx svg file for less than $8.95 I wanted to make for 2 of my Granddaughters but I thought $8.95 was a little much for one file.
Thank you for your time
Kathy
This is a free cut file in Cricut Design Space. Cricut may be charging you if you do not have a Cricut subscription.
What is it under?
The link to the cut file is on the supply list. It’s not searchable in Design Space.
I’m trying to get it from cricut but I cant find it
It’s not searchable in Design Space. You have to click the link in the supply list. I made the cut file myself and shared the link directly to it in this post.
It says that the project has now been saved as a private project 🙁
I updated the link. It should work now. Thanks for letting me know.
hello, it still says its saved as private
I’m sorry that’s not working. It opens for me when I’m on a different device. Here is the direct link to try again. https://design.cricut.com/landing/project-detail/5ee98826ea2e7801107015e7
when I hit customize to try to change the size of it it says it is private. maybe I am doing something wrong?
Im actually getting the same error that the file is saved as private. Any suggestions to get it open? Im new to Cricut and not sure what I am doing wrong. Thanks!
Cricut says they are aware that the links are not connecting. They are planning to fix it in an upcoming update. However, they have said that this workaround should work: if you turn off your Wi-Fi while on the design preview screen you should be able to click customize. Hope this helps.
I’m getting the same issue where even with the direct link it says PRIVATE. Is it possible to PLEASE upload it somewhere we can access it? Thank you in advance
Cricut says they are aware that the links are not connecting. They are planning to fix it in an upcoming update. I, unfortunately, can’t upload it anywhere because it is all Cricut art. However, they have said that this workaround should work: if you turn off your Wi-Fi while on the design preview screen you should be able to click customize. Hope this helps.
It is now allowing me to open up to customize size and it is saying it is saved privately. Is there a way to make it not private?
Cricut says they are aware that the links are not connecting. They are planning to fix it in an upcoming update. However, they have said that this workaround should work: if you turn off your Wi-Fi while on the design preview screen you should be able to click customize. Hope this helps.