This Handmade Farmhouse Style Sign with Cricut’s NEW Iron-on Design couldn’t be easier and will bring a little sunshine to any place in your home.
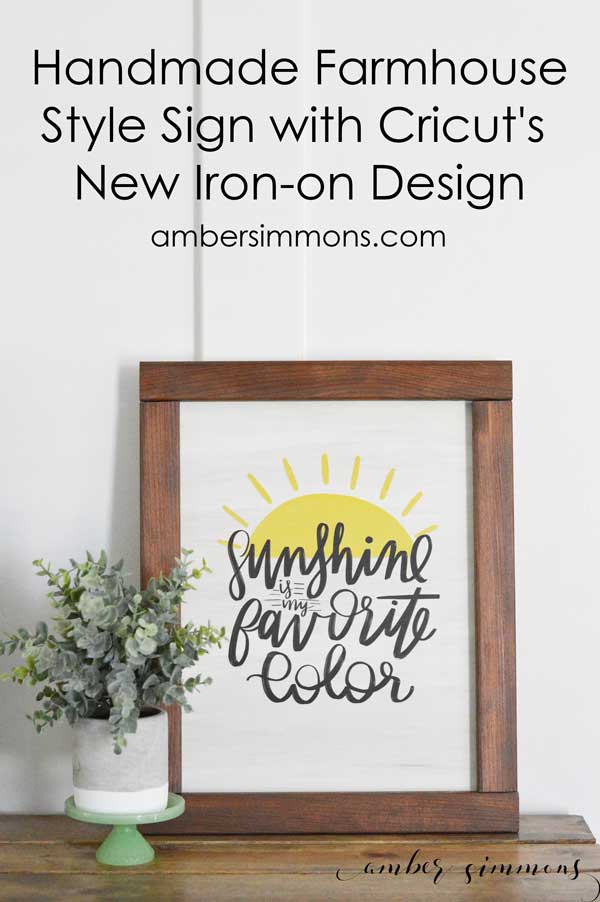
Oh my goodness! Have you seen that Cricut has a new product? It’s their Premium Iron-on Designs. And they are AMAZING!
Seriously, they make getting your craft on even easier than ever. Anyone can do it. No Cricut Machine required.
The new designs come ready to use. All you have to do is iron them on. You can use your Cricut EasyPress or your home iron. There are instructions for both.
They come in two sizes and there are currently over 50 designs available. The iron-on designs are super cute and they are things that would be harder to do with layering.
These can be applied to anything you would put iron-on onto including shirts, bags, onesies, and more. Even wood, as you can see.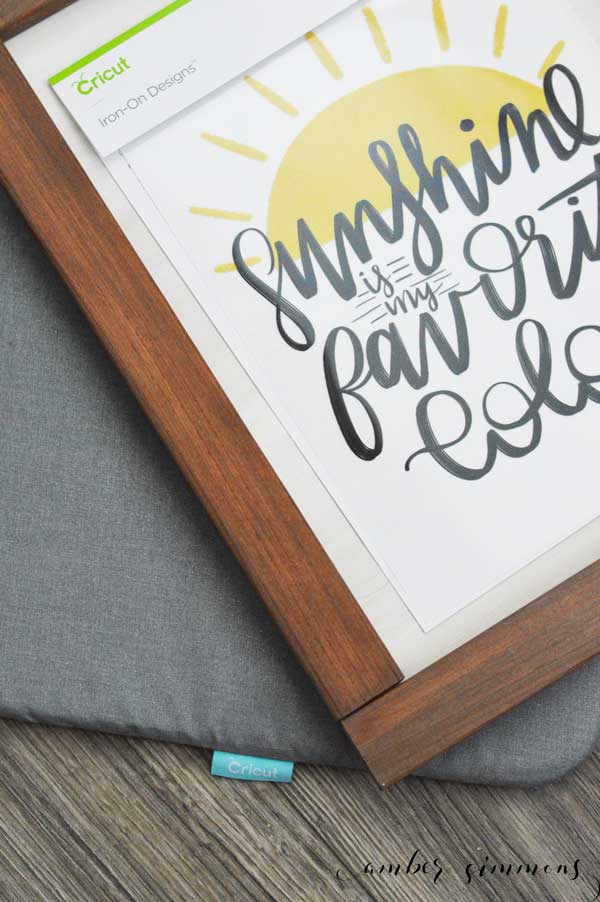
Cricut sent me a few to try out and I was super excited to get working with them. When I saw this sunshine is my favorite color design I knew it would be perfect for a sign.
Supplies
- Sign 13″ x 16″
- Cricut Iron-On Designs, Sunshine Is My Favorite Color
- Cricut EasyPress or iron
- Cricut EasyPress Mat or towel
I had my dad cut a sign for me, but you easily make your own or buy one at any craft store.
This cute sunshine design is about 8 inches by 9 inches. So the finished sign is 13 inches by 16.25 inches.
If you want to make your own here are the exact measurements of my sign.
The sign back is 12.75 inches by 16 inches.
The frame is cut from cedar trim that is about 1.5 inches wide. It is cut into two pieces 13 inches long and two pieces 13.5 inches.
I painted my sign with some vanilla acrylic paint that was a little watered down. That way it gave more of a heavy wash so I could see some of the wood grain through the paint.
I stained the frame with a mix of Minwax Special Walnut and Minwax Weathered Oak.
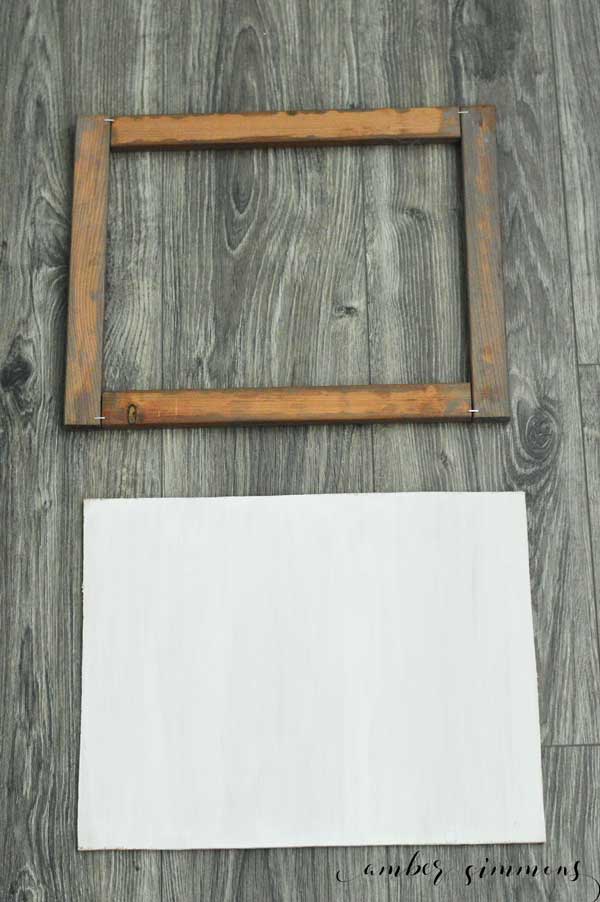
I squared up the frame and put some staples in the back of it to hold it together. Then I laid the sign on the back of the frame and stapled it into place.
I had my sign made big enough to fit the EasyPress into the frame, but if you are making a smaller sign you can apply your iron-on design before you attach the frame.
Now that my sign was completely built I centered my iron-on design and preheated my EasyPress.
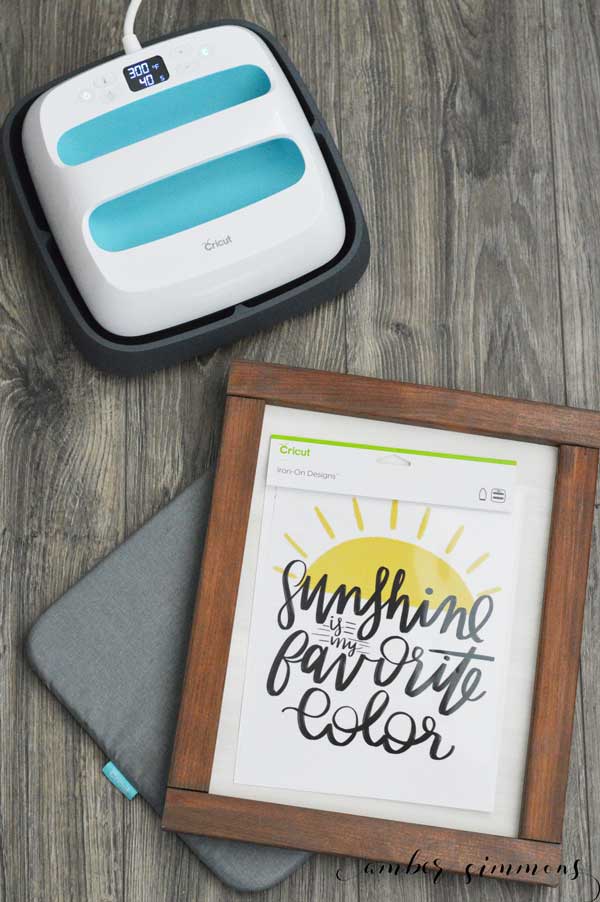
I checked Cricut’s EasyPress Guide to see their recommendations. It was blank for the Cricut Iron-on Designs for wood, I assume because it is such a new product. All the rest of the wood settings were 300 degrees at 40 seconds, so that’s what I went with.
I placed my sign on the EasyPress Mat so that it would have something heat resistant underneath it.
The design is bigger than the EasyPress so I had to press it in two parts. That meant I did have some overlap in the center of the design where it was heated both times. I was a little concerned about it, but it turned out completely fine.
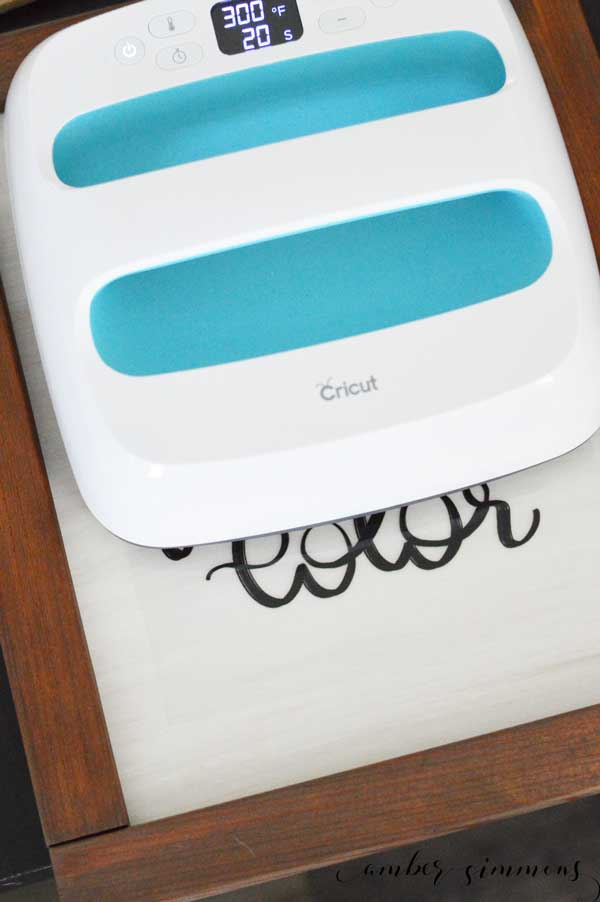
Halfway through heating the iron-on design with the EasyPress.
I tried letting it cool before peeling, but that made it a little sticky and gummy around the edges of the design. So I reheated the whole thing and did a warm peel, which worked like a charm.
I love how it turned out. It’s such a cute sign.
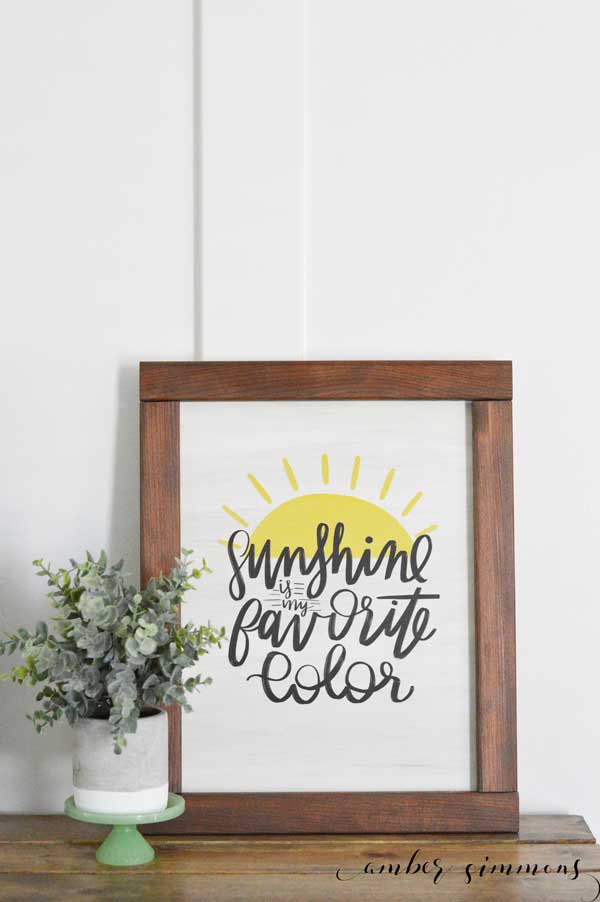
Have you tried iron-on on wood? It’s so easy and fun. It’s seriously my new favorite way to make signs.
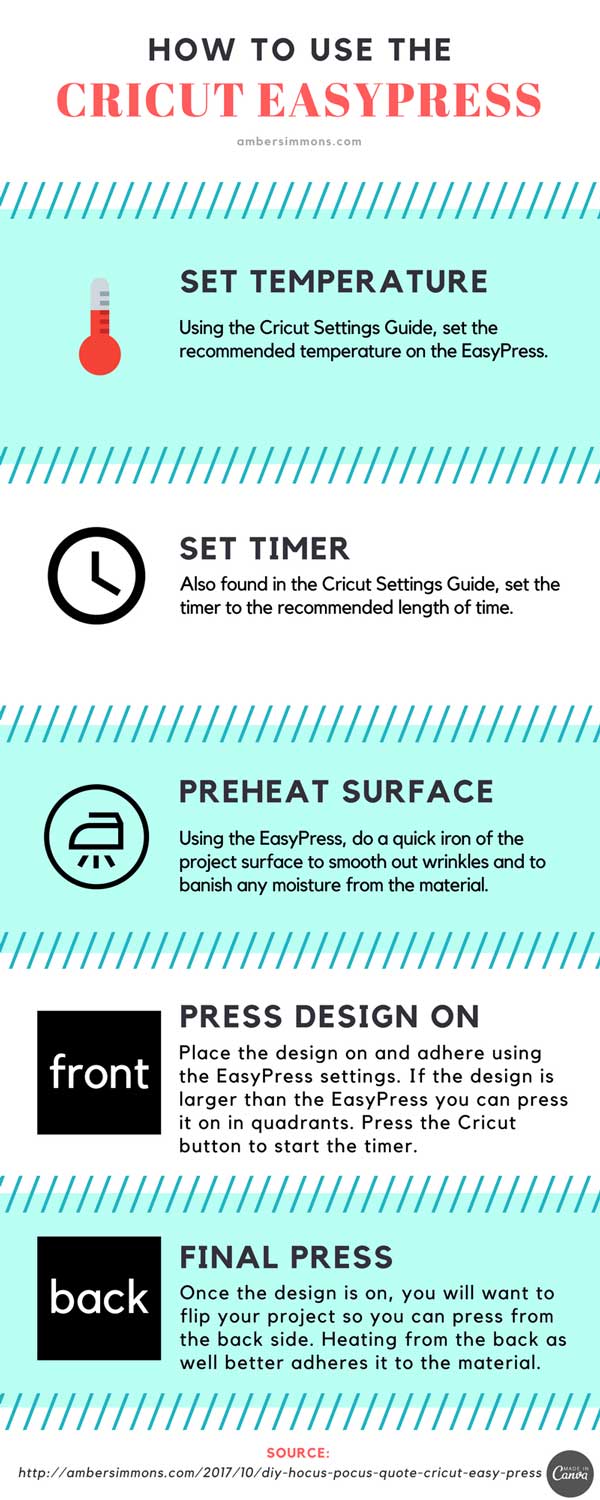
Need some EasyPress help?
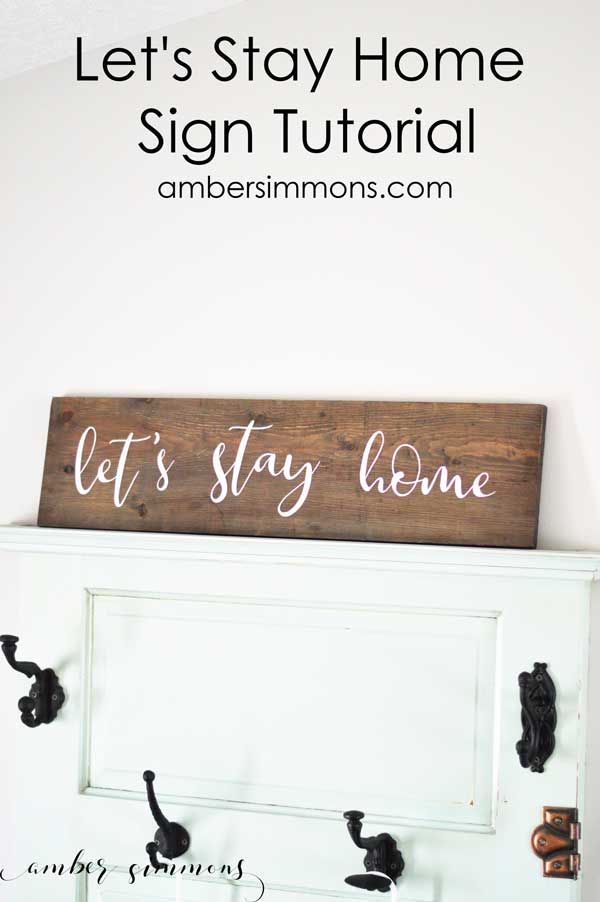
Check out my other sign I made with Cricut Iron-on.
Check out my other Cricut posts.
This is a sponsored conversation written by me on behalf of Cricut. The opinions and text are all mine.





Wow, this is nice! Definitely an easier way to design handcrafts.