A DIY tutorial on how to create your own Harry Potter Library Book Tote Bag.

I always have plans to go to the library over the summer. But if I’m being honest we only ever go a couple of times.
The summer however I’m prepared. I made us a super cute Harry Potter-themed library book bag to carry all of our books.
Do you remember when you would check out a book from the library and it would have the card in the front cover that they would stamp with the date?
It makes me feel old even saying that. Haha.
I based this book bag design off of that card.
I chose Harry Potter because we love Harry Potter at our house. However, you could choose whatever book you would like.
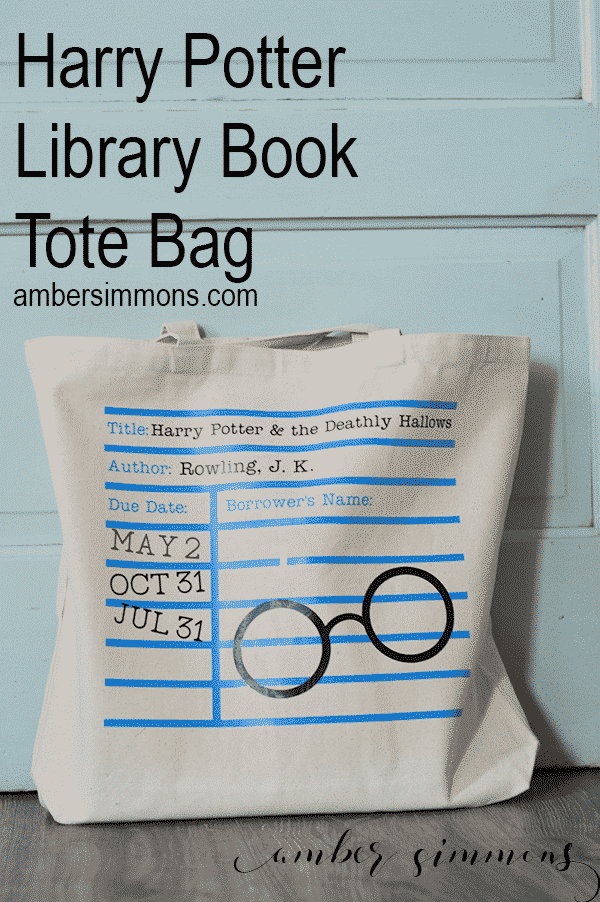
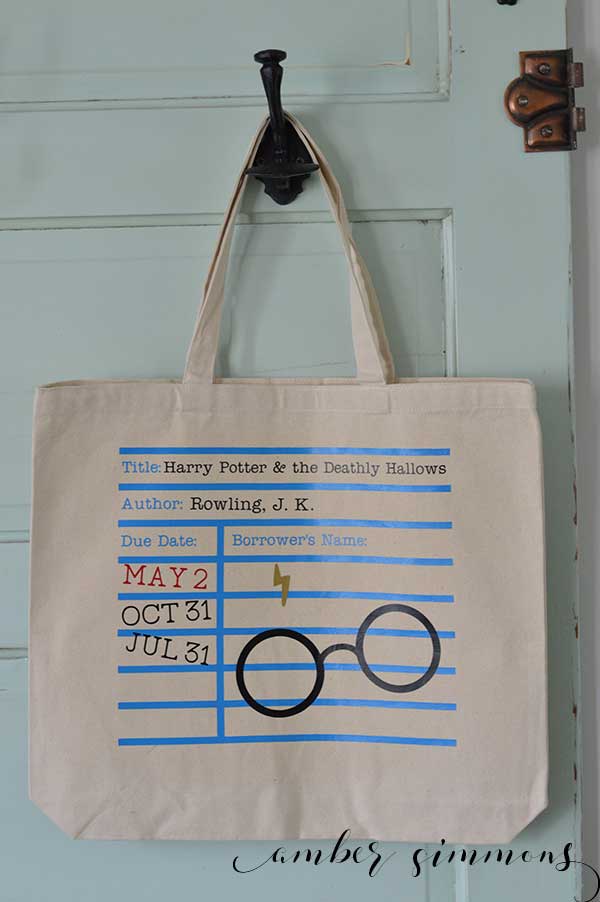
Also, the dates are Harry Potter-themed dates. May 2nd is the Battle of Hogwarts. July 31st is Harry Potter’s birthday. And October 31st is Halloween.
I also considered putting Harry Potter themed names such as Albus and Severus as the names of the borrowers. But ultimately I decided to just go with Harry’s glasses and lightning scar.
I made this adorable bookbag with my Cricut and EasyPress. However, if you don’t have a Cricut then you could also draw it by hand using a fabric marker and then use stamps to add the text.
So let’s talk about supplies.
SUPPLIES
Cricut Maker
Cricut standard grip mat
Cricut iron-on black
Cricut iron-on red
Cricut iron-on blue
Cricut iron-on gold
Cricut EasyPress 2, 10 x 12
Cricut EasyPress 2 large mat
Cricut weeding tools
Canvas tote bag
Harry Potter Bookbag cut file
The first thing you want to do is find your EasyPress setting for your materials.
The next thing is to lay the tote bag down on the EasyPress mat and press it so that it is nice and smooth. You don’t want any wrinkles in your canvas. Or at least a very minimal amount.

Then you want to measure your bag and see how big of a cut file you want to make. In Design Space, you will find the design is 10 and 1/4 inches tall and 12 in wide. If this is too large for your bag you can easily scale it down.
When you go to cut the iron-on out be sure to mirror all of the mats. Cut and weed all of the iron on.
The first one you want to put on is the blue lines and text. Apply the iron on to the bag using the EasyPress heat setting guide to determine the temperature in length of time.
For canvas, it said to do a warm peel. Please note that the canvas holds a lot of heat. I had some issues with my iron-on not sticking to the canvas until I realized that it was still far too hot to be peeling off the transfer sheet.
Basically, I waited for it to be almost cold and then I would just do a quick run over with the EasyPress to heat it back up to warm. Then the transfer sheet peeled off perfectly every time.
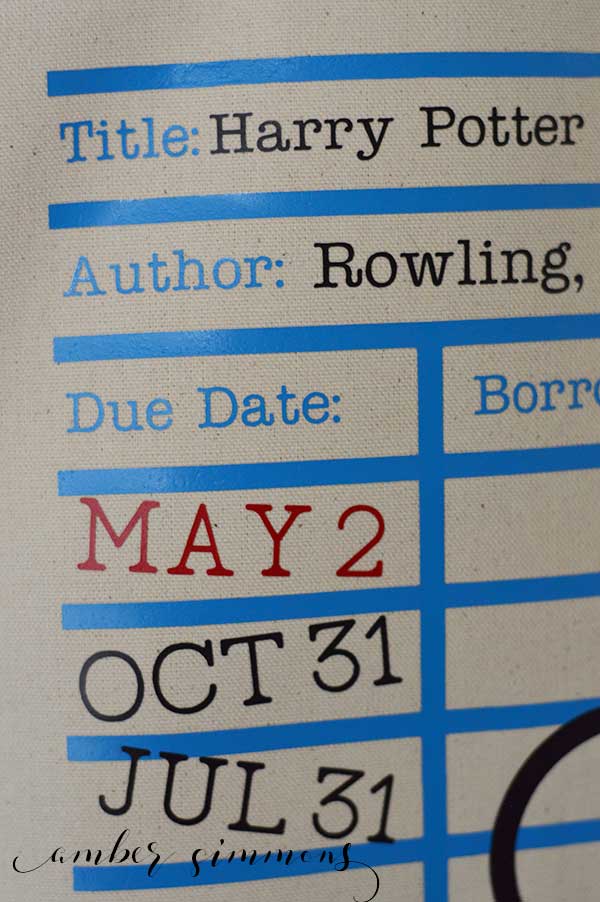
Next, you’re going to place all of the other pieces. Depending on how crooked you make your date so you might need to trim off some more transfer or do them one at a time. You don’t want to accidentally iron on top of transfer.
Place the large transfer sheet from the blue iron on down on top of everything else. Press with EasyPress in sections just as you did before to adhere the blue iron onto the canvas bag.
Be sure to press from the back as well.
Once everything is ironed on in the correct temperature for peeling peel off the large sheet of transfer. Then you can take off all of the smaller individual pieces.
And that’s it. You are all done. It turned out so great. I absolutely love it. I can’t wait to fill it up at the library. Hopefully, we remember to take all the books back. On time. Haha. Library and I struggle.
What book would you put on your book bag? Comment below. I would love to see what you would choose.
Harry Potter Library Book Tote Bag

Cute Harry Potter-themed library book bag to carry all of your books and activities
Materials
- Cricut Maker
- Cricut standard grip mat
- Cricut iron-on black
- Cricut iron-on red
- Cricut iron-on blue
- Cricut iron-on gold
- Cricut EasyPress 2, 10 x 12
- Cricut EasyPress 2 large mat
- Cricut weeding tools
- Canvas tote bag
- Harry Potter Bookbag cut file
Instructions
- Heat EasyPress2 to recommended setting
- Press your bag to remove the wrinkles
- Measure bag and size design accordingly
- Cut and weed all iron-on
- Place blue lined iron-on down and press. Do a warm peel.
- Place remaining iron-on and press. Do a warm peel.
- Be sure to press from the back as well
Notes
You can easily change this book bag to your favorite book by adjusting the text in the cut file.
Be sure to join my Makers Gonna Make group on Facebook for more Cricut ideas, help, and fun.



[…] you feel like making a handmade gift I have this cute Harry Potter inspired book bag that I made a tutorial for. It’s a perfect library book […]