This tutorial for how to paint a tile fireplace will take your living space from drab to fab in no time.

Remember a couple of years ago when I started painting my fireplace? Oh, you don’t? Because I didn’t post it here. But I did share it on Instagram. So if you’re following me over there you get the most up-to-date and current information on my projects.
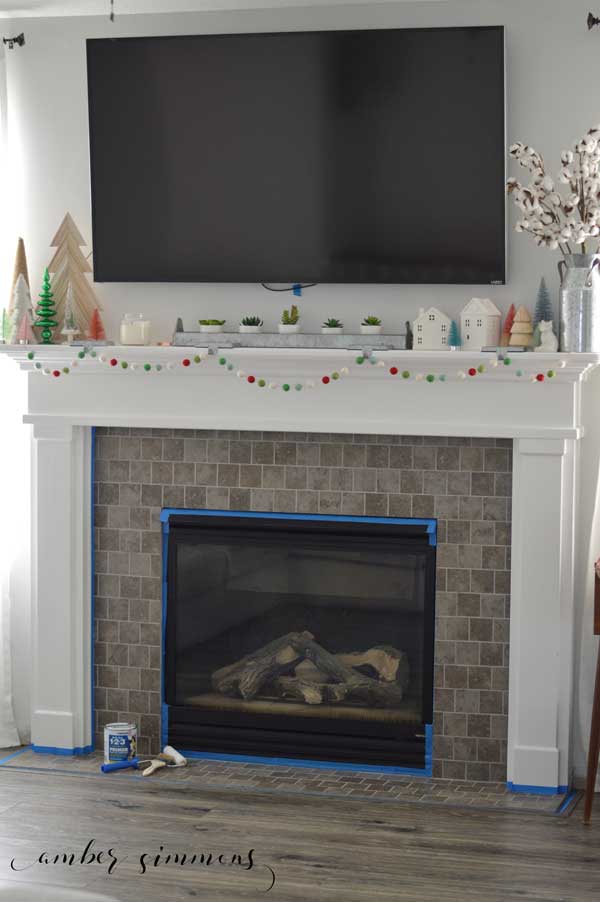
Anyway, back to the fireplace. When we moved in it was brown square tiles. I didn’t like it. I mean, who decided that everything in about a house should be brown? If you like brown, then okay. But I don’t so it needed to change.
I was going to paint it. Or maybe retile it. But painting sounded easier. But also labor-intensive. So maybe just retile. But tiling can be pricey. So I guess paint. But will it hold up to the head of having a fire in the fireplace? So I guess I should tile. I don’t know.
Do you see the struggle? It went on that way for a year-and-a-half. And during that year and a half, I looked it ugly brown tile.
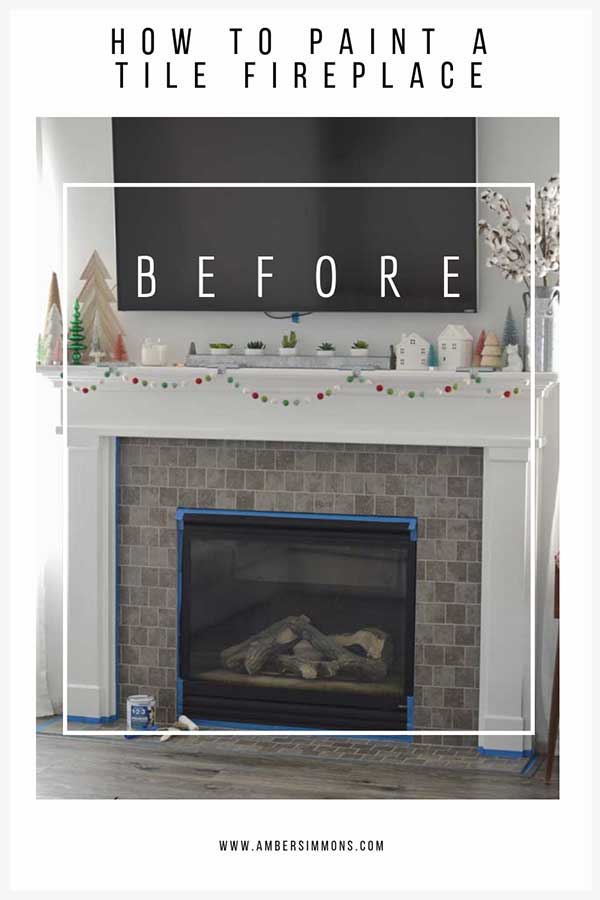
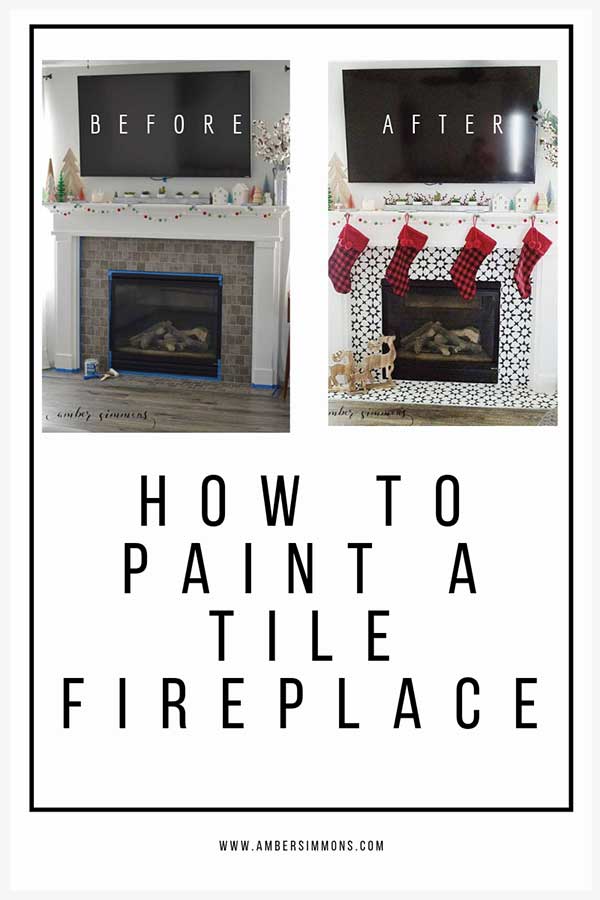
One day I got a bee in my bonnet. I was done looking at that ugly brown tile. I was going to change it because I didn’t want to look at it for ONE. MORE. DAY. What I wanted to change it to is this beautiful black and white cement tile.
While my fireplace isn’t big and doesn’t have much square footage when it comes to the tile, it was still going to be a pretty penny to retile it with those gorgeous cement tiles. Plus it was also going to have to be all chipped out so we could start over. That sounded tedious. And time-consuming. And I was going to have to look at an ugly untiled fireplace until I could put the new tile in.
So I decided painting was the way to go. Because if I didn’t like it or it didn’t work out, I could always rip it out and do new tile. But if I did like it, it was a much more budget-friendly option.
I went to Home Depot and Hobby Lobby to I buy my supplies.
Supplies to paint tile
Zinsser 1 2 3 Primer
Rust-Oleum Linen White Chalked paint
Rust-Oleum Charcoal Chalked paint
Polycrylic Sealer
Mini foam paint roller
Mini paint tray
Painters tape
Stencil material
Stenciling brushes
Fine point paint brushes
Cricut Maker
Cricut Strong Grip Mat
I would recommend a wider painters tape because the roller is thicker than a paintbrush so it can accidentally get paint further out than a brush would.
I came home and I washed the tile down with warm water with a little squirt of Dawn dish soap, to make sure I was starting with a nice clean surface.
Then I waited for about an hour so it was all good and dry.
How to cut a stencil
While it was drying I got my Cricut Maker out and got to work cutting my stencil. If you don’t have a machine to cut it you can certainly do it by hand, but I figured it was going to give me nice straight lines with minimal effort on my part.
If you are going to cut by hand I would HIGHLY recommend the Cricut True Control Knife. It’s awesome.
I googled the tile design that I wanted and uploaded it to Design Space. Once I had it in there I measured my fireplace to decide on a size to cut it. I measured the height of the tile between the top of my fireplace and the bottom of the mantel. I decided on a 9 inch square of a stencil.
I placed the stencil material firmly on the mat and taped the sides down for good measure. Then I pressed cut.
It worked beautifully. I marked which way was up by drawing an arrow with a Sharpie before I removed the stencil from the may. Now that my stencil was cut it was time to start the painting process.
How To Paint a Tile Fireplace
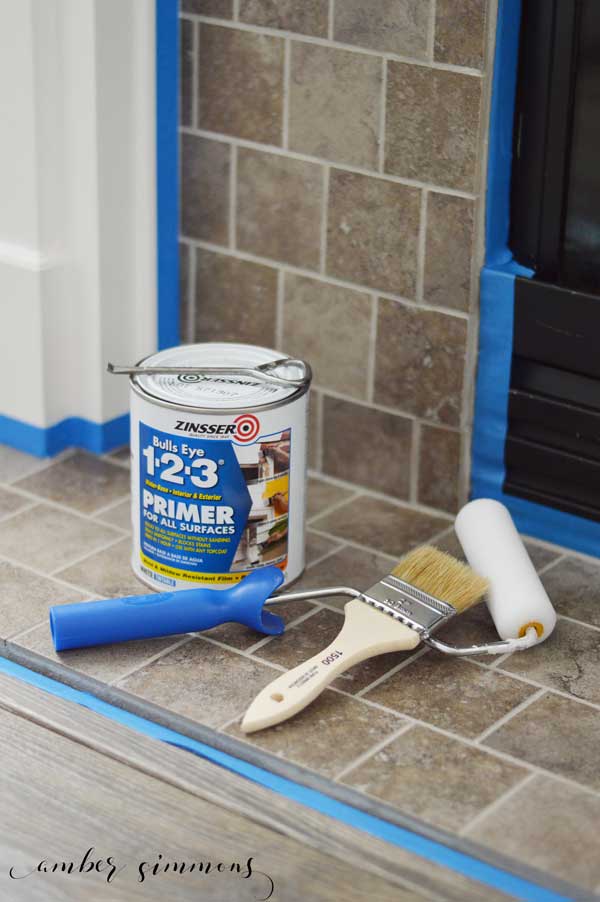
I taped off the fireplace, mantel, and floor all around the tile. Then I poured some primer into the painting tray, took a deep breath, and went to work rolling it onto the tile. I’m not gonna lie. I took a few deep breaths before I started priming. Once I placed the roller on the tile there would be no going back.
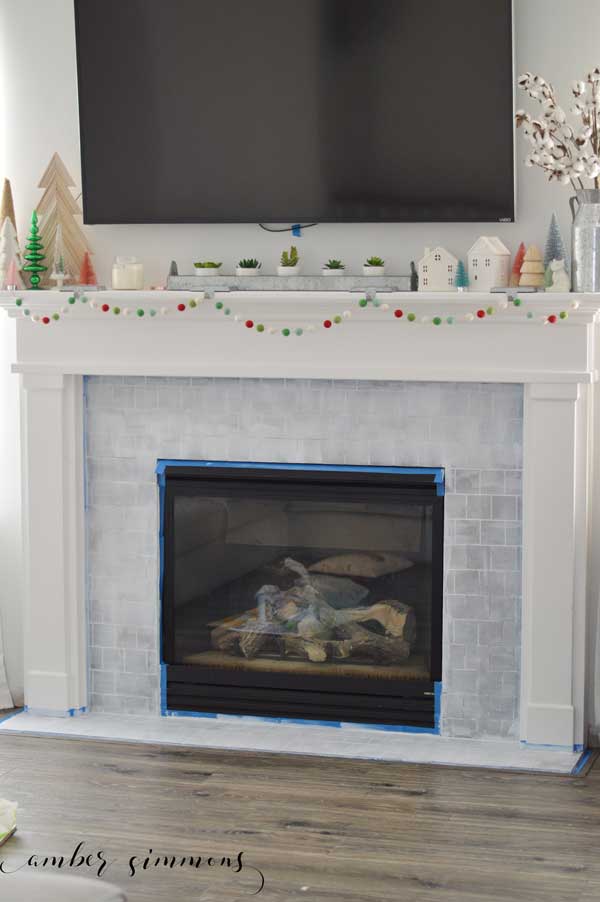
I rolled three coats of primer, allowing to dry in between coats. Two coats might have been plenty. But I wanted to be sure. Plus I was covering a darker brown tile.
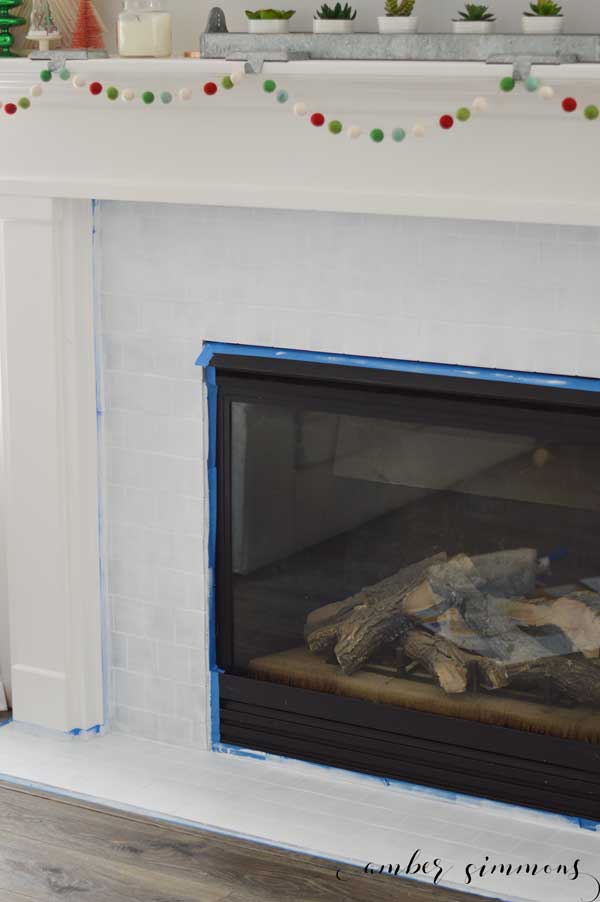
After the file coat of primer was completely dry I was ready to paint. I poured the linen white chalk paint into the tray and started rolling. After the first coat, it looked beautiful. After the second even better.
I allowed the white chalk paint to dry completely.
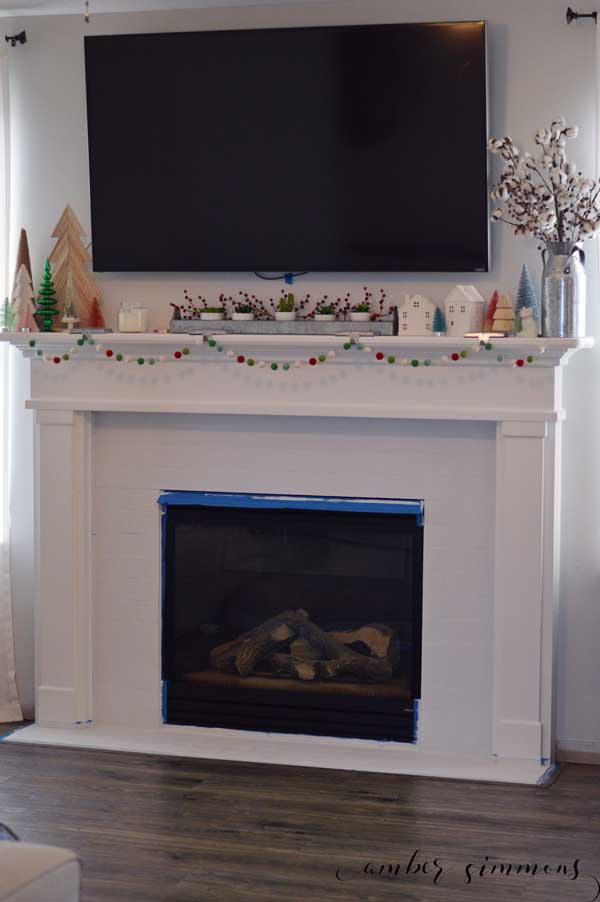
Now was the moment of truth. I was going to attempt to stencil tile. If I’m being honest, I hate stenciling. I just never really works out for me. So the idea that I should stencil the fireplace that is the focal point of our great room seemed crazy.
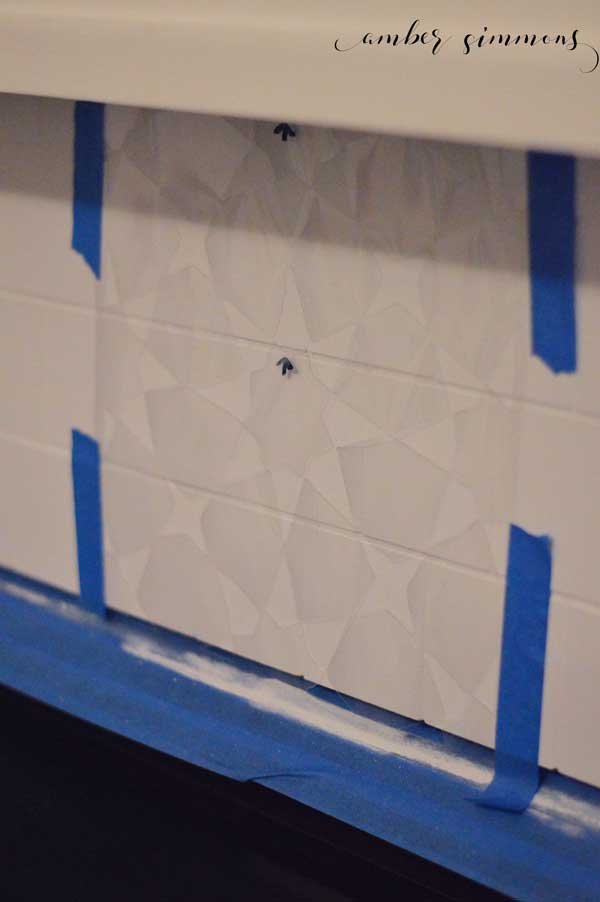
I taped up the stencil right in the top center where I had measured. I dipped my stencil brush in the charcoal paint and dabbed it on the cardboard box I was sitting on to get the excess paint off. Because, at this point, including the tile wash I was about to do a seventh pass over all the tile and my knees were killing me from sitting on the floor.
Then I started stenciling. I lightly tapped that matte charcoal paint in all the stencil openings. Then I allowed it a few minutes to dry and did it again. And again. I kept building layers of paint until the linen white chalk paint was no longer visible. The Rustoleum Chalked paint covers beautifully so it doesn’t take many layers. It just depends on the amount of paint you have on your brush.
After I was satisfied with the layer of paint, I carefully moved my stencil over. Then I started the stenciling process over.
I went on like this until my entire fireplace was stenciled.
Unfortunately, I think all the little brown tile squares were placed individually or something because I was not working with a completely flat surface. That meant that I had some wonky lines. That’s where the fine paint brushes come in.
I used them to touch up where I had issues. Which turned out to be pretty much everywhere. I’m not good at stenciling, remember? Luckily I have a great friend who offered to come help. The two of us spent hours hand painting the point on the design to get them nice and crisp so that the end result was clean sharp points.
After it was completely dry I planned to paint the sealer on. As of this post, I have yet to do that. Which means I will need to touch up the paint in the spots either the dogs or children have gotten dirty. Chalk paint doesn’t wipe clean without a sealant layer. In my experience, it just smears the paint if you wipe it with a wet cloth.
However, when I do get around to sealing it I plan to just roll it on the same way I did the primer and the linen white.
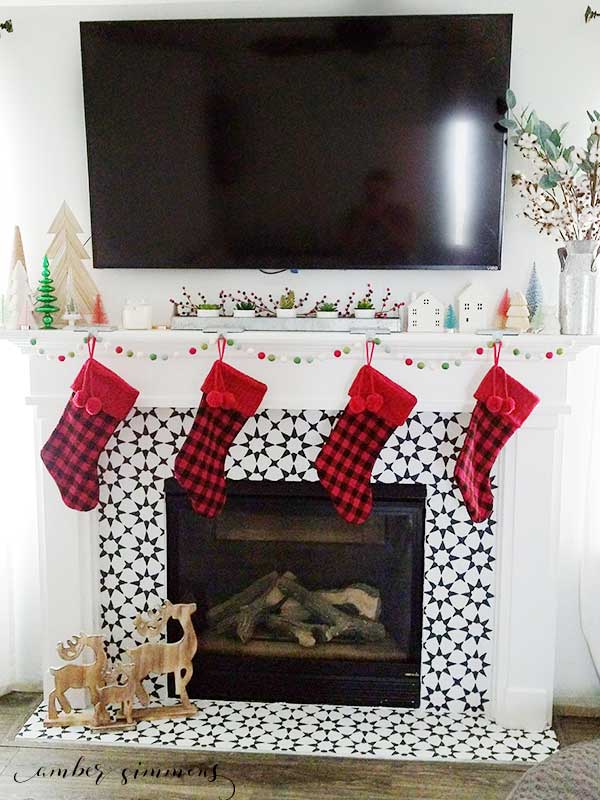
I absolutely LOVE how it turned out. And I am happy to report that it has withstood the head of actually having a fire in the fireplace.
Also, I have received many compliments from guests on how pretty my tile is. When I tell them it is painted they can’t believe it.
I also love how uniform it looks. I was worried that since I had small tiles you would still see all the individual tiles after it has been painted. Can you see them? Sure, if you are close enough and looking at it. But I wouldn’t say that it is obvious that it’s actually tiled with smaller squares.
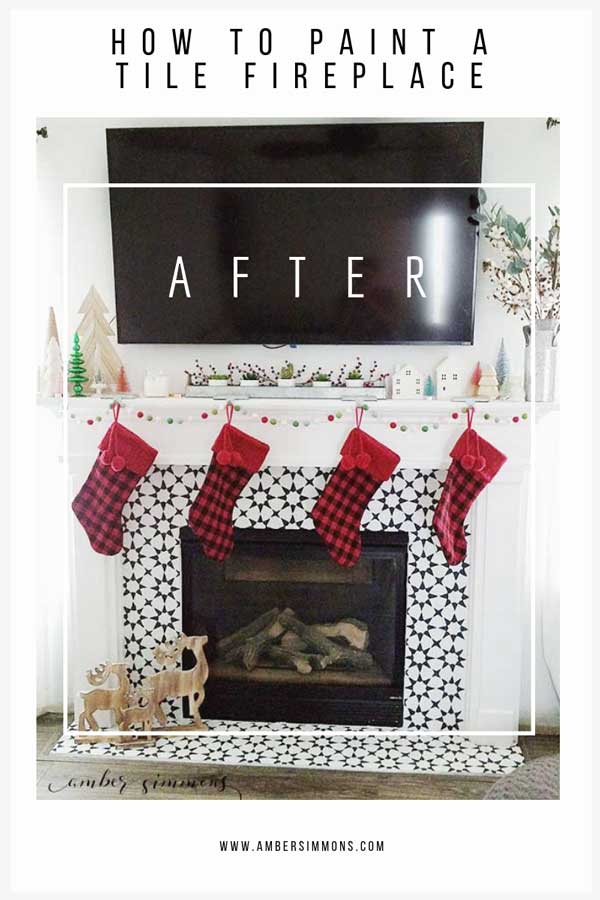
If you have been thinking about painting your fireplace I hope this gives you some insight on how to do it and some inspiration about how beautiful the end result can be.
How To Paint a Tile Fireplace

This tutorial for how to paint a tile fireplace will take your living space from drab to fab in no time.
Materials
- Polycrylic Sealer
- Rust-Oleum Linen White Chalked paint
- Rust-Oleum Charcoal Chalked paint
- Polycrylic Sealer
- Mini foam paint roller
- Mini paint tray
- Painters tape
- Stencil material
- Stenciling brushes
- Fine point paint brushes
- Cricut Maker
- Cricut Strong Grip Mat
Instructions
- Wash tile with warm water and Dawn.
- Tape off tile.
- Roll on primer until completely covered.
- Roll on Rust-Oleum's Linen White Chalked paint.
- Cut stencil and tape to tile.
- Stencil design using Rust-Oleum's Charcoal Chalked paint.
- Touch up any areas that need extra attention.
- Seal.






Just finding this now. I was wondering where you got the image to make your stencil? It looks absolutely gorgeous!
It was from a tile I loved from the Cement Tile Shop
did you ever end up sealing it? I just chalk painted mine and want to seal it but the manufacturer doesn’t recommend applying the sealer with a roller, so I’m curious how you did it and how it turned out! thanks :))
As of right now, it is not sealed. However, I have dogs and kids so the hearth is very dirty. I am going to try to clean it, but I expect to have to touch up the paint. If I need to touch it up I will be sealing it. Just for easier cleaning.