This simple DIY for how to create a stunning pumpkin dripping in pearls will class up your fall display in no time without a major dent to your wallet.
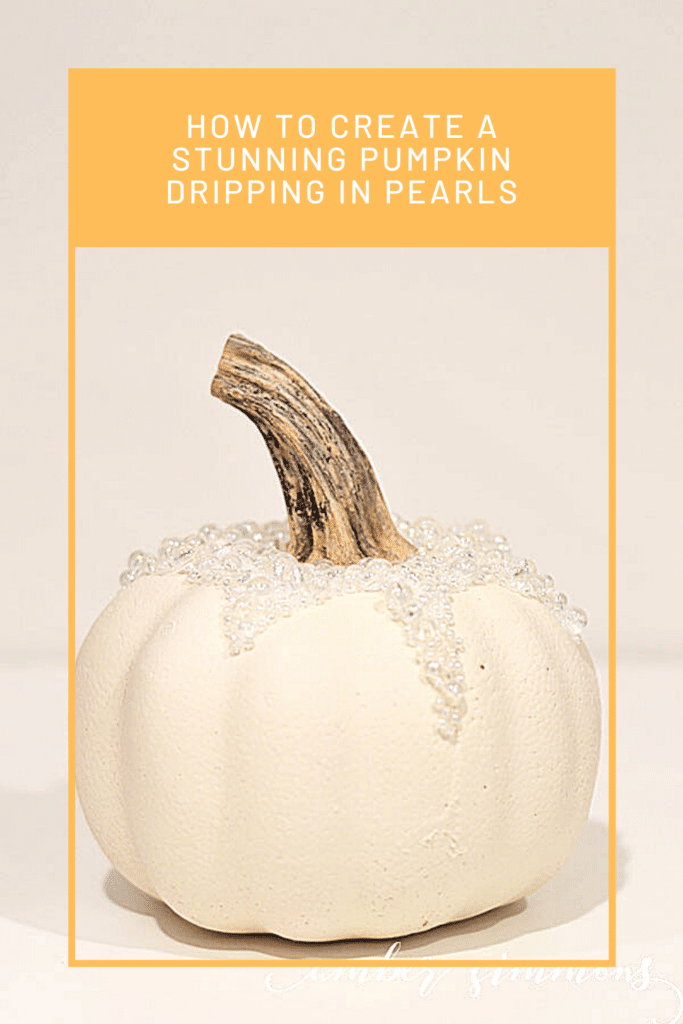
For this glamorous pumpkin, I used another styrofoam pumpkin from Dollar Tree.
Just like the one I used to create my faux cement pumpkin planter.
Supplies:
Faux styrofoam pumpkin
Rust-Oleum Chalked Spray paint in Chiffon Cream
Dried pumpkin stems (optional)
Hot Glue gun
Hot glue
Pearl beads
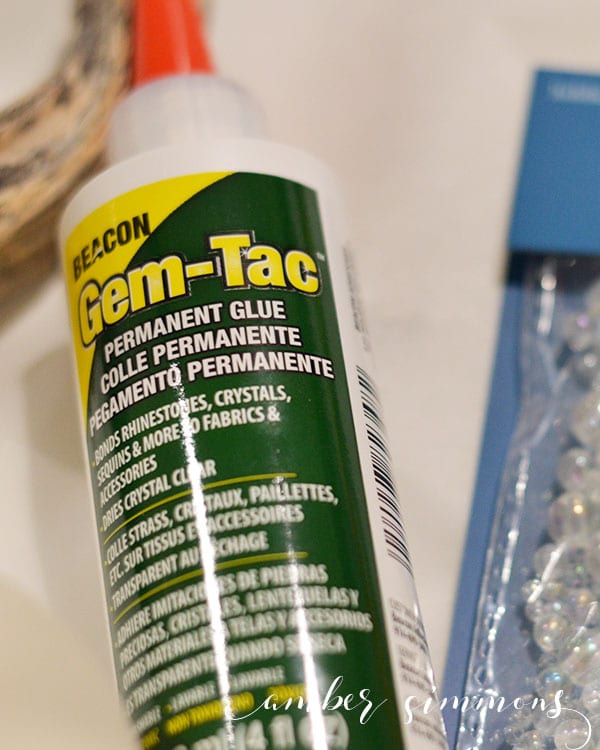
Beacon’s Gem Tac
How to spray paint styrofoam pumpkins
These are such cheap pumpkins that lend themselves to so many projects.
I spray painted it with Rust-Oleum Chalked paint in chiffon cream.

Spray painting the orange styrofoam looks weird.
Don’t worry. You will get full coverage. It’s just going to take a few coats.
I sprayed on the first coat and as it was drying I could see that the orange was streaking through.
But the second coat covered most of that.
And the third coat completely covered any remaining orange that was peeking through.
As you can see on this pumpkin it is two halves put together.
So there is a line around the center of my pumpkin. I wasn’t super concerned about that as I was going to cover it with pearls.
How to fix the stem on your styrofoam pumpkin
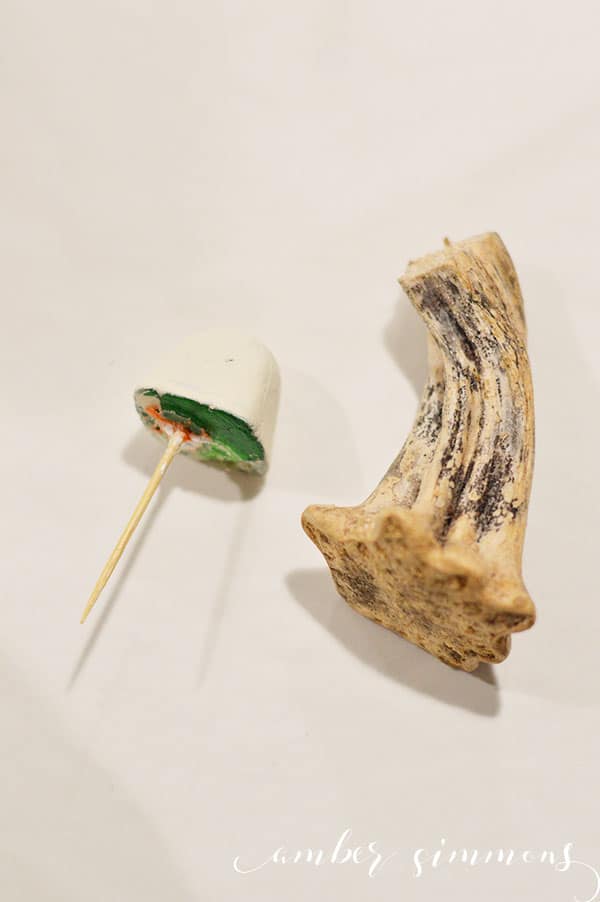
Also, my stem was not in the center. If your is off-center simply pull it out and you can place it more centered.
The stems are just attached to a long pick that is poked into the top the of the pumpkin.
How to replace the stem on your styrofoam pumpkin
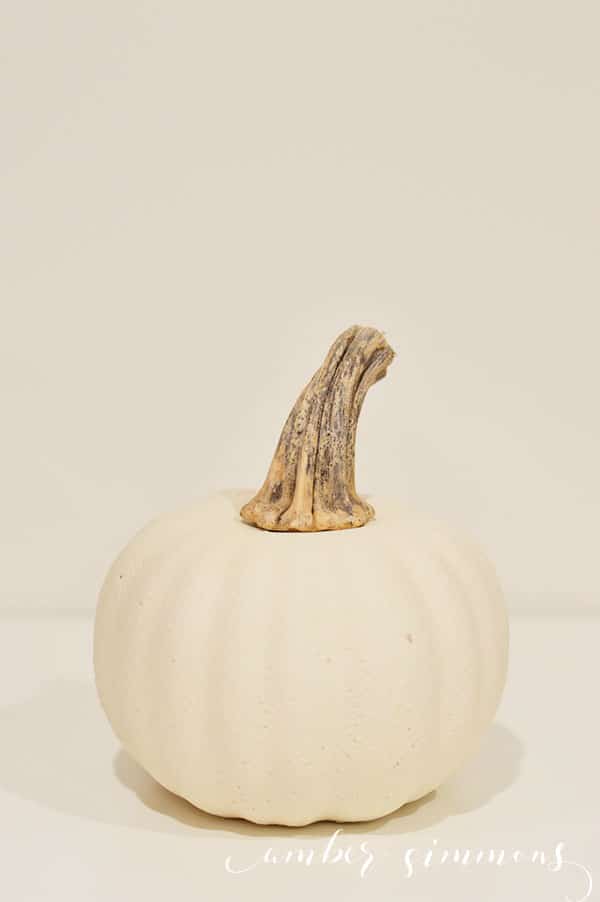
I just ended up removing it all togther and adding my own stem.
The stem that I added is a dried pumpkin stem that I purchased on eBay.
It’s from the same bunch of stems that I used on my fabric stuffed pumpkins.
I simply hot glued the new stem in place.
If you don’t have hot glue, you can just use the Gem-Tac instead.
And if you don’t have any dried pumpkin stems this would be cute with a dowel or a stick for a stem as well.
How to add pearled beads to your pumpkin
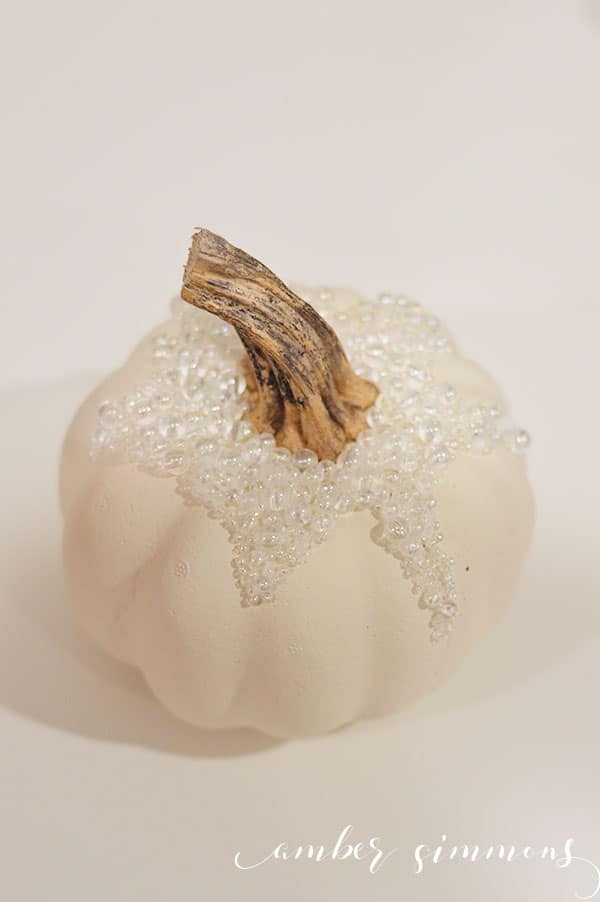
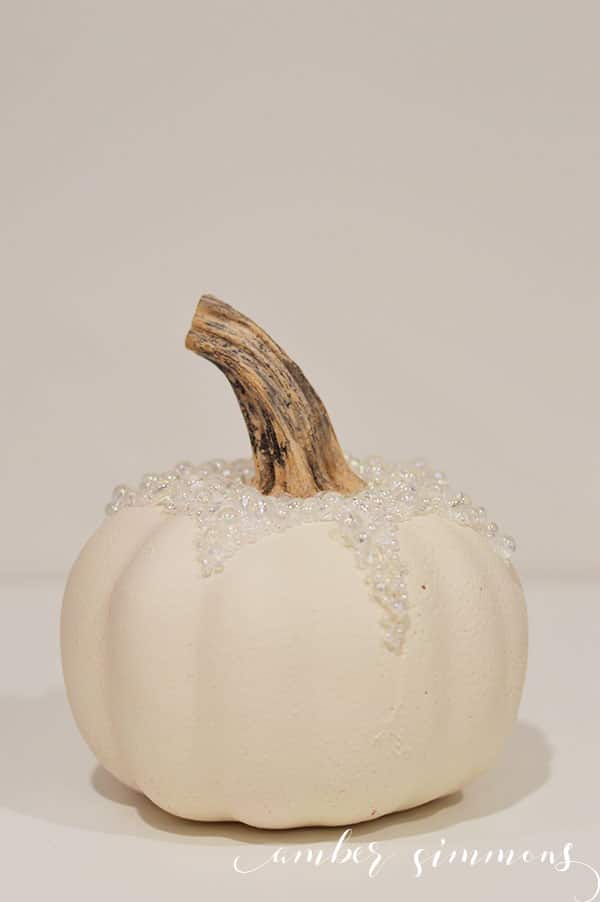
Next, I took a package of pearls that I bought at Joann’s and glued them in place using Beacon’s Gem Tac.
Are these actual pearl beads? No. But I liked these pearlized clear beads.
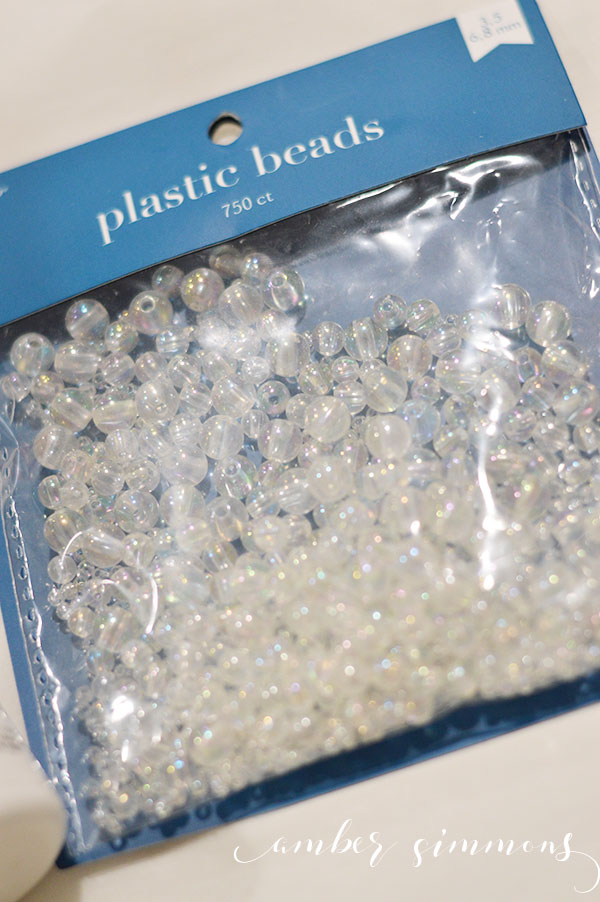
Starting at the stem and working my way out and down the sides of the pumpkin part of the way.
I ended the section of pearls kind of wavy around the side of the pumpkin to make it look as though the pearls were dripping down the sides of the pumpkin.
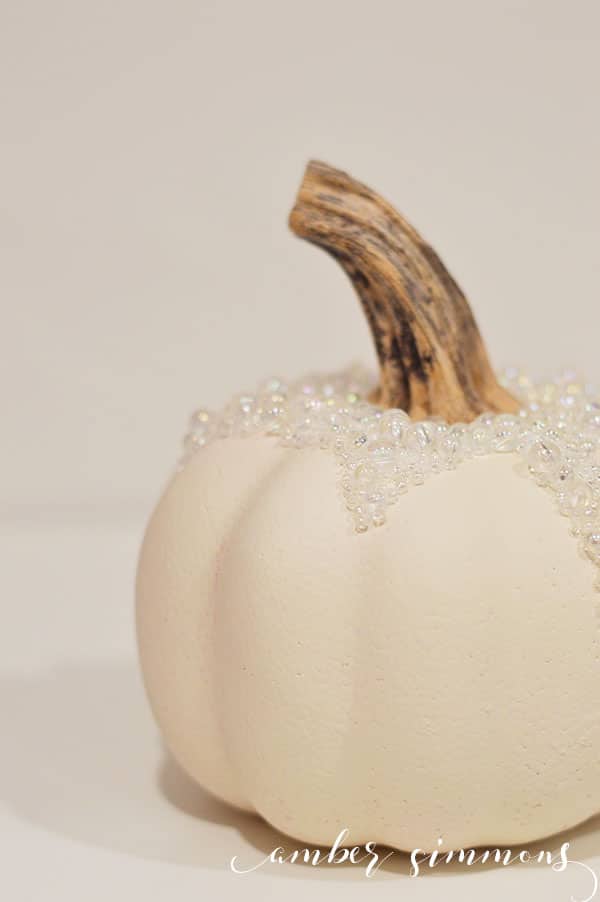
It turned out gorgeous. You would never know there was a $1 pumpkin under there.

Want more fall and pumpkin ideas? Be sure to check out my other fall posts.
How to Create a Stunning Pumpkin Dripping in Pearls
This simple DIY for how to create a glamorous pumpkin dripping in pearls will class up your fall display in no time without the major dent to your wallet.
Materials
- Faux styrofoam pumpkin
- Rust-Oleum Chalked Spray paint in Chiffon Cream
- Dried pumpkin stems (optional)
- Hot Glue gun
- Hot glue
- Pearl beads
- Beacon's Gem Tac
Tools
- Hot glue gun
Instructions
- Spray paint your faux pumpkin.
- Add a new stem if desired.
- Glue the pearls to the top of pumpkin and down the sides.




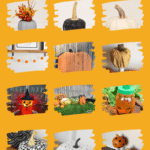
[…] If you like this idea, check out my other Dollar Tree pumpkin idea. […]