This tutorial for how to make a glittered mini witch hat garland will a little spooky glam to any Halloween decor.
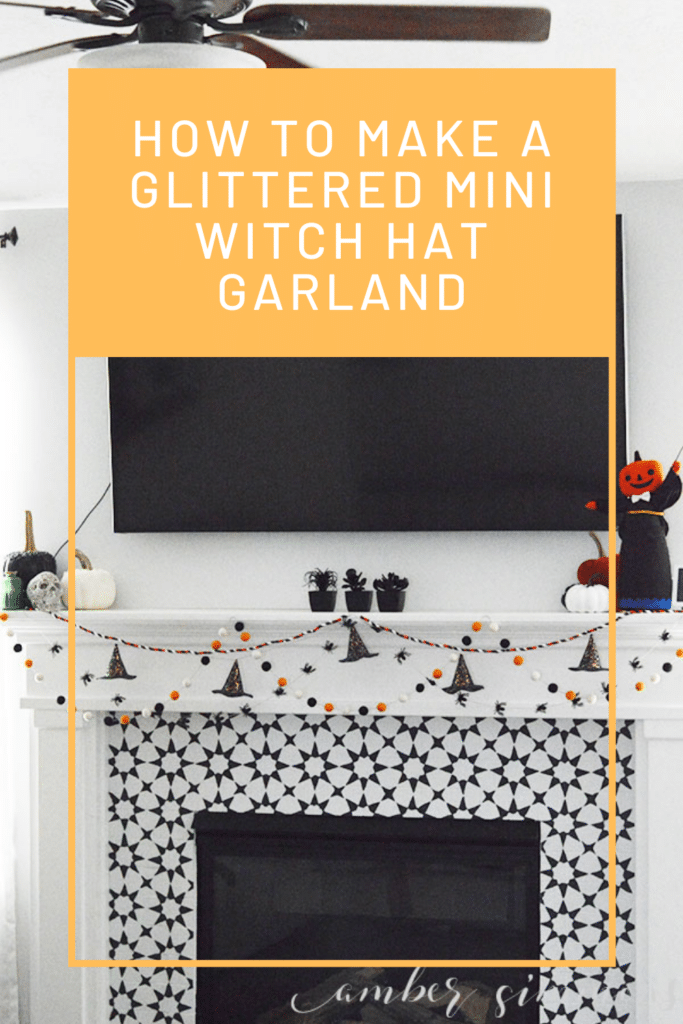
As soon as I saw this cute little three dimensional witch hat design in the Silhouette store I knew that I wanted to make a witch hat garland.
Supplies:
Silhouette Cameo 4 machine
3D Witch Hat cut file
Wide Glitter Ribbon
Beacon Fabri-Tac
String
Pony Beads
Yarn Needle (optional)
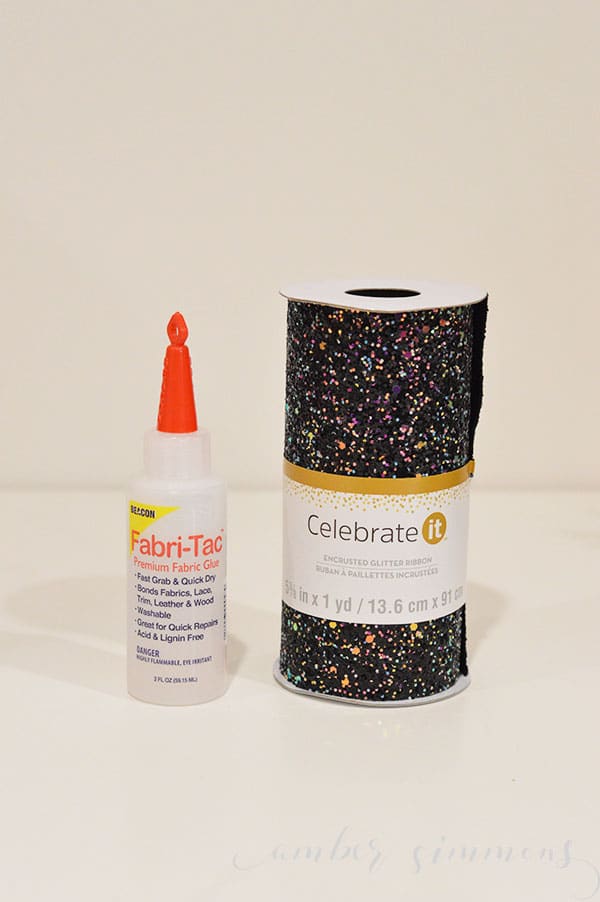
How to cut through chunky glitter ribbon with your Silhouette Cameo 4
While I was out shopping at Michaels I found the absolute perfect thing to make it out of. This adorable glitter ribbon.
This is a thick faux ribbon that has a really chunky glitter layer on top.

Lay it glitter side down on the cutting mat.
Then using some masking tape around the edges to hold it down and in place.
I sized the hat so that the brim was 4.2 inches wide.

In order to cut through this I had to adjust my settings to get all the way through.
Set your settings to:
Force – 33
Speed – 3
Passes – 3
Use the autoblade and cut out your hats.
I cut out five of these hats.
I used two rolls of ribbon to make five hats.
How to make a three dimensional witch hat
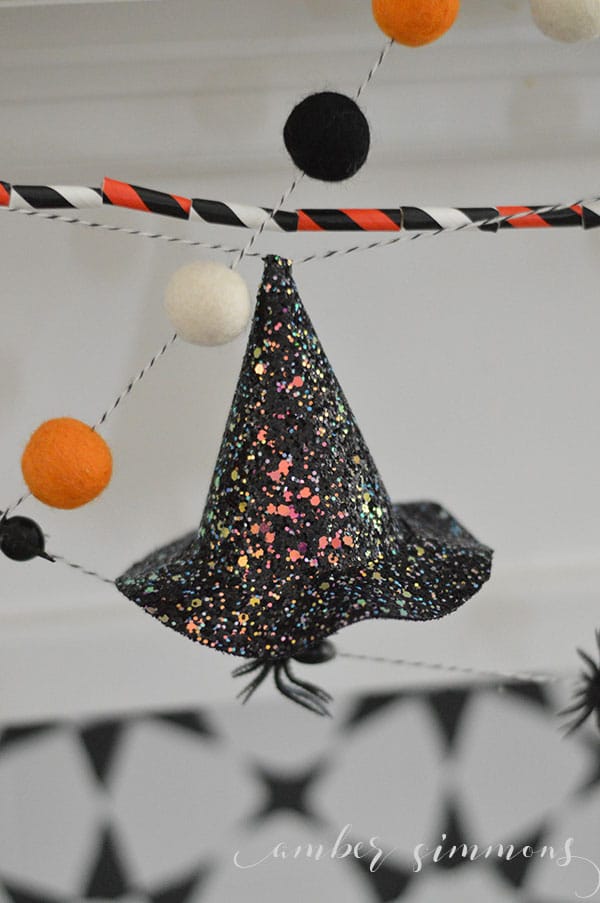
The first thing you want to do is roll the top part of the hat and gluing the seam together.
As I rolled it up I made sure that there was a small opening in the point of the Hat. This will be helpful to me later as I string them up.
I used Beacon Fabri-Tac to glue the seams. This is a great adhesive for this type of project.
You just need to give the seam a little pinch for about 20 seconds.
Then you can set it aside to dry while you glue the tops of the other hats.
Once you have all of the tops glued into a cone shape you can go back and glue the brim of the hat to the top of the hat.

I like to push the bottom of the cone down on the table a little bit so that the little notches fanned out.
I gave them a good amount of the Fabri-Tac and then placed the brim over the top of the hat and pushed it down on the notches.
Again holding it down in place for about 20 seconds to get it to stick. Do this all the way around the brim of the hat.
Repeat this process to add the brims to the other hats.
Once all of the hats are glued together I set them aside to dry completely.
How to string mini witch hats into a garland

When they were all dry I went back with a yarn needle and some bakers twine.
Put the needle down into the little hole in the point of the hat.
Take a bead and string it on the needle and twine. Then loop the needle back up out the top of the point.
The bead holds the string inside the hat but allows me to sting them from the top without having to string directly through the top of the hat.
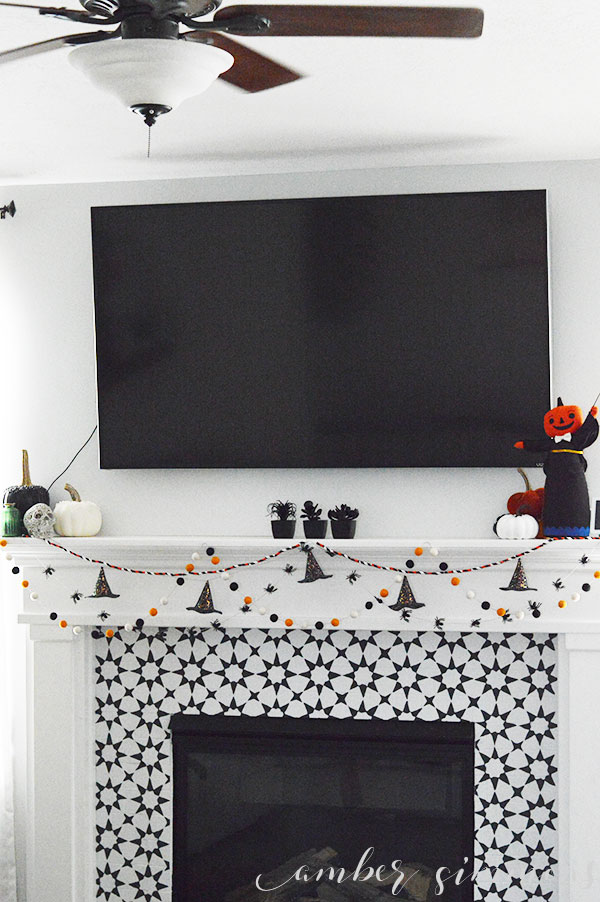
Repeat this process to string up the other hats.
And there you have it.
I have this cute little garland of five glittery witch hats.
It looks perfectly festive hanging on my fireplace.
Want more frightfully fun projects? Check out my other Halloween posts.

How to Make a Glittered Mini Witch Hat Garland

This tutorial for how to make a glittered mini witch hat garland will a little spooky glam to any Halloween decor.
Materials
- 3D Witch Hat cut file
- Wide Glitter Ribbon
- Beacon Fabri-Tac
- String
- Pony Beads
Tools
- Silhouette Cameo 4 machine
- Yarn Needle (optional)
Instructions
- Lay your ribbon glitter side down on the mat. Tape the edges down with masking tape to hold it in place.
- Size your hat cut file.
- Set the cut settings to get through your material.
Force - 33 Speed - 3 Passes - 3 worked for me. - Cut hats out.
- Roll the top of the hat and use Beacon Fabric-Tac to glue it closed leaving a little opening at the top. Press seam with fingers for 20 seconds to set the glue. Set aside to dry.
- Press the bottom of the cone down on the table to fan our the notches. Put Fabri-Tac on the notches. Place the brim over the top of the cone and press down into place to set the glue. Set aside to dry.
- Thread the needle with bakers twine. Put down through the top of the hat. Loop through a pony bead and back up and out of the hat. Repeat to string all the hats.
- Hang up your garland and enjoy.


Leave a Reply