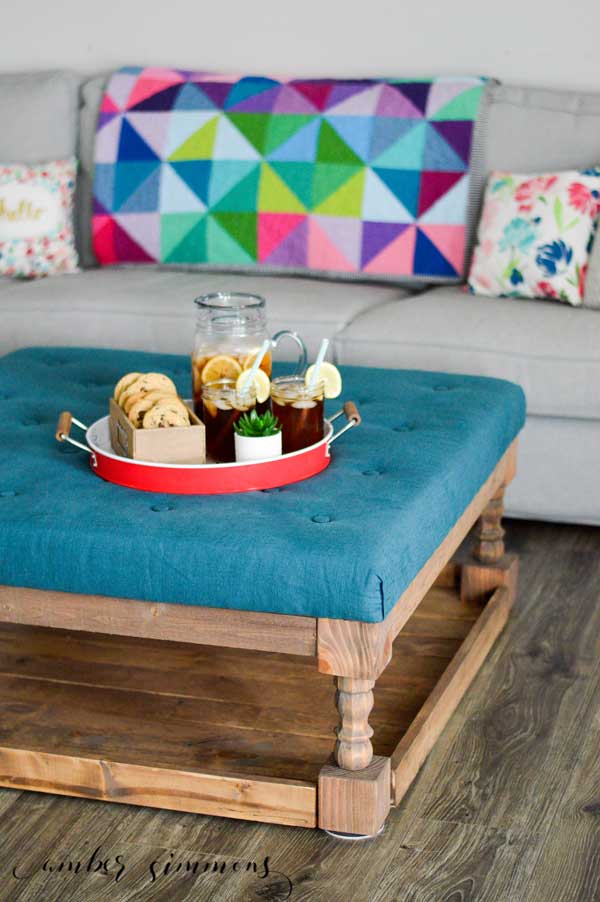
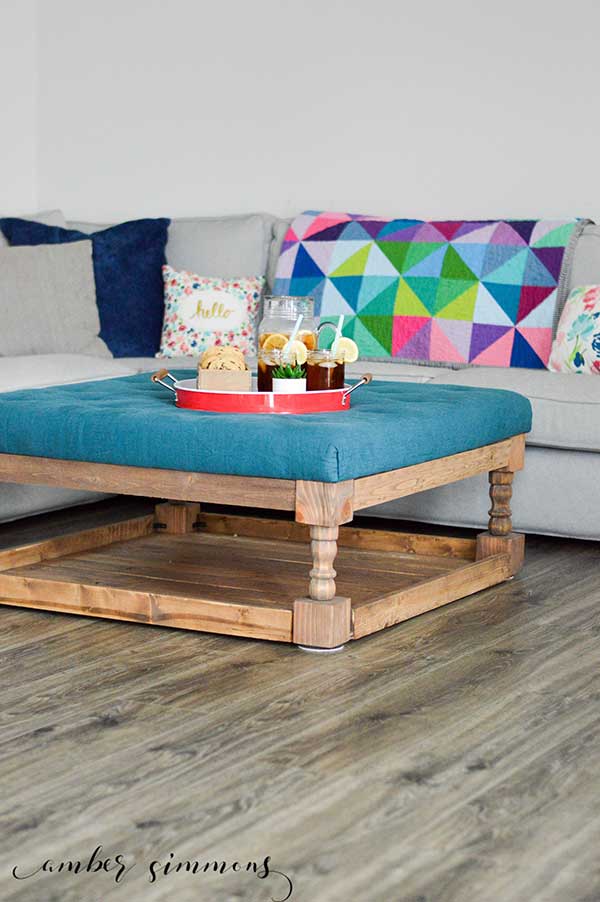
This modern farmhouse tufted ottoman DIY tutorial will add a dash of Fixer Upper style to any room.

When we bought our new couch we knew that we wanted an ottoman to go with it. I also knew that I did not want the one that matches our couch. I wanted this pretty one from Overstock.
However, I didn’t have the budget that went with that ottoman. So I decided to do what any maker would do. Make it myself.
I drew up some plans and went shopping for supplies.
Supplies:
2 yards of 55″ wide Upholstery Fabric (I found mine at Joann Fabrics)
25 7/8″ Buttons
25 buttons
3″ Foam
Batting
40″ x 40″ square of 3/4″ plywood
4 6″ turned chair legs
1 4×4 beam
8 1x3x8 boards
6 1x4x8 boards
24 3/4″ corner brackets
8 Mending plates
4 dowel screws
4 Felt Bottom Furniture Sliders (Optional. Use whatever will work best with your flooring.)
3/4″ screws
1″ nails
Nail gun
Upholstery needles
Upholstery thread
Stapler
Drill
Spray adhesive (Make sure your adhisive will adhere foam to wood.)
Craft Glue
Stain (Minwax Special Walnut and Weathered Oak)
Wood Conditioner
Polycrylic
Spray Paint (optional)
Building Instructions
Cut eight (8) 3 1/2″ x 3 1/2″ cubes from the 4 x 4. Sand the ends and any rough sides. Note: 4 x 4s are actually 3 1/2″ by 3 1/2″ so you just need to cut 3 1/2″ pieces of it.
Drill 1 1/2″ holes in the center of one end of each cube. This is where the leg will attach in the between the cubes.
Cut 1 x 4 x 8 into nine (9) 38 1/2″ pieces and two (2) 32″ pieces. Sand ends and any rough sides.
Cut 1 x 3 x 8 into eight (8) 32″ pieces. Sand ends and any rough sides.
Drill 1 1/2″ holes in the bottom center of each leg.
Next you want to condition, stain, and seal all of the wood that you just cut as well as the legs. I used Jen Woodhouse‘s beautiful stain combination of Minewax Special Walnut and Weathered Oak. I highly recommend this tutorial on how to get a great stained finish.
Optional: Spray paint eight corner brackets and sixteen screws. These will be visible on the finished project.
After the sealer has dried, line up all nine 1 x 4 boards. Place a 1 x 3 at the end and using a nail gun attach all the 1 x 4s to the 1 x 3.
Attach a 1 x 3 to the other end of the 1 x 4s.
Attach one 1 x 3 to a long side of each 32″ 1 x 4.
Using the mending plates attach 4 cubes and all the 1 x 4s to form the bottom. The 1 x 4s and cubes will sit flat on the floor together.
Apply the felt furniture sliders to the bottom of the cubes.
Secure corner (sprayed) brackets to the inside of the 1 x 3 sides and cubes.
Put the dowel screws in the bottom of the legs. Screw blocks onto both ends of the legs.
Attach the remaining 1 x 3s between the top cubes, making sure they are even because the top will sit on them.
Secure one corner bracket per each interior side of the cubes two per cube. Attach two corner brackets per 1 x 3, spaced about a third of the way each. I attached all my corner brackets to the base now so that when the top was completed I just need to put screws in the bottom of the top to secure the two together. This is a total of sixteen corner brackets holding the top on.
Measure the plywood to evenly space 25 buttons. I drew lines every 10″, dividing it into sixteen squares. Drill holes where the lines intersect and in the center of all the squares. Shown with blue dots.

Cut the foam to fit the top and glue into place on top of the plywood.
Once the foam is in place, lay batting over the top of the foam. Pull snug and staple to the bottom of the plywood. Do this on all four sides.
Cut a few inches of upholstery fabric from the end of your yardage to use to make the covered buttons.
Cover buttons with upholstery fabric. I did lose a couple tops to my buttons since the fabric was thicker, but I just glued them back on with an all purpose craft glue and have had no issues since.
Center fabric on top of the batting. Pull snug and staple to the bottom.
Stand the top on its side. Using the upholstery needles and a long thread attach buttons to the top, starting in the center. Thread needle, go from the back to the front, add the button to the needle and thread, and go back down in almost the same spot to find the whole on the back again.
Take the long thread tails and put them through the holes on a clear button. Push the button up the thread to the bottom of the plywood. Using craft glue attach the button to the bottom of the plywood. Tie a double knot and add extra craft glue to hold if needed.
Continue attaching buttons until they are all attached. How deep the tuft is dependent on how tightly you pull. These are not meant to be very deep. My fabric wasn’t wide enough for deep ones, which was fine by me because I thought they would just collect crumbs. If you want deeper tufts you should carve some of the foam out to help shape the top. Just know that deeper tufting does eat fabric so you will need to have wider fabric or a smaller base.
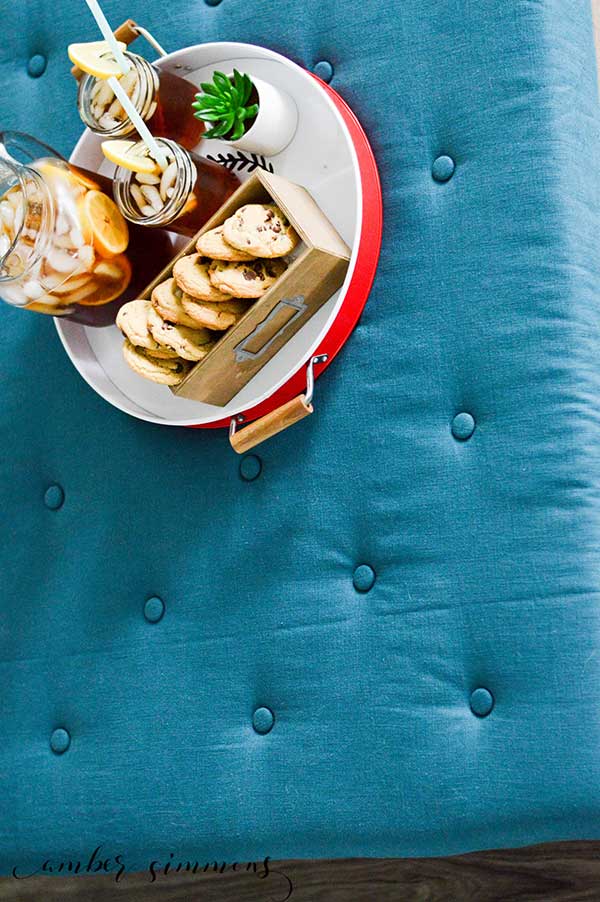
I actually threaded all my buttons first and then went back to tie them all on. You can do each one individually or do one step at a time for the whole top.
Once the top is complete you will center it on top of the base. Then you attach to the base by screwing it to the corner brackets around the inside of the frame.
This was my first big project that I designed and made all by myself. It might not be perfect, but I love how it turned out. I was afraid the that the corner brackets might not be sturdy enough, but the boys jump on it all the time and it’s still holding strong.
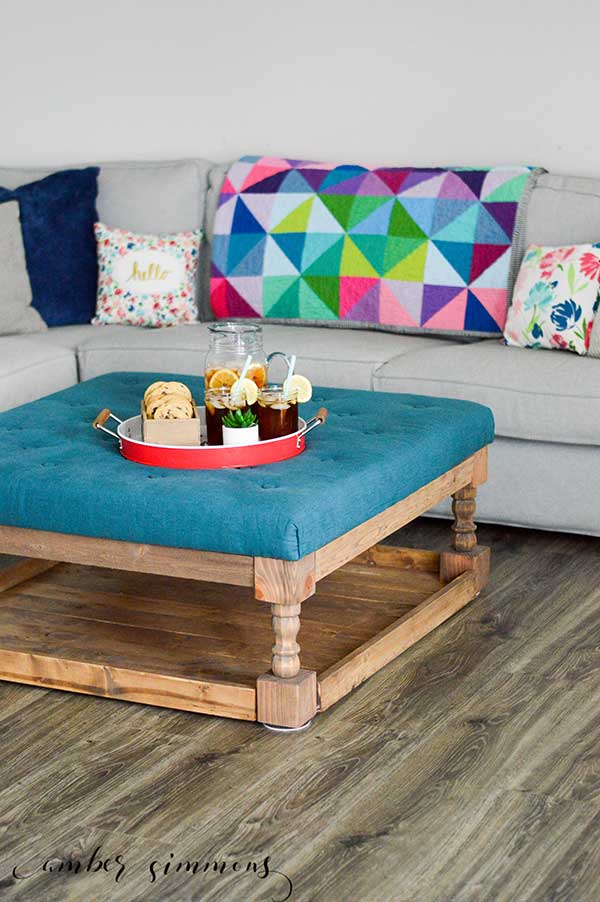
Note: If you want the bottom to have some spacing between the boards you could use all 1 x 3’s and space them accordingly during assembly.
This was fun to make and I am pretty proud of it. I can’t wait to show you some other projects that I have planned.






[…] Modern Farmhouse Tufted Ottoman by Amber Simmons: […]