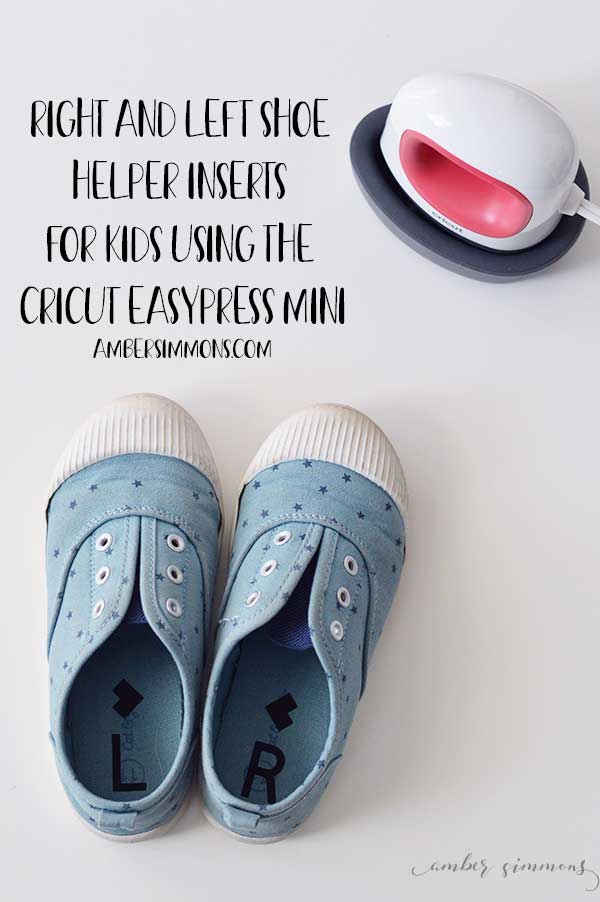
Help your little ones figure out which shoe goes on which foot with these right and left shoe inserts for kids using the Cricut Easypress Mini.

If you have little kids then you know how tricky it is for them to put their shoes on the right foot. My four-year-old really struggles with this.
I just don’t understand. How it can be a 50-50 chance and 100% of the time he puts his shoes on the wrong feet? How does that work?
So when I got my Cricut EasyPress Mini my mom thought it might be a good idea for me to iron something in them to help him differentiate left from right better.
My mom’s pretty smart.
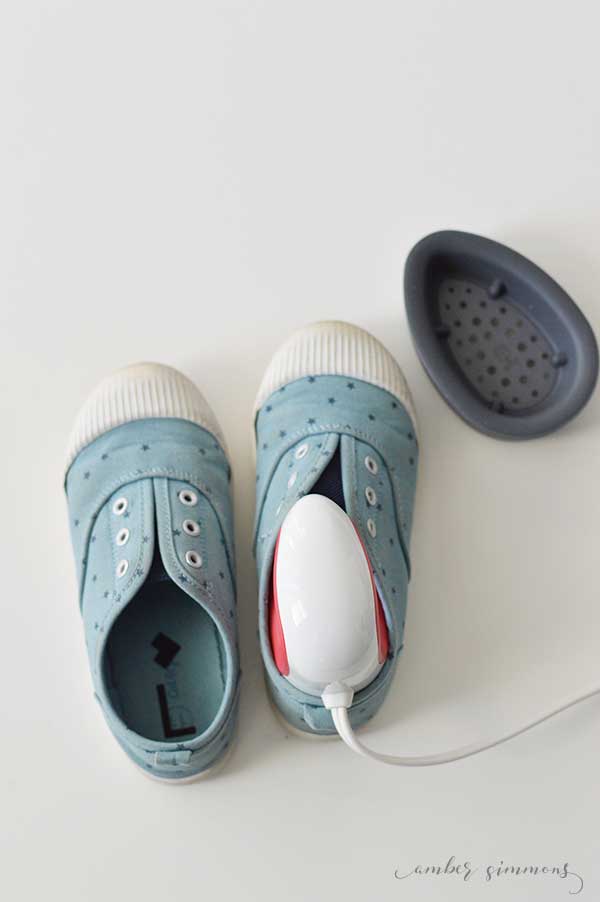
And guess what? The Cricut EasyPress Mini fits inside his tiny shoes.
Okay. He’s wearing a size 11. So they aren’t super tiny. But they are definitely smaller than the shoes I wear.
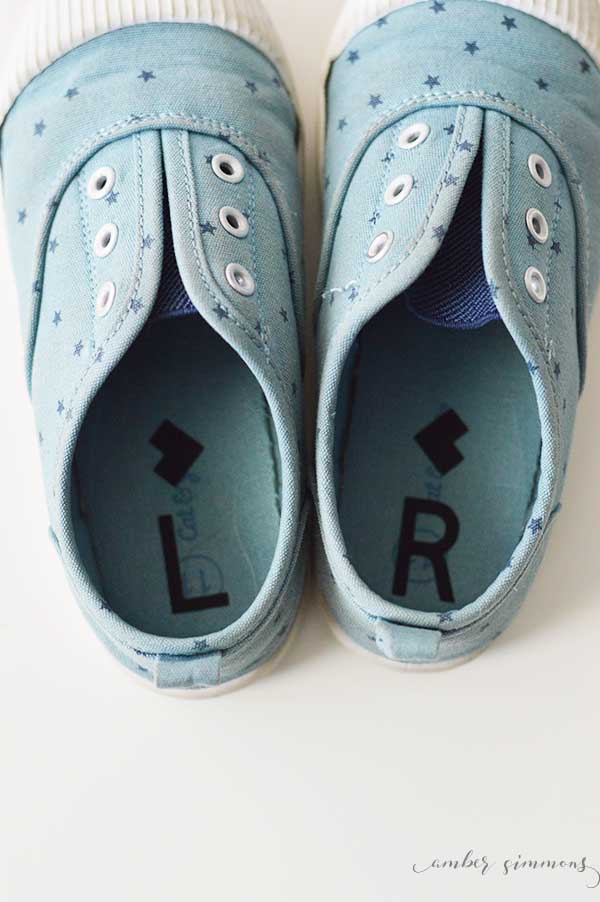
So that’s what I decided to do for my project. I put an L in the left one and an R in the right one.
I also decided to put arrows that point to each other to help him differentiate as well. That makes it easy for kids who don’t know their letters very well yet.
The Cricut EasyPress Mini is the perfect companion to any Cricut Machine. You can use it on all kinds of little projects where the larger EasyPresses might not work including shoes, hats, sleeves, pockets, stuffed animals and more.
Plus the Cricut EasyPress Mini is just as easy to use as it’s larger counterparts.
You simply plug it in, turn it on, and once it reaches temperature you are ready to go. It makes using iron-on SO much easier than a regular iron.
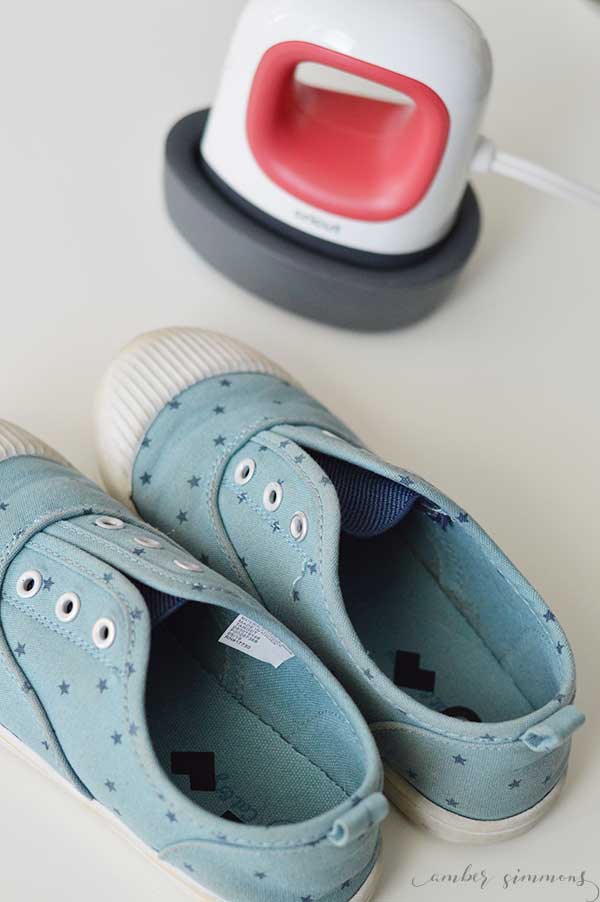
Supplies
Cricut Explorer
Cricut EasyPress Mini
Shoes
Cricut iron-on
Left and Right Shoe Helper Cut file
How to Use Right and Left Shoe Helper Inserts for Kids
In Design Space, I created a cut file that would fit into his little shoes. You can make your own, or you can use the same one I did which is linked above in the supplies list.
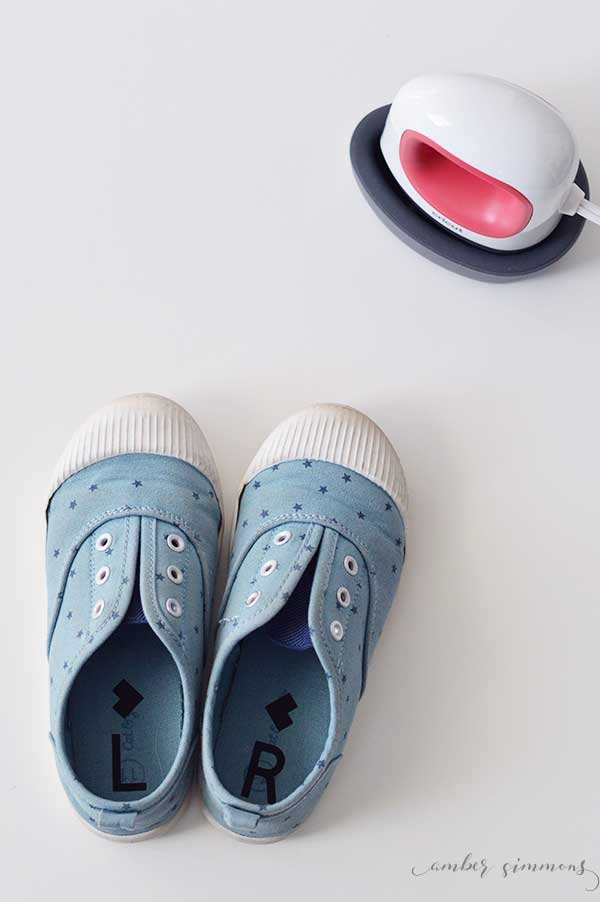
These shoes happen to be my little guy’s favorite kind. He has them in a few different colors. He loves how comfy and easy they are to put on by himself.
I got them at Target. Target has them listed as girl shoes but I think they are gender-neutral.
First set your Cricut EasyPress Mini to preheat to the low-temperature setting.
I cut them with my Cricut Explorer Air 2, but any Cricut machine will work. Then I weeded it out and trimmed it down to fit into the shoe.
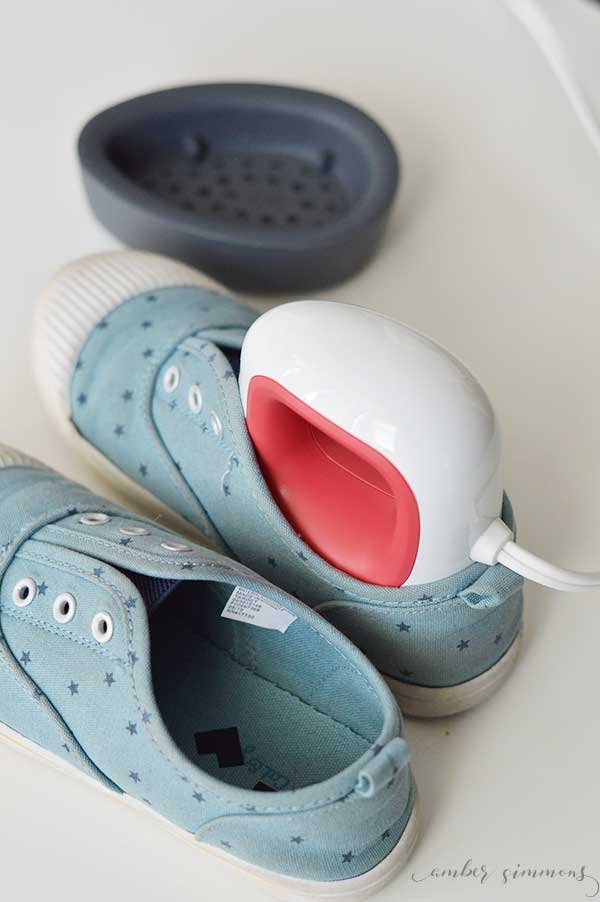
Once the Cricut EasyPress Mini was hot I simply placed the iron inside the shoe for about 20 seconds. I just counted, so it wasn’t a precise length of time.
After that I let it cool briefly and did a warm peel. It worked perfectly.
I lined the other shoes iron-on up in the same place so that the arrows could point toward each other. And then I repeated the process of 20 seconds on low inside the shoe.
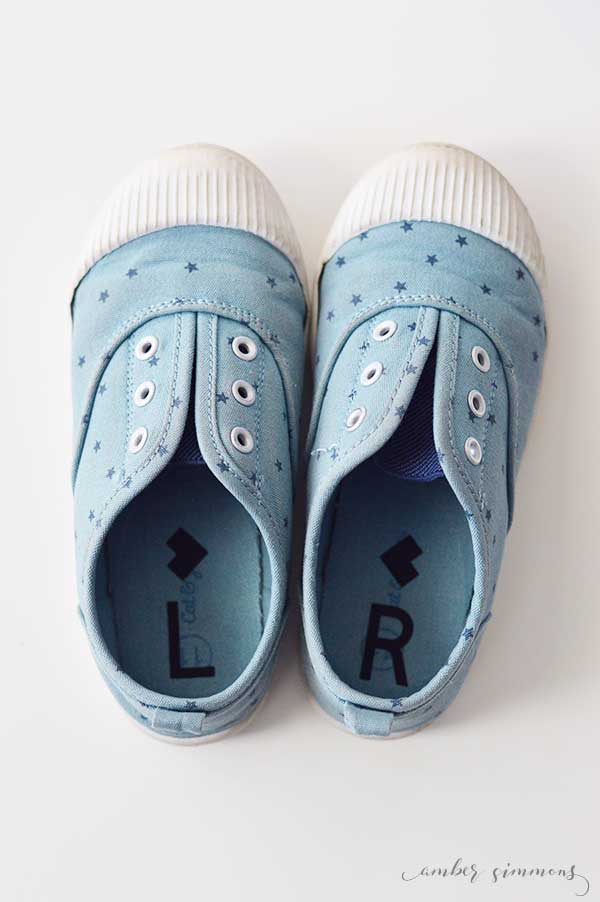
That was it. They both are done. And I love how it turned out.
I can’t wait to add it to his other shoes. Crossing my fingers this helps him get his shoes on the correct feet.
Check out my other Cricut posts for more fun project ideas and Cricut help.

This is a sponsored conversation written by me on behalf of Cricut. The opinions and text are all mine.




[…] turned my Cricut EasyPress Mini to the medium setting and let it heat […]