This tutorial for how to paint clear Christmas ball ornaments will make everyone look like a crafting expert. These ornaments are so simple to make and they are a great project to do with kids.
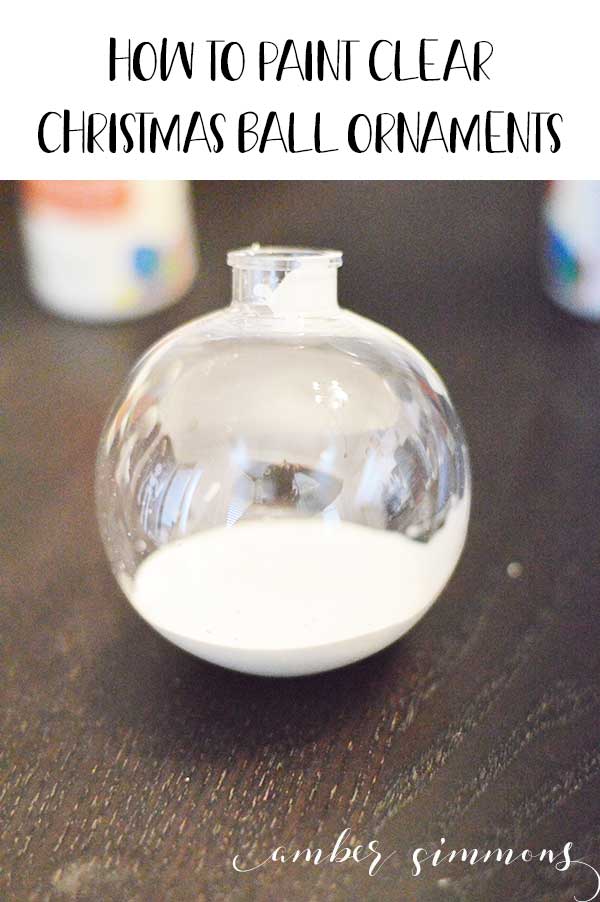
When I went looking for ornaments to make my Rae Dunn Inspired Christmas Ornaments I only had two requirements.
They needed to be plain white and they needed to be shatterproof.
However, those are apparently crazy requirements, because they were not to be found. So I decided to do what every DIY lover does, make my own.
I started with clear plastic ball ornaments, like these ones from Amazon. Then you just squirt, swirl, and dry.
Okay, that’s the very basic version. But it seriously isn’t much more complicated than that.
Supplies
Ornaments
Paint
Optional: Liquid hairspray
First, I opened it up by pulling out the top. Set the top aside.
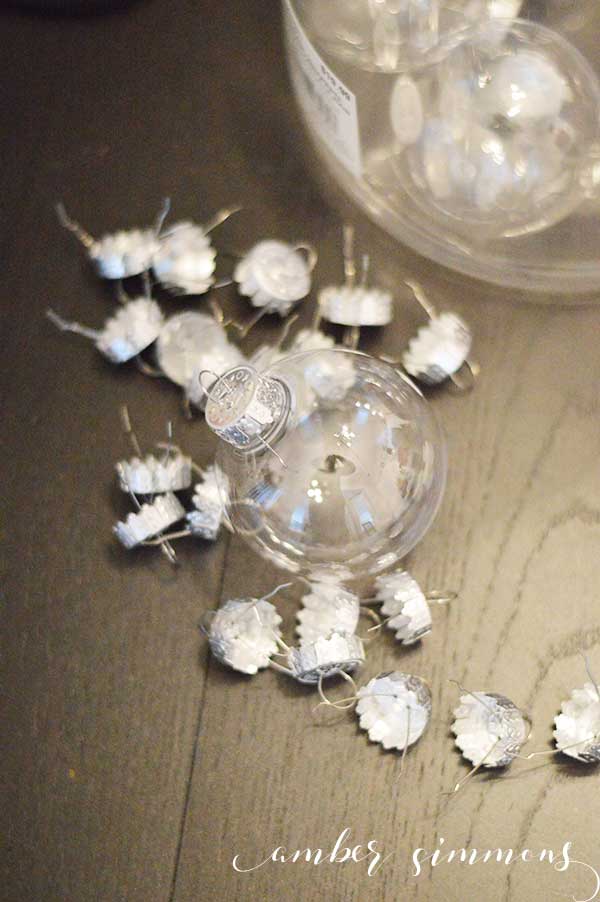
Optional step: Put some liquid hairspray in the ornament and swirl it around. Pour out excess and let dry before adding paint. This can give the paint a better surface to adhere to.
Next, I squirted my paint into the ornament. I used a vanilla colored acrylic paint. The specific brand was Craftsmart from Michaels.

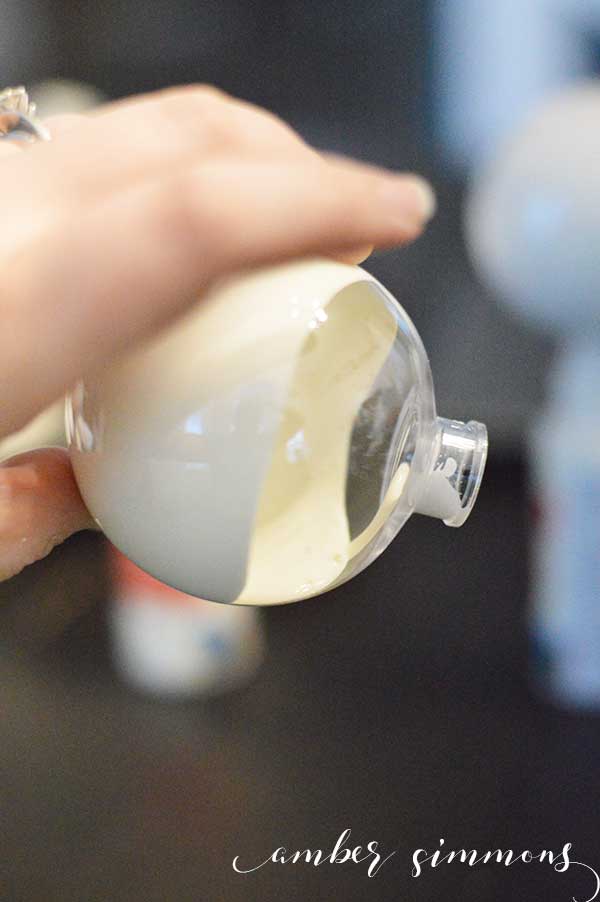
Then I swirled the paint around the inside covering the entire surface.
If you see any air bubbles you can hold the ornament so they bubble is at the bottom and then give it a little flick or two and the bubble should rise to the surface inside
Once the inside is completely covered I placed my ornament upside down on the open top of another bottle of paint.
I would double-check the size of the neck of your ornament verse the neck of the paint bottle before you do this to be sure that you won’t have paint oozing out the sides and down the bottle.
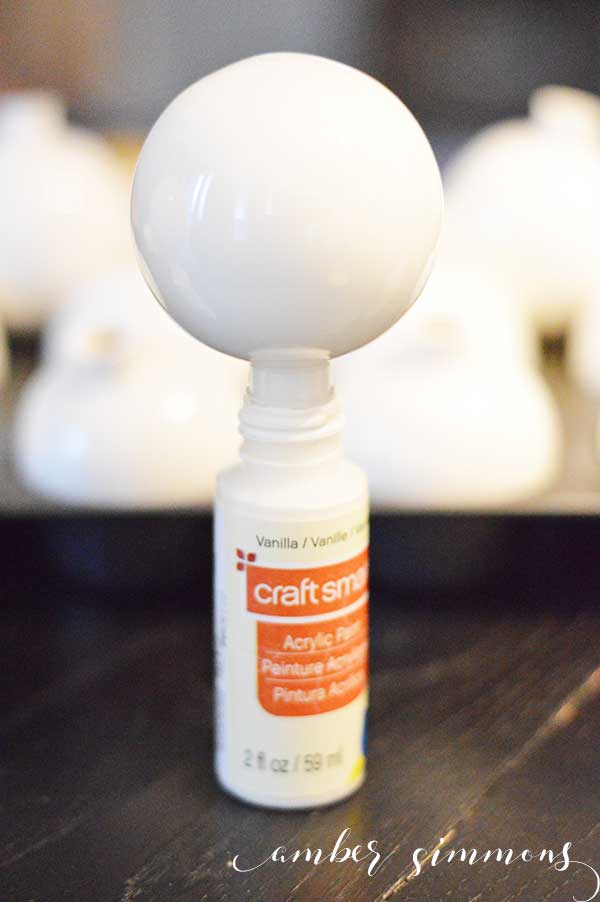
This dripping method allowed a bunch of the extra paint to drip out and be used in another ornament.
Using this method I was able to stretch my 2oz paint bottles to make 6+ ornaments each. Without this drip method, they will paint 4-5 ornaments each.
I had six paint bottles that I was using, so I was able to cycle through them all and let the ornaments drip for a while.
If you are using brand new bottles I would recommend that you squirt some paint into an ornament before you set one on top. I didn’t and a couple of my bottles got extra full and I had a paint mess on my hands.
As with any painting craft, it is a good idea to have some sort of rag nearby for little messes. I like to use baby wipes.
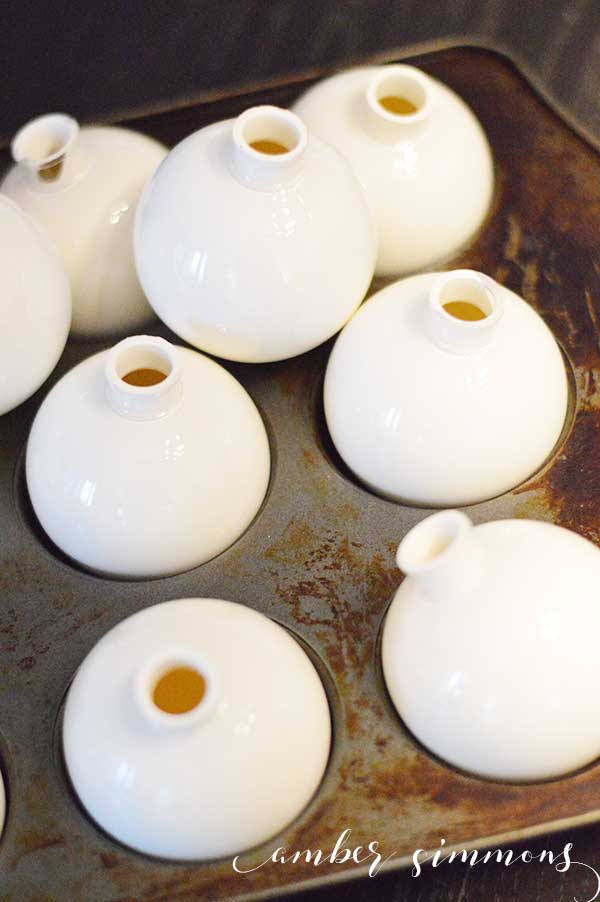
Once I needed to replace the ornament on top of the paint bottle I took the one off the top and placed it open side up in a muffin tin.
This helped to keep the ornament right side up and allow any extra paint to flow to and dry at the bottom. If you don’t have a muffin tin, egg cartons also work great.
If it doesn’t dry at the bottom you might have a weirdly weighted ornament. This isn’t a huge deal once it’s hanging on the tree, so if it’s not perfect then don’t worry.
The pan also keeps them from rolling around and spilling wet paint everywhere.
When they are dry you and put the top back in, carefully to not scratch up the paint on the inside. And then you are done!
See? Simple.
Be sure to check out my Rae Dunn Inspired Christmas Ornaments to see how I finished these up.
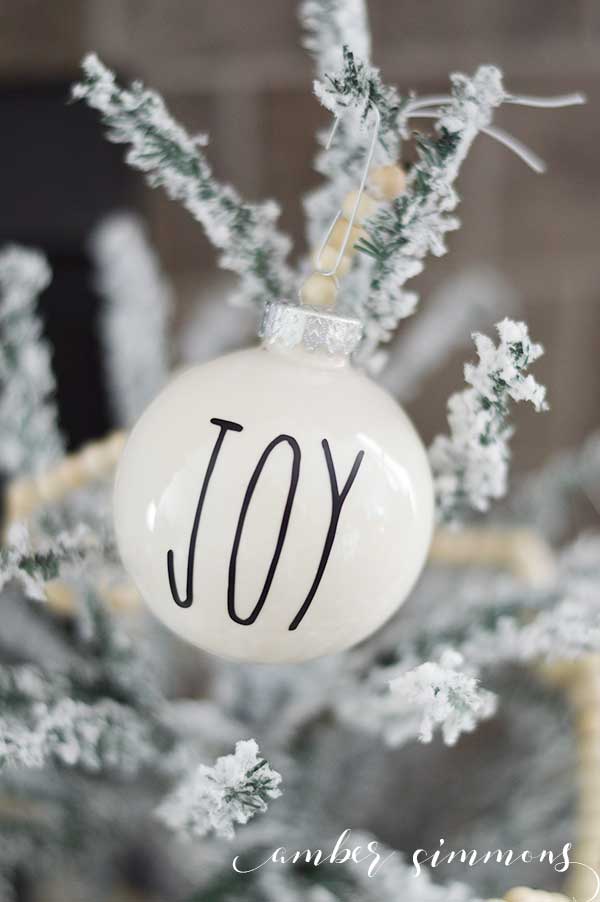
How to Paint Clear Christmas Ball Ornaments

This tutorial for how to paint clear Christmas ball ornaments will make everyone look like a crafting expert. These ornaments are so simple to make and they are a great project to do with kids.
Materials
- Clear ball ornaments
- Paint
- Muffin tin or egg carton
- Optional: Liquid hairspray
Instructions
- Remove the ornament top.
- Squirt some paint into the ornament.
- Cover top with your thumb and shake ornament.
- Continue shaking until full coverage is achieved.
- Set in a muffin tin or egg carton to dry completely.
- Once dry, put the hanger back into the top of the ornament.
- Hang ornaments on the tree and enjoy.
Notes
Tip: If you are working with a darker color use a flashlight to help see any holes in the paint.



I was trying to paint my plastic ornaments I purchased from Michael’s they are 2.6 or 2.7 in size – I coated the inside with 3 different paint colors – turned upside down to dry, in the morning, one side of the ornament was completely gone, but the rest of the ornament was coated – what am I doing incorrect?
Thank you! I want to make these as gifts but cannot seem to get the entire ornament to stay coated with paint.
Oh man! I’m so sorry it’s not working for you. I have heard using as little paint as possible works best. Or another trick I heard is to coat the inside with hairspray and let it dry then add paint. This should give the paint something easier to stick to.
I did the same and tried putting acrylic paint in a plastic ornament and it is not adhereing onto the plastic. At first it looks perfect but as the days pass, it seems as if the paint is falling off and not staying. It’s weird…. Anyone else has had this experience or any suggestions? I will try the hairspray trick.
I had the same problem 🙁 I felt so bad for the ones that were given as gifts. Days after they were made, the paint started streaking. I let them air dry for 2 days before I closed them up.
The same thing happened to me…..after my tree was all decorated, I noticed the paint “melted” off the insides and was in the bottom of the ornament or some of the. were spotty. How do I get the paint off so I can redo? It’s acrylic paint…can I use a bit of thinner to clean them?
You could try that. I’m sorry it didn’t work for you either. Try some liquid hair spary next time before adding paint. I have heard people say that it helps the paint adhere better.
Here’s a tip I learned a while back that really works – and it goes back to understanding how the ornaments are manufactured: they use a lubricant inside the hole to insert the hang to avoid cracking or breaking the bulb. Here’s how to fix that: get all of your ornaments together and pour about 2 Tablespoons of rubbing alcohol into the first bult, cover the hole and shake until all surfaces are covered WELL. Pour the rubbing alcohol into the next bulb as you put your 1st bulb with the hole down to air out completely over night (for good measure, when I’m done with all the bulbs, I take a Q-tip with the remaining alcohol and run it around the inside of the hole spout). Repeat this until ALL of your bulbs have been thoroughly cleaned, the dump the rubbing alcohol down the drain (or do the spouts first – your choice). The first time I tried this, the next day I did one bulb with enamel paint swirl and 1 with acrylic paint swirl. I waited for about a week and both turned out perfect. I haven’t had a problem since then. I sure hope this helps everyone! Happy Crafting!
Penny thanks for that super helpful tip.
This is the most helpful information I have found regarding the paint not sticking. Thank you so much!!
I have problems with the metal hanger scratching the paint off when I put it back on the ornament. Any solutions to that?
I haven’t had an issue with that, but you could put a small dot of hot glue on the ends of the hanger so they are smoother.