
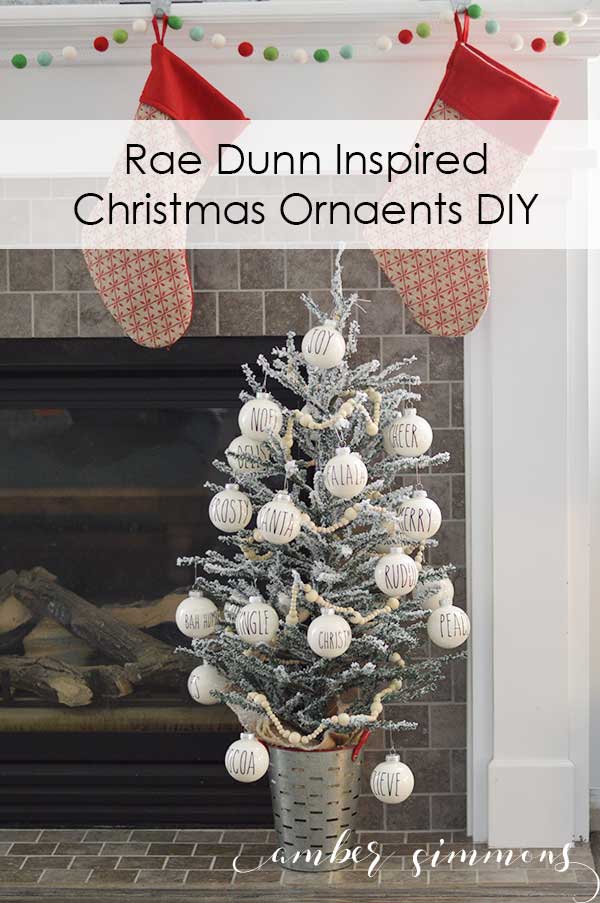
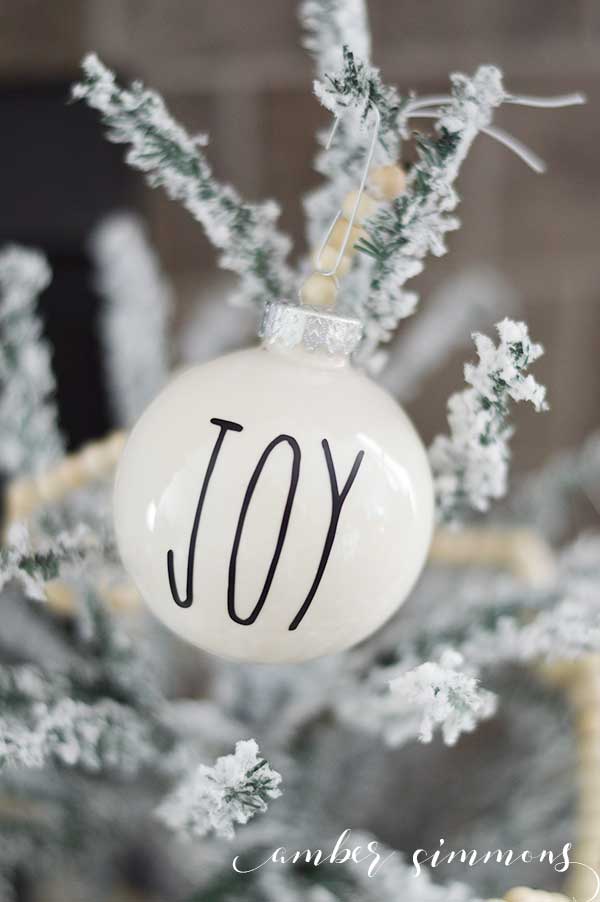
This easy Rae Dunn Inspired Christmas Ornament DIY will give your tree the perfect amount of simplicity while still being fun. And they will go with any Christmas decor whether it’s farmhouse or modern.
I have seen Rae Dunn mugs all over my Instagram feed. I think they are super cute.
But I never seem to find any at my local Home Goods and TJ Max.
I did find the puppies some new Rae Dunn food bowls, but that’s the extent of my Rae Dunn treasures.
I also made my own Rae Dunn office containers.
If for some reason you are going, “huh? What the heck is Rae Dunn?” It’s a line of dishes that are beautifully simple and fun.
Most pieces are white with a tall, skinny black lettering that say things like, “Wifey”, “Yolo”, “Latte”, and “I can’t even.”
She also has Christmas pieces that say things like “Joy”, “Mrs. Clause”, “Deck the Halls”, etc.

They are just so super cute and fun. My mom and I are always on the lookout to see if we can find any.
So when she sent me an Instagram post from @chelsea365 making Rae Dunn inspired Christmas ornaments I knew I had to make some of my own.
She used glass balls, however with small children and dogs in the house I needed something more durable.
So I decided to paint clear plastic Christmas balls to suit my purpose.
I used these 2.6″ diameter clear plastic ornaments from Michaels.
I painted them with vanilla acrylic paint. Let’s go over the rest of the materials needed.
Supplies
Cricut Maker
Cricut Black Vinyl
Cricut Transfer Tape
Cricut XL Scrapper
Cricut Weeding Tools
Cricut Bright Pad
Christmas Ornaments
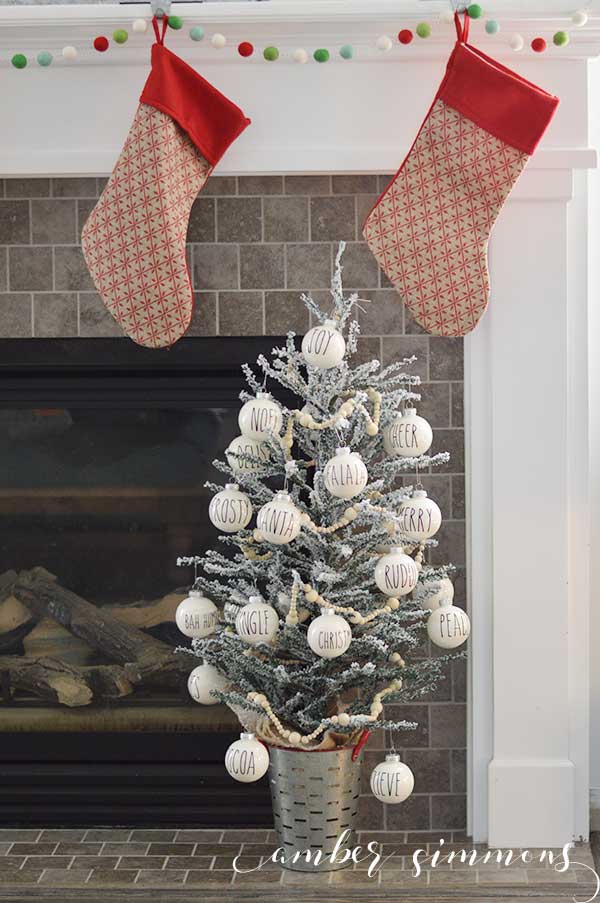
Christmas Tree (This is the one that I used)
Rae Dunn Text Cut File
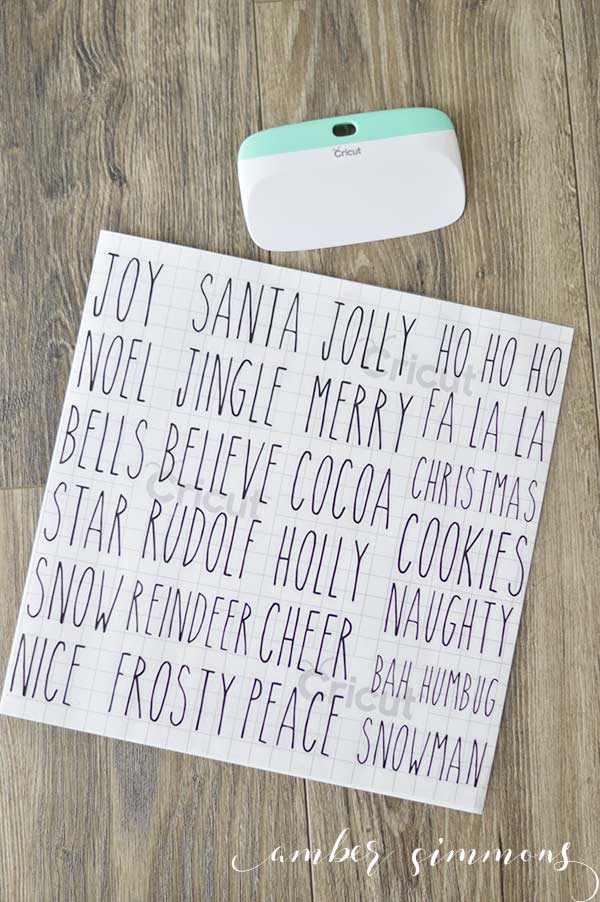
While they were drying I went to work on the words. I made a list of words and sayings that were Christmas themed.
I used photos of Rae Dunn Christmas mugs from Instagram to kick-start this list.
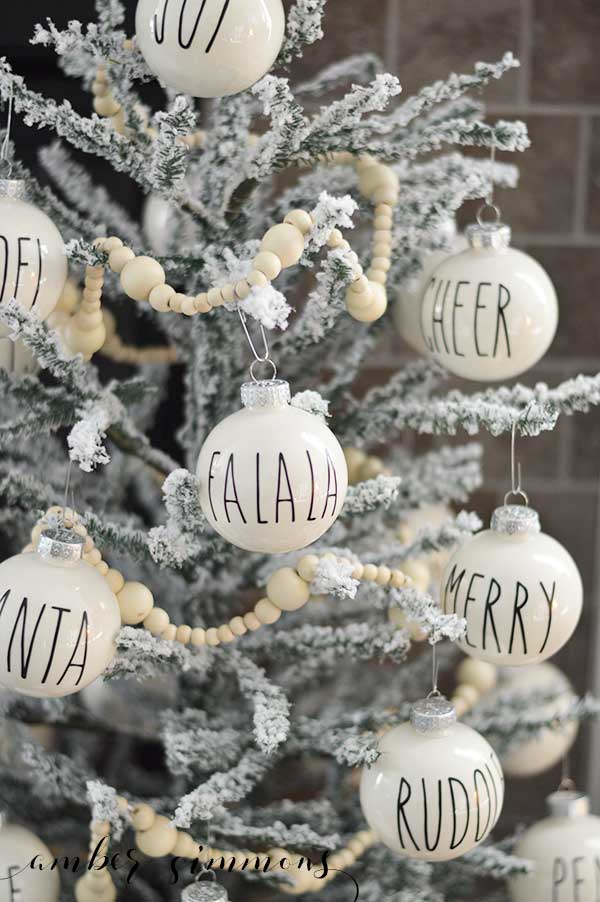
Once I had quite a few I narrowed it down to my 25 favorites, because I had 25 ornaments.
The font in the cut file is a Cricut font called Straight & Simple. So there is no font downloading required.
But if you want to make them just like I did you will need to download and use your own font in Cricut Design Space. Then you can change the text in the cut file to it.
The font I used is called The Skinny and can be found on dafont. Please note that this font is for personal use only.
If you plan to make some to sell you can get the commercial license on Creative Market for the font called Wanderlust, which is the same font.
Now, how large of a font you use will be determined by the size of your ornaments.
I chose to keep all my longer words three inches long. So some shorter ones like “Joy” were big and tall while longer ones like “Bah Humbug” were a smaller font.
“Joy” ended up being about 1.5″ long and I went down in font size from there. Then I cut them all out using my Cricut Maker.
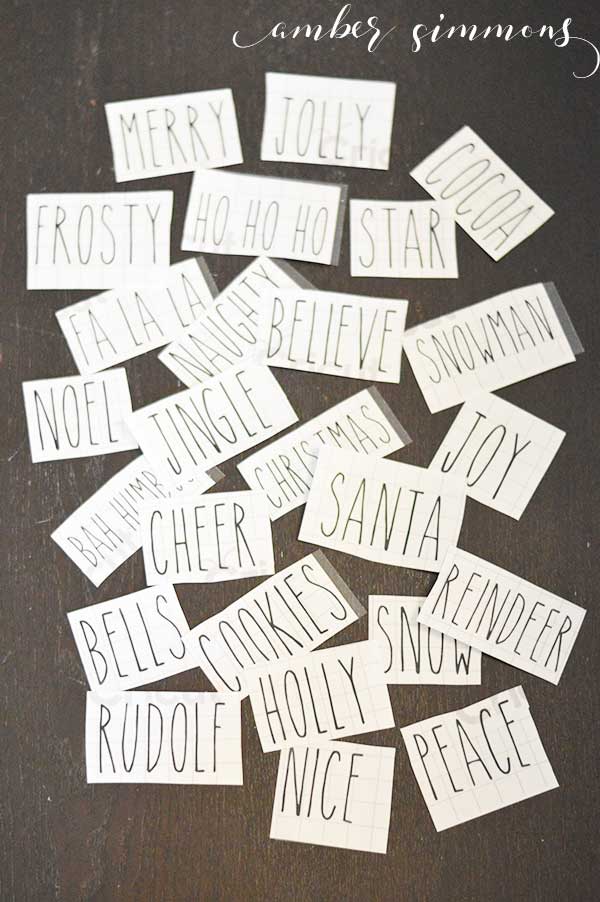
Once they were cut it was weeding time. Let me tell you, that took what felt like forever.
There were just so many letters and they were all so skinny they were trying to pull up with the negative that I was weeding out.
After you are done weeding to a happy dance and make yourself a cup of tea. You deserve it.
Then get back to work by applying the transfer tape on top of the Christmas phases. Once it’s rubbed down really good it’s time to cut them all apart.
Now is the fun part. Applying the vinyl to the ornaments. This is where you can see all your hard work pay off.
The trick to getting the vinyl ready to apply is to fold and unfold a corner until the transfer tape and vinyl backing separate.
Then, peel the backing away from the transfer tape at a 45-degree angle.
This should help the transfer tape hold on to the text better and allow the backing to release the vinyl.
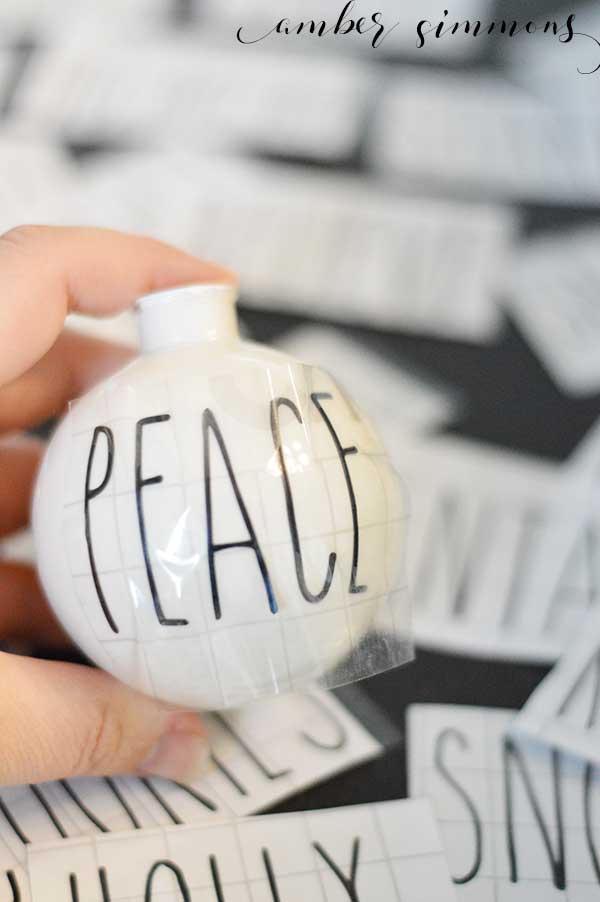
Then you place the design right in the middle of the ball. I like to stick the very center down, then stick the middle of all the letters down.
Finally, I start in the middle and sort of ruffle the top and the bottom of the transfer tape to make the tops and bottoms of the letters a tiny bit closer.
This will help the vinyl to all lay flatter on the curve of the ornament.
Once the letters are all rubbed down in place carefully peel off the transfer tape.
Use a hook tool to peel up and adjust anything that needs a little extra attention. Then give it all a final press with your thumb and you are done!
How stinking cute are these ornaments? I absolutely love them. They turned out perfect.
I think that they make a great addition to any holiday decor whether the theme is farmhouse, modern, or even vintage.
Are you going to make some? I would love it if you tagged me.
For more fun and festive ideas check out my other Christmas posts.

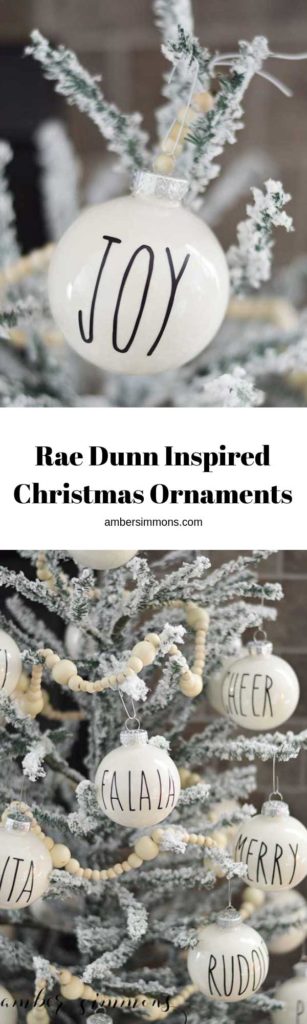
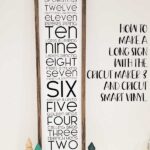
How to make those popular Rae Dunn Inspired Christmas Ornament DIY
This Rae Dunn Inspired Christmas Ornament DIY will give your tree the perfect amount of simplicity while still being fun. And they will go with any Christmas decor whether it’s farmhouse or modern.
Materials
Instructions
- Type up Christmas words in The Skinny font
- Cut out of black vinyl
- Weed using Cricut Bright Pad
- Apply Transfer Tape and cut words apart
- Adhere words to Christmas ornaments
- Hang ornaments on Christmas tree
Check out my other Cricut projects here.

Want to check out a video tutorial? Here’s a Facebook Live that I did on my Modern Makers page.
Be sure to follow me on YouTube for more tutorials.

Comments
Trackbacks
-
[…] I went looking for ornaments to make my Rae Dunn Inspired Christmas Ornaments I only had two requirements. They needed to be plain white and they needed to be shatterproof. […]
-
[…] Rae Dunn Inspired Christmas Ornaments – Amber Simmons […]
-
[…] Amber Simmons Rae Dun Inspired Christmas Ornament […]
-
[…] Rae Dunn Inspired Christmas Ornaments – Amber Simmons […]
-
[…] these super cute Rae Dunn inspired ornaments from Amber Simmons. These are definitely on my list this […]
-
[…] Rae Dunn Ornaments – Amber Simmons […]
-
[…] love these Rae Dunn inspired ornaments by Amber Simmons. Of course, you cant use the actual Rae Dunn font due to copyright, but this […]
-
[…] you’re in need of other crafty ornament ideas, definitely check out my friend Amber – her Rae Due inspired ornaments are AMAZINGLY cute! Plus, she has a tutorial for how to paint clear ornaments as well as some […]
-
[…] Christmas is the season when you can really make some great things with your Cricut. These Rae Dunn inspired Christmas ornaments are beautiful and fun. You can see the post right here. […]
-
[…] If you’re a Rae Dunn fan too be sure to check out my Rae Dunn inspired Christmas Ornaments. […]
-
[…] 34. Rae Dunn Inspired Ornaments […]
Leave a Reply
About Me
![]() I'm a mother to a busy little boy and a wife to an amazing man. I love to create, cook, and have fun. This blog is where I share all of my creations. So stick around and have fun with me. Read More…
I'm a mother to a busy little boy and a wife to an amazing man. I love to create, cook, and have fun. This blog is where I share all of my creations. So stick around and have fun with me. Read More…
Recent Posts
Ok so I just printed my vinyl and the shorter words are huge which I know you said they would be but they are gigantic, but they are only 3 inches long. Is there a setting I am missing or just once you change the length to 3 inch the height changes automatically? We’re you able to fit all those words on to one 12×12 sheet? I was also unable to do that as well if that is the case! I’m new to this cricut world but love me some Rae Dunn so o really want to make these right! Any help or word of wisdom is much appreciated!
I did fit them all onto a 12 by 12. I just laid them out like in the photo. I think I did size it down a tiny bit so it would fit. I just measured “Joy” and it’s only 1.75″ wide. Sorry about that. I will update the post to include that info. You’re right. If you cut it 3″ wide it would be HUGE. I believe that everything else can be sized from there. The longer words I kept at 3 inches.
Hi ok I’m right in the process as I write . And I’m sure all are snuggled asleep 😴 I’m doing my fonts on the computer and when I “size” to 3 inches it automatically makes the “font”size 117.81? And for the “letter” size and “line”size do I do 0 or 1.2 plz help thx love these and thx a million amber your the best
Did you put the words on both sides of the ornament or just 1 side
I just did one side of the ornament and just placed them on the tree with the word out.
Can we use any Cricut for example The Cricut Explore One? First time ever using a Cricut.
Yes! This project is great for any Cricut that cuts vinyl and uses Design Space. If you are new to Cricut be sure to check out my youtube channel for Design Space tips and tricks including how to use your own fonts.
https://www.youtube.com/ambersimmons
Would like some of those Christmas saying to put on Christmas bulbs as I don’t have the machine can we buy some to put on my self ??Laurie Hanson
I don’t sell them, but etsy would be a great place to look for that.
Were did you find your tree at?
This tree is from Walmart. I bought it last year, but I know they have it this year too. It’s only $15.
Do you know the size and name if the tree?
This is the tree I used. https://linksynergy.walmart.com/deeplink?id=R3qVHJVnPdo&mid=2149&murl=https%3A%2F%2Fwww.walmart.com%2Fip%2FHoliday-Time-Snow-Capped-Green-Fir-Tree-with-Burlap-Base-36%2F51707518
All the words look to be the same height, what size is that? I bought the same size ornaments.
They are roughly the same size. I made them all 3 inches wide. So the longer ones are shorter like Christmas and the shorter words like Joy are taller.
I can’t figureout how to find the wanderlust on the website? It brings up a lot of different fonts.
What is the height of the tallest words? Just trying to figure out what is the tallest design that will look good on this size ornament.
Pinterest instructions say 2.6 inch bulbs from Michaels. Link on YouTube video takes you to Amazon 3 1/4 inch bulbs. Which ones did you actually use for the video?
I used bulbs from Michaels. When I went to add a link on Youtube the item probably wasn’t available at Michaels.
Where’s the olive bucket from? It’s sooo cute with the tree!
That was from Target in the Bullseye’s Playground a Christmas or two ago.
Hi! I realize this is an old post, but I wanted to ask how these hold up? As far as the paint? I just made some and am currently waiting for them to dry. I planned on giving them as gifts, but would be embarrassed if the paint didn’t hold up more than the current Christmas. Thanks!
Mine have held up well. There are some that have cracking paint this year, but they have looked great the last few years.